The loving owner seeks to create to the four-footed pet the most comfortable conditions. An animal it is necessary not only to eat and drink, but also to move, and opportunities for this purpose at inhabitants of a cage are very limited. "Apparatuses" - various short flights of stairs, perekladinka and wheels can help. A lot of things it is possible to make with own hands.
Wheels are different
Diameter of a wheel depends mainly on the size of a small animal and length of his step. Certainly, the wheel for an Asian hamster will be less, than for a squirrel or a chipmunk. It will be difficult for small animal to rotate too big wheel, and too wide intervals between perekladinka can lead to a trauma. Therefore still before choosing material, estimate, size what wheel is necessary for you. For a squirrel or a chipmunk diameter will be it about 40 cm, for the Syrian hamster there will quite be enough 20 cm.
We choose materials
Natural materials – thick plywood or chipboard most of all are suitable for a self-made wheel. However, it is possible that through some time you should remake "apparatus" because rodents have property to sharpen teeth about everything that surrounds them. It will be necessary for you: - plywood 6-10 mm thick or chipboard;
- thin sticks of identical length – 40-60 pieces; - thick wire for an axis; - small nails; - hammer; - saw or fret saw; - paper for a template; - drawing tools.
Make preparations
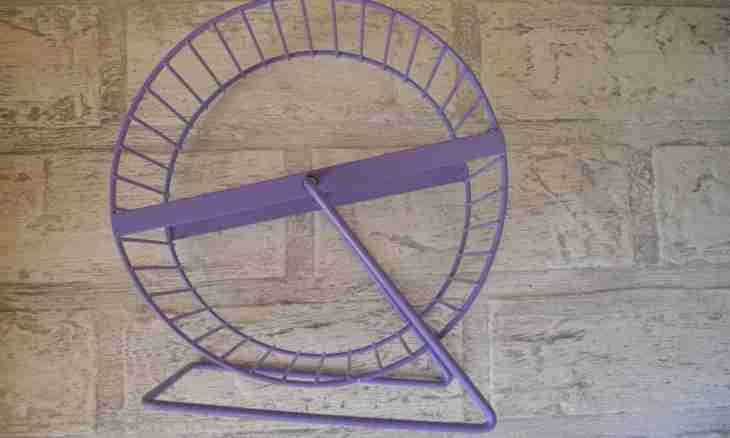
The wheel for a rodent consists of the following details: - 2 circles: - axis; - 2 racks; - basis. Draw a circle on paper. From the same center draw one more circle, with a diameter at 3-5 cm it is less. At you the ring has to turn out. Draw diameter, perpendicular to it – one more. From the first diameter postpone in both parties on 1 cm, draw 2 lines parallel to it. Make the same also with the second diameter. At you 4 identical windows will turn out. Cut out a template and make on it 2 identical plywood blanks. It is the is best of all to cut out from by means of the electrofret saw, but if it is absent, it is possible to use the ordinary fret saw or a small garden saw. Smooth out saw cuts an emery paper. In the center of one and other preparation drill openings for an axis. For the basis it is possible to make 2 identical racks which will fasten below to a wide plate. Racks can be triangular, rectangular or trapezoid shape. To a plate they can be pasted or beaten. In the top parts of racks drill openings in which the axis will fasten. It is not obligatory to do openings through. The thick aluminum or steel wire is suitable for an axis. In sidewalls it is pasted. The wheel on an axis goes freely, any fastening it is not necessary. Level on perekladinka length. The squirrel requires 60 crossbeams, for a chipmunk – about 80. Plan places for four a perekladinok – they have to connect to circles where on a template diameters drawn with you were crossed with circles. It is possible to recede from a circle inside on 0.3-0.5 cm (but this distance needs to be observed when fastening all crossbeams).
Assembly of a wheel
Beat perekladinka to circles small nails. Distribute other sticks evenly by all four sectors that distances between perekladinka were identical, and too beat. Connect basis elements. Put a wheel on an axis. Insert the ends of an axis into basis sidewalls. The wheel for a squirrel or a burunduchka is ready.