Any woman puts certain sense in beauty of the nails. For some magnificent well-groomed nails are symbol of sexuality, for others – unique opportunity to tempt the man, for the third – opportunity to ego-trip and way of self-expression. Anyway female hands always have to be beautiful, and thanks to modern technologies the woman can daily, and even several times a day change design of the nails. It occurs due to color, form and fashionable drawings.
1. Let's pay attention to such way of drawing drawings to nails which cornerstone the equipment of interlacing is. To seize elements of this equipment 2 hours will be required literally. Certainly, drawings can not turn out at once. However you should not be upset. Just stock up with necessary share of patience and dare!
2. It is necessary to get small needle and also several varnishes of various color scale. The consistence of varnish should not be liquid. Technicians of interlacing are the cornerstone three main stages:
3. 1. Causing base for the drawing (varnish basis).2. Drawing on base of multi-colored strips and points with their further interlacing with use of needle (it is important: it is necessary to work quickly that varnishes have not managed to dry).3. Drawing on the drawing of varnish-fixer.
4. Let's give several versions of the drawing executed with use of the equipment of interlacing.1. Drawing "Branch". Varnish is applied on nail (for example, white color). Without having allowed it to dry up, over it it is necessary to drip several drops of green color. Until varnish has managed to dry, we carry out by needle directly on these drops, kind of "extending" branches.
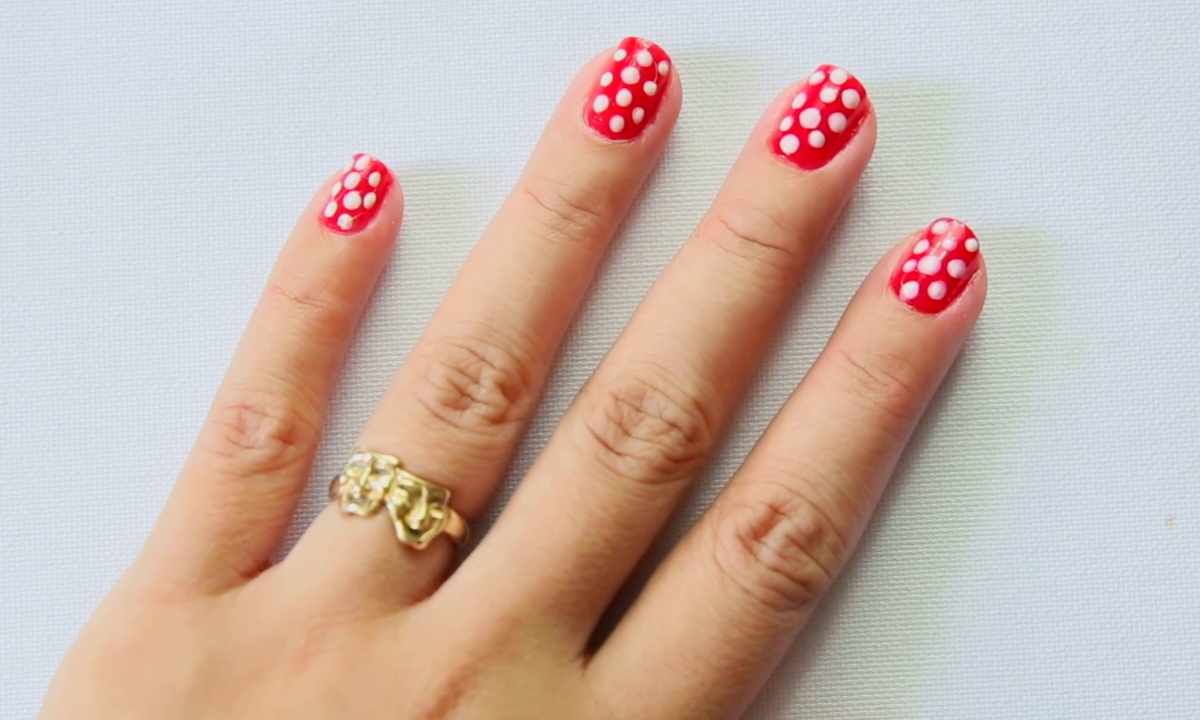
5. 2. Drawing "Eight". Varnish of any color is applied on nail. It is necessary to draw with small needle the small points which are allegedly bending around nail. Such points can be not only one color. By means of circular motions, using needle, we connect the available points among themselves.
6. 3. Drawing "Peony". We apply base on nail. In the center of nail we put small yellow end, around it – several points of other color (crimson or scarlet). In the upper and lower part of "circle" we put two green ends. Their size has to be a little more than other points. We bind all points among themselves.
7. 4. Drawing "Zigzag". At the heart of this drawing - two-color design. Ideal option – black and white color which need to be bound among themselves.
8. 5. Drawing "New Year". We apply varnish basis on nail. We draw the extended triangle of green color. At the top of this triangle we put small end of red color.
9. 6. Drawing "Spider line". We apply base on nail. In the center of nail we put two drops (for example, yellow and black). Drops have to be put at each other. We draw lines from the center of upper drop, trying to stretch spider line. In the central part of such spider line it is necessary to put small point. Its color has to match color of edges of spider line.