Beautiful manicure with unique and unusual design can be executed even if there are not enough skills in drawing. It is not required to study any special technologies too, it is enough to show imagination.
It is required to you
- - basis for manicure;
- - varnish of basic color;
- - varnish for design;
- - top for manicure;
- - dots.
Instruction
1. If it is required, then at first nails are filed and get rid of old covering. The cuticle if necessary is removed.
2. The transparent basis for manicure is applied on nails. It is possible to use also colourless varnish, but it not too well influences plates. Protective and nutritious means creates necessary plyonochka which reliably covers nails from color pigments which thin them, doing more weakly and poristy. The basis has to dry completely before the following step.
3. Color varnish is applied at first in one thin layer. Only when it will dry out, it is possible to repeat the procedure that manicure has turned out brighter and is more juicy. Pointed painting is carried out only on dry surface, otherwise the drawing will be smeared.
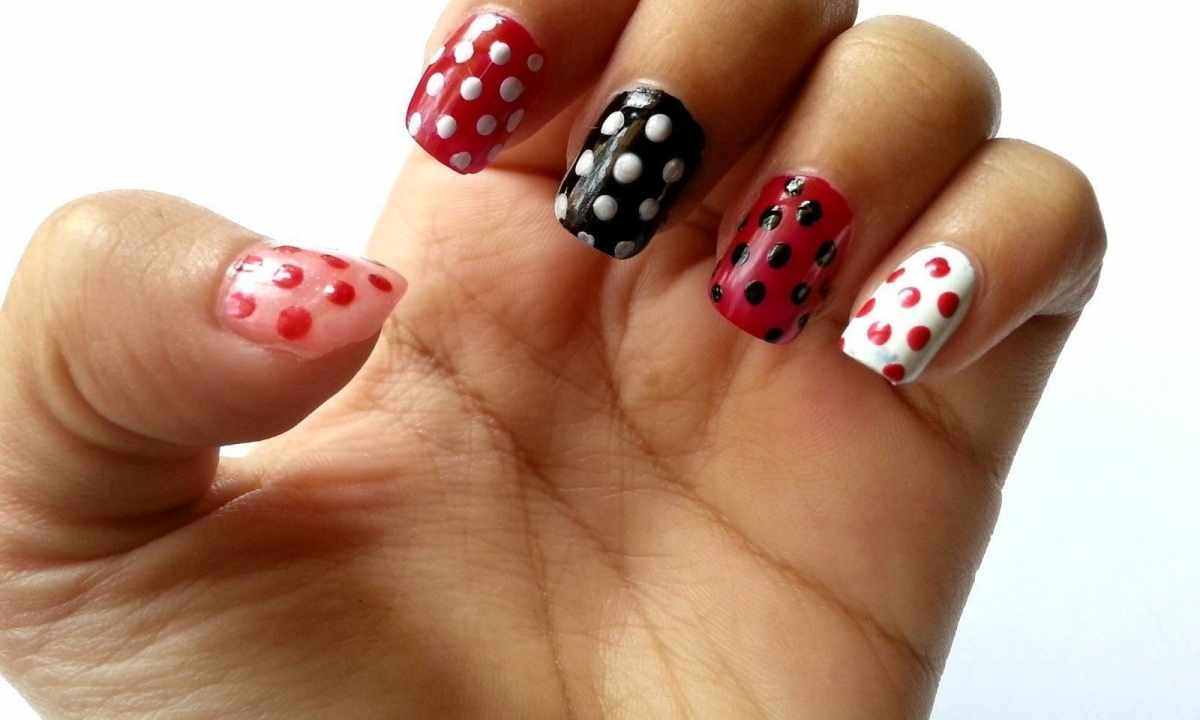
4. Dots lower in varnish which color is picked up for design, then put trial end standard sheet. If the point too blurs, means material has been gathered too much. It is necessary to adjust pressing force on leaf, then to start neyl-art. Points are affixed in chaotic order without any system on all nails in turn.
5. When the design completely dries (points dry especially long), nails can be covered with transparent top. Dot manicure is ready.