The interesting option of winter design will perfectly add your image on New Year's Eve.
It is required to you
- - nail buffer
- - primer
- - base
- - top
- - burgundy gel polish
- - white gel varnish
- - white gel-paint without sticky layer
- - vtirka ""northern lights""
- - velvet sand of white color, or acrylic powder
- - thin brush
- - dots
- - triangular sponge for foundation
- - klinser, or other liquid for removal of stickiness
- - rigid brush
- The sample is shown on tipsa, but the description is given as this design becomes on nail.
Instruction
1. Standardly we prepare nail for putting gel polish. We remove gloss nail buffer, we process primer. We cover with base - we dry in lamp. Further we apply burgundy gel polish in two layers, each layer is dried in lamp. We cover with top - we dry. If top with sticky layer, then we remove stickiness.
2. We take vtirka ""northern lights"" and we rub in nail. By soft brush it is brushed away superfluous, once again we block top, well we coat nail face. We dry in lamp and we remove sticky layer.
3. Dotsom and white gel-paint we place points - future snowball. We dry in lamp.
4. We take sponge for foundation, we put on it drop of white gel polish and, slightly patting, on all perimeter of nail we do inking - hoarfrost. We dry in lamp. If necessary we repeat this step. Once again we block top and we dry in lamp. We remove sticky layer.
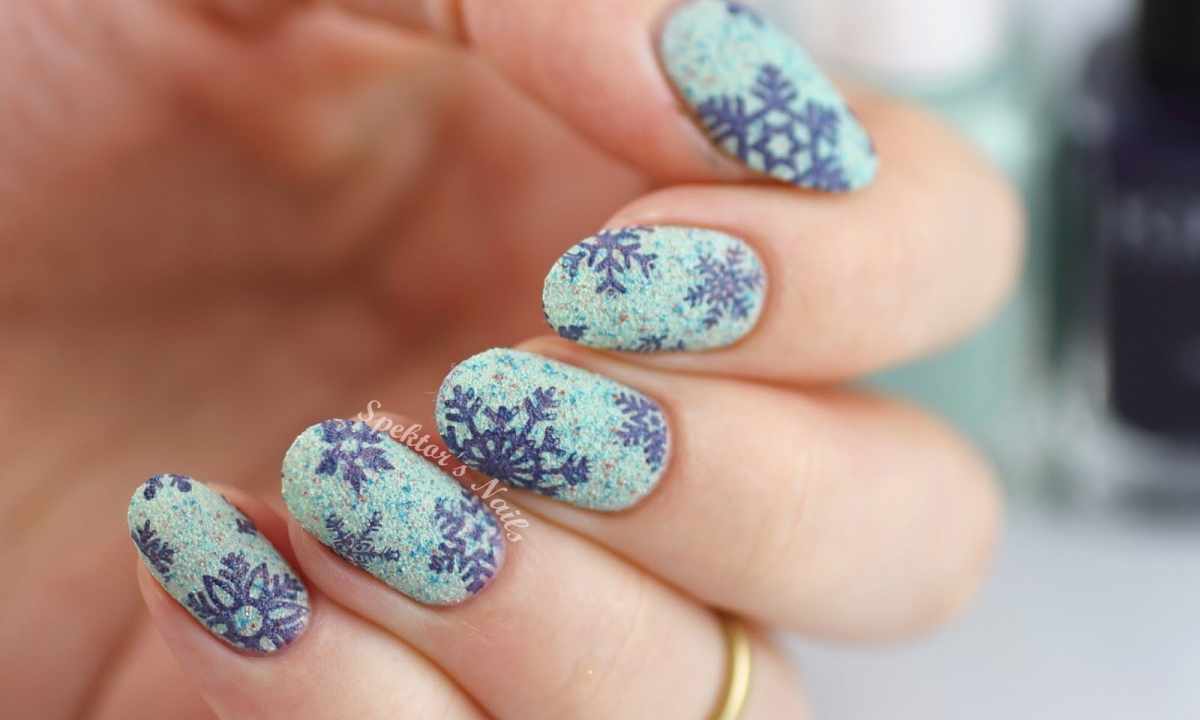
5. Gel-paint and thin brush is drawn by Béla large snowflakes, we do not dry.
6. We powder snowflakes with white velvet sand or acrylic powder. We dry in lamp, excess sand is brushed away by rigid brush. The New Year's design is ready!