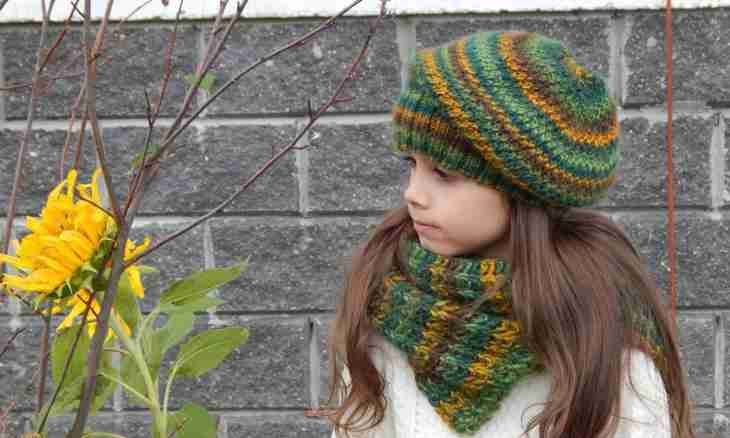
The scarf for the child has to be bright therefore it can be connected from residues of yarn which accumulates at any lover of knitting much. Check the stocks. For certain, and you will have suitable threads. However consider that the children's scarf should not be prickly, otherwise your kid simply will refuse to put on it.
It is required to you
- - residues of yarn of different color;
- - needles No. 2.5-3;
- - hook No. 2.5.
Instruction
1. A hook to knit the scarf quite simply and quickly. Gather a chain of 30 air loops. Do loops free, not strongly tightening them.
2. The second row knit columns without nakid. Further lay this thread, and the following row begin to knit from other ball.
3. The third row knit columns with one nakid which knit from every second loop of the previous row. A column with nakidy, an air loop, still a column with nakidy, an air loop and so on. Pay attention to that the number of loops remained to the same. As a result at you the openwork and interesting pattern will turn out. The fourth row knit similar to the second.
4. Then again change color, take thread which the first two rows knitted, tighten it and knit the following two rows in other color, etc. Knit a scarf desirable length.
5. The next stage – tie all product with thread of contrast color around. It is necessary in order that edges of a scarf were more exactly and also ugly alternation of threads from one edge as they were not cut off at each alternation will be closed, and stretched.
6. If you badly knit a hook, but like to knit needles, then begin knitting with a type-setting row. Gather forty loops and knit a pattern which equally looks on both sides. For example, it can be an elastic band 1x1 or 2x2, the English elastic band, platochny or pearl knitting. Knit the chosen pattern to desirable length, close knitting.
7. And at last, decorate a scarf, make a fringe or pompons! For a fringe cut 60 threads of desirable length, stretch them by means of a hook, put in half and tie on knot. Make a fringe of different flowers, it will look brightly and stylish.
8. To make pompons, cut out two identical templates from cardboard. Such template represents a circle with an opening in the middle. Reel up strings around of a template, all opening in the middle will not be filled yet. Accurately cut yarn. Make several hanks a thread in the middle, tighten and strong tie. Remove cardboard, it already is not required any more. Fluff up a pomponchik and straighten its edges.
9. Make several pompons of different color and sew at the edges of a product.