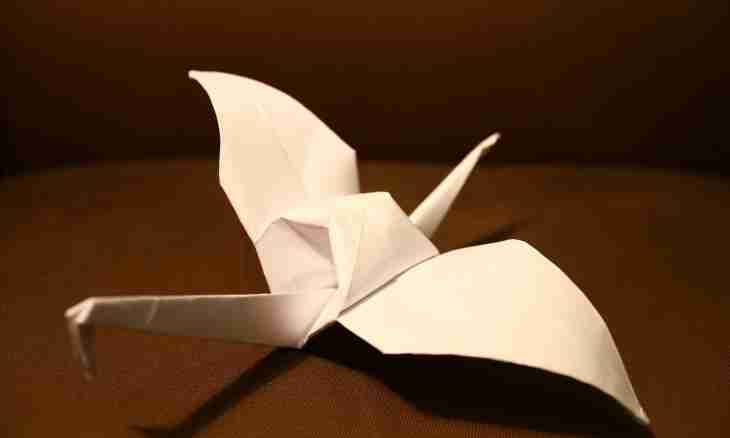
To you birdies from the wonderland flied. On the wings they brought you joy and love, happiness and laughter... Magic birdies will always fly to you to the aid to inspire and load your thoughts with energy of magic and creation.
It is required to you
- - color paper
- - PVA glue
- - scissors
- - markers
Instruction
1. We twist a paper small square a tubule - it will be eyes. We cut out klyuvik from a yellow paper rectangle. We cut multi-colored paper stripes of identical width. Serially we paste stripes one on another. We pasted five strips. It will be a tail of a birdie. For appearance we twist edges of strips up.
2. We twist the free end of the topmost strip in the direction to a tail. We paste it, creating a circle form. We do the same with the lower strip, we only take this detour a little more from previous by the size and too we paste. Accurately we paste stripes, creating equal circles. Pasting each new stripe, well we fix it hands that glue was not smeared on all surface.
3. You took a detour from four multi-colored strips. At you the trunk of a birdie turned out. In the same way we stick together a head of a birdie. Inside we paste a stripe eyes. We paste klyuvik to a birdie which was prepared in advance and cut out.
4. We cut out a red rectangle and, without reaching the center, on the one hand, we cut longitudinal lines. We twist the free ends of a red rectangle. We receive a remarkable comb of a birdie. We paste it between the head and a trunk of a birdie. We cut out a yellow rectangle and, without reaching the center, from two parties, we cut longitudinal lines. We twist the free ends of a yellow rectangle. We receive remarkable wings of a birdie. We paste them to a trunk a birdie from within. We try to do work accurately not to smear a birdie with glue. By a white marker it is traced various fantastic patterns on a birdie.
