Do you expect the birth of the new family member in the nearest future and want to be ready to his emergence? So, you need a bed, to a bed - bed linen and, of course, a bumper.
Instruction
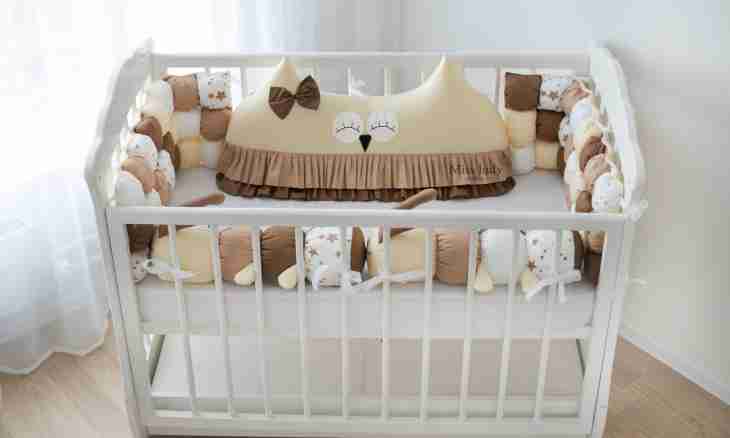
1. If the bumper is necessary to you in bed for the newborn, so it has to fit walls on all perimeter. In this case the bumper can consist as of four walls, well continuous. If the child is already more senior and itself leaves a bed, it is enough to make of him for three walls: side and back.
2. Measure each party of a bed that what nobility of length to do a product. Think over what height it has to be. The bumper in a half of height of a wall as first, in the first months the bottom of a bed will be located above, and secondly will be ideal for the baby, the child should not limit access to fresh air. The bumper will perfectly protect your kid from drafts and being height about 35 centimeters.
3. Choose material for a cover. First of all, it has to pass air therefore cotton fabric will be ideal. Secondly, it has to be combined in color scale with bed linen. And, the third condition, large contrast drawings will be very useful on a bumper. They will help to develop sight of the newborn.
4. Be defined what the bumper will be made of. It can be thin foam rubber or dense sintepon. It will protect your child from blows about bed walls. It is possible to make a bumper and of a children's blanket, having cut it on strips of the necessary size.
5. Sew rectangles of the necessary size. Do not forget to make allowances on a cover on centimeter from each party. At will, you can decorate a cover with appliques, flounces or lace.
6. Count quantity of rods in bed walls. It is necessary to attach a bumper by means of ties to every third or fourth from above and from below. Ties will be required also on bed corners.
7. Sew the narrow ribbon from the same material. Its length has to equal to the quantity of the required ties increased by twenty. Cut a tape on pieces on 20 centimeters. Bend each piece in half and in the place of a bend sew to a bumper in that place which corresponds to a twig to which you tie it.
8. Try on a bumper. If everything is all right, wash it and press from two parties. All! The bumper is ready to the use.