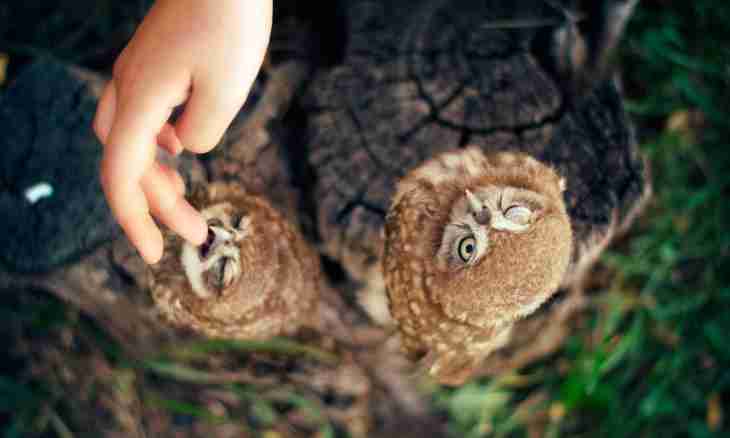
To us the wise owl on a visit flied. She heard that soon many children will go to school. And therefore the owl with the great pleasure flied to us to inspire you, children, before new academic year.
It is required to you
- - plasticity
- - ruler
- - glue
- - knife
- - toothpick
- - card
- - brush and paints
- - form for roasting
Instruction
1. Knead two strips of brown plasticity then roll it to thickness of 4 mm. Cut off a circle with a diameter of 3 cm and roll it in a form of flat egg - it will be a basis of an owl. Roll two small yellow balls and flatten out them - it will be eyes of an owl, press them into the right place. Note lines and add tiny black balls to the center.
2. Roll a little orange plasticity 2 mm thick and cut out pads, a beak and triangular area over eyes. Roll a little black plasticity 3 mm thick. Cut out a rhombus 2.5 cm wide and attach a strip of black color of 1.5 cm x 0.5 cm to its top corner. Make a small opening in the center of a strip and add the lock made of black plasticity for a brush. Accurately press into the head of an owl. Cut off small black triangles for wings and press them into the right place.
3. Roll a little white plasticity 1 mm thick. Cut out a square 2 cm thick, twist in a roll and wrap up in a thin red tape on the middle, place to an owl under the aegis. Decorate with different color strips of the book under your owl. Place a product in a form for roasting. Bake 30 minutes at 110 degrees then let's your product cool down. Paste a ready owl on the put card, decorate her breast with feathers.

