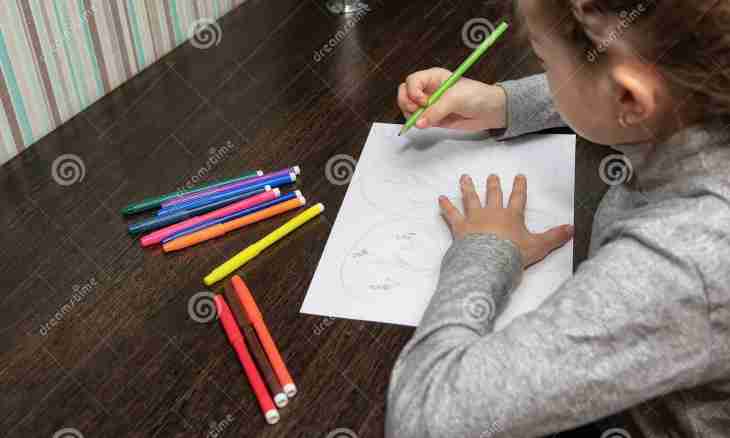
Creation of a portrait – one of the most difficult directions in drawing. It is worth starting it after the child mastered the image of different figures, learned to reveal subject volume by means of a treatment of light and shade. Work on a portrait will demand your help and hints.
It is required to you
- - paper;
- - simple pencil;
- - eraser;
- - colored pencils;
- - pastel.
Instruction
1. Put the model on a high chair so that on his face light fell. On the background the one-color background of the muffled tones or white color has to be located. It will be so easier to concentrate on a face.
2. Explain to the child that each person has individual traits persons. At one big eyes, at another chubby lips, at someone an aquiline nose. It is important to be able to notice it and to try to transfer on a portrait, then only the drawing on paper will resemble the original.
3. Attach the big sheet of paper on an easel or other plain surface. Tell the child how to select the correct song. If you are going to draw a portrait, you should not represent only one head. It is necessary to show a neck and hair and also a collar and at will a clothes fragment. So work will look harmonious and complete. For the preliminary drawing offer the child a simple pencil of average softness that in case of a mistake, the line could be erased easily an eraser. Find the center of composition, draw through it a vertical line. Horizontal lines note the upper bound of the head and lower. Draw the attention of the child to a form the head of the person whom you draw. Try to represent it the thin line in the form of an oval. Then plan hair and a neck.
4. Start a portrayal of parts of the face – a nose, a mouth, eyes, eyebrows. For this purpose it is necessary to draw auxiliary lines. At their drawing remind the child that he constantly looked at nature and as it is possible precisely transferred on paper of a face proportion. Draw the top line which has to be located at the level of eyebrows. Plan two lines indicating location of eyes below. The following line will note the lower bound of a nose. Then by three lines designate lips. After you carried out a marking of the person with the child, start a portrayal of separate parts. Begin with eyes, then pass to a nose and lips. Do not forget to draw eyebrows.
5. Pass to more detailed study of a hairstyle and clothes fragments. You should not trace all hair, it is enough to note separate locks. Specify in the drawing minor details, such as earrings, a beads, glasses, a hairpin on hair. After the drawing is ready, attentively double-check all proportions and erase an eraser auxiliary lines.
6. Start coloring of a portrait. Pencils or soft pastel best of all will be suitable for children. Begin work with minor details, then pass to main. That the image got volume, designate light and shadows. Try to work in color at all surface of a portrait, otherwise obsession with one detail will result in dissociation with the others. Bodies portraits have to be traced accurately, and minor, such as collar, and curls on a distance shot it is necessary to shade. Do not forget to remind the child that he got up from the place of work more often and took a detached view of the drawing, comparing it to the original. It will be so easier to see mistakes and to correct them.
