It is difficult to present modern office without local area network. Internal networks give great opportunities, and it is very unreasonable to neglect them. Therefore there is a question of creation and setup of a local area network.
Instruction
1. Select data transmission option type before starting creation of a local area network at office. You can make wireless, wire or combined. At assessment of the situation consider several factors.
2. For a start find out type of the devices which are a part of network. Use a wired network if it are computers. If laptops – wireless. And if laptops, both computers, and printers take place among your devices, it will be more logical to build the combined network.
3. Then, if you have a need to provide maximum speed for information exchange between devices, use better a wired network as wireless technologies have, as a rule, smaller speed for data transmission.
4. Buy either the switch, or the Wi-Fi-router, proceeding from the analysis which is provided in the first step. Keep in mind that at setup of rather big local area network you will need several above-stated devices.
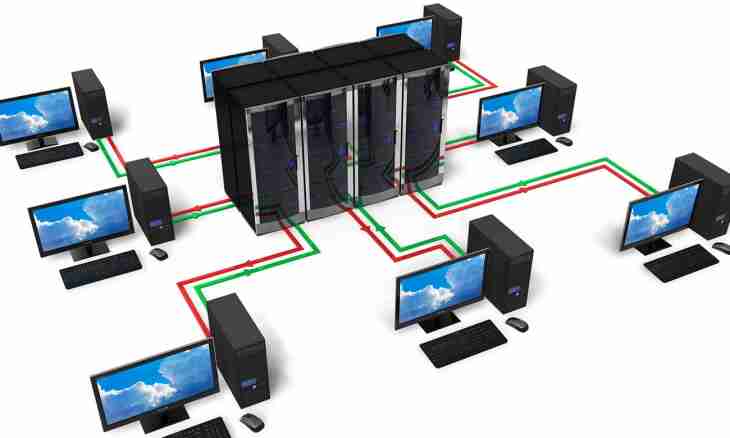
5. Install the router or the switch in the readily available place. If you selected a wired network, connect to it all necessary devices which will make office network. Connect the equipment to those laptops or computers which will be included all working day. If you do not perform these operations, will be able to lose access to these devices from other PCs.
6. On any computer or the laptop open settings of connection of network. Open properties of the protocol for data transmission of TCP/IP 4 versions. For this device enter the IP address. Use simple combinations of characters, for example, 9.9.9.1 better.
7. Now for other computers and laptops which are connected to your network, repeat the previous operation. Change the last segment in order to avoid the conflict of the IP addresses – the format of the IP addresses of all PCs will look thus: 9.9.9.Y.
8. Select the required folder to create the general network resource, click it with the right mouse button, then pass into the menu under the name "General Access", select item bearing the inscription "House Group".