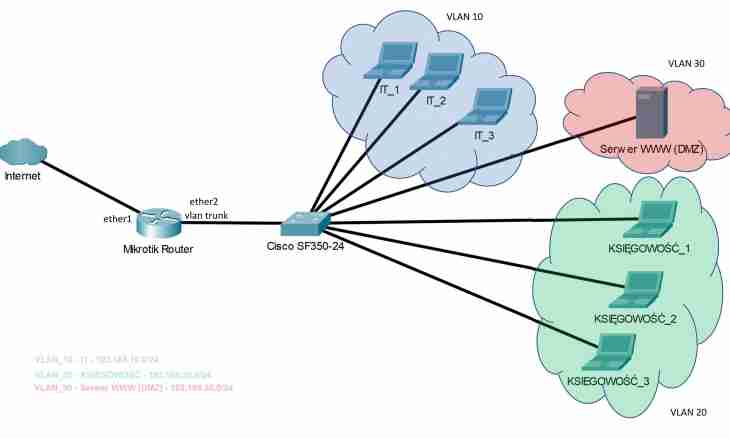
If at least one computer in the small local area network is connected to the Internet, means of OS Windows it is possible to organize Internet connection for all network. For this purpose in sistemnoym the block which plays a server role it is necessary to install at least one network adapter which will be connected with other computers of a local area network.
Instruction
1. If in your network only two computers, are required to you for their association in network a cross-cable – the twisted pair cable which since two ends is connected to the connectors RG-45 cross-wise. Such connection is necessary that the contacts of the connector of one network interface card which are responsible for signal pick-up connected to the contacts of other network interface card which are responsible for transfer and vice versa. If computers in network more than two, you need the hub or a switch for their association in network. Computers are connected to a switch directly. A patch cords, pressed out by a cross or directly, are on sale in computer shops.
2. Now you need to configure the managing computer. In "Control panel" open the Network and Connections to the Internet folder. The right mouse button according to the icon of the "external" adapter open by click a drop-down menu. Select the option "Properties" and you select In the addition tab. Note a checkbox the Allow Others to Use Connection … point. If you find necessary, allow other users management of the general access, having noted a checkbox the corresponding point. Click OK.
3. Respond "Yes" to the warning of change of IP – the address. Static network address 192.168.1.1 will be assigned to the "internal" network adapter which connects the managing computer with network. If in network one of computers plays a role of FTP- or the Web server, in the section "General Access" activate the Parameters button. In the list of services note protocols which will be used in network.
4. If you want to create own service, click "Add". In a new window enter the description of service, the IP address or a computer name on which it will be started port numbers and type of the protocol which will be used by service.
5. The DCHP protocol started on the managing computer automatically assigns the network addresses to computers in the local area network. Inconvenience will become the fact that the network will be disabled when the server is switched off. To avoid it, computers clients can assign the static IP addresses manually. Come into "Control panel" and open the icon of network connections. Click for a call of a context menu on the icon "Connection on a local area network" the right mouse button and select the option "Properties".
6. In the section "Components" note the Internet Protocol (TCP/IP) point and activate "Properties". If you decided to expose the IP addresses manually, select "Use the following IP address". It is possible to use address range 192.168.0.2 – 192.168.0.254. The address should be unique for each computer of network. Value of a subnet mask assign 255.255.255.0. In the Main Gateway field specify the network address of server 192.168.1.1.
7. Enter 192.168.1.1 for the Use the Following Addresses DNS point. Click "In addition" and you select the DNS tab. In the "connection DNS suffix" field enter MSHOME.NET. Note a checkbox the Register the Addresses of This Connection point.
8. Start the Internet Explorer browser and come into the menu "Service". Select the Internet Options item and you select the Connections tab. Click "Install", then, for further work, "Further". Note "Connect to the Internet" and press "Further". Select "Establish connection manually" and order "Further" for further work. Specify "Be connected through permanent high-speed connection", click again "Further" and in the following screen "Is ready".
