Mirc – the popular client of IRC for message exchange in real time. Its advantages are a possibility of the organization of group communication, exchange of private messages and files. For creation of the channel it is necessary to enter several commands into Mirc.
Instruction
1. For program installation pass to the official site of the developer and load the last stable release in the section Download. Start the downloaded file, make installation of the application, following instructions of an installer.
2. Start the utility by means of a label on a desktop or through the Start menu - "All programs".
3. Come on any IRC server and undergo registration procedure. For this purpose pass into the Tools menu – Options – Servers and enter the address or select any server from the list. Specify your nickname and replacement in the Connect settings for it if the selected user name is already used.
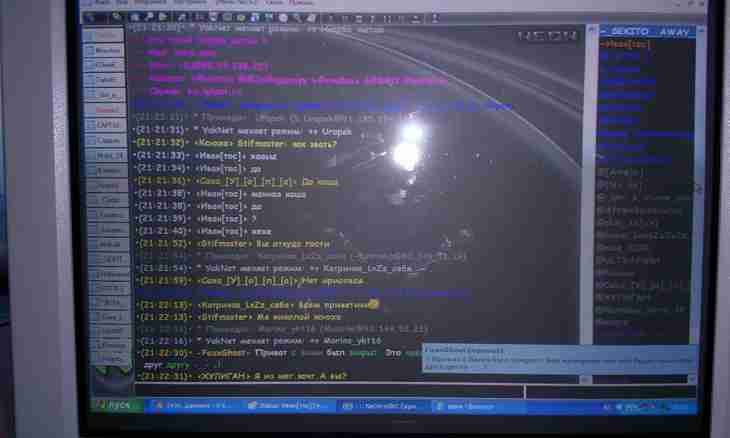
4. Return to a main window of the program and press the Connect button in the upper left corner. Wait for the end of connection. In line for input of messages write request: / vash_e-mail vash_e-mail msg q hello. Click Enter. After input of a command for your e-mail the message containing the login and the password will be sent. Enter them in the following command of the Mirc window: / msg of an adres_server AUTH login password. If all data are entered truly, you will see the message about completion of authorization.
5. Further write: / join #название_канала.Название of the channel should be unique, otherwise you are just connected to the conversation which is already created by someone. After that invite to the created channel of 5 people, otherwise the procedure of creation will not be complete.
6. As soon as 5 people come into the created conversation, write: / msg R REQUESTBOT #имя_канала.Данный the request causes a bot who will complete the procedure of creation and registration.
7. For automatic authorization right after start of Mirc pass into the Tools menu – Options – Connect – Options – Perform. In the appeared test Perform Commands window write: / msg of an adres_server of AUTH logs of password/join #название_канала.После of saving the program will automatically carry out connection to the server and the created channel.