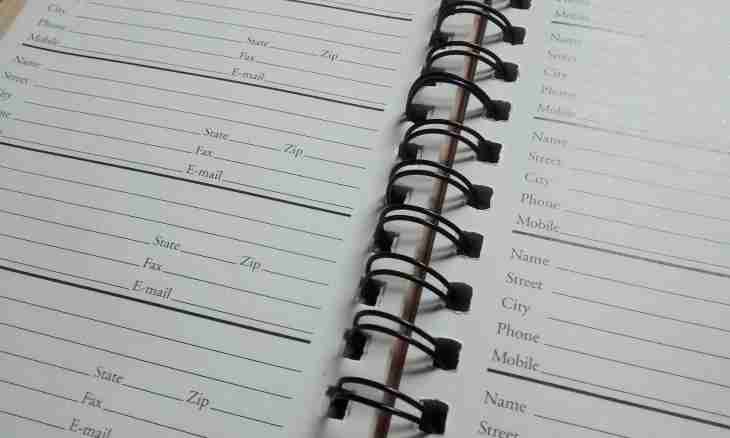
The Microsoft Outlook address book can be named the email set and these contacts created on the basis of folders of contacts of Outlook. The selected book can include global address lists, created by means of the Microsoft Exchage Server account, and the books containing data of Outlook.
It is required to you
- - Microsoft Outlook
Instruction
1. Click "Setup of Accounts" in the menu "Service" of a top panel of tools of a window of the program for performing operation of creation of the new Outlook address book.
2. Go to the Address books tab of the opened dialog box and click "Create".
3. Specify necessary type of the created address book in the opened request window: by means of a directory service of the Internet or the additional address book.
4. Apply a checkbox in the field "A directory service of the Internet (LDAP)" and press Next for creation of the new address book by means of a directory service of the Internet.
5. Enter the selected server name in the Server name field and apply a checkbox in the field "The input on the server" is required (if necessary).
6. Specify a user name and the password in the respective fields for confirmation of the powers and click "Other Settings".
7. Enter value of a name of the created address book of directories of the Internet in the field "Short Name" for display in the Address book directory in the Address book dialog box and specify the port number provided by the network administrator or Internet service provider in the section "Data on Connection".
8. Go to the Search tab and specify necessary these servers in the respective fields of an application window.
9. Press the OK button for command execution and confirm the choice with clicking of Next.
10. Click "Is ready" for application of the selected changes.
11. Apply a checkbox in the field "Additional address books" and press Next for performing operation of creation of the new additional address book.
12. Specify the address book selected for adding and press Next for confirmation of the choice.
13. Complete a program runtime of Outlook and execute restart for application of the selected changes.

