The ceramic tile is the most ancient finishing material relevant and today. The wide range, the affordable price, fire resistance, gigiyenichnost, resistance to abrasion, influence of the atmospheric phenomena and chemical reagents do this material popular.
It is required to you
- - perforator;
- - nozzle for the blade perforator;
- - scraper;
- - primer;
- - construction level;
- - plastic crosses;
- - nozzle for drill ""mixer"";
- - tiled glue;
- - toothed palette;
- - wooden rails;
- - nylon thread;
- - finish;
- - rubber palette.
Instruction
1. Prepare surface. Clean and level it. Responsible approach to work at this stage will allow tile to be pasted and lie well exactly. If the wall is painted, remove coat of paint completely, despite of availability on sale of the glue structures intended for laying of tile on the painted surfaces. Experience shows that coupling of basis with paint seldom is reliable, and the tile begins to depart together with cement slurry over time and to fall off.
2. Force down paint from strong surface the perforator with drill blade. Or use the ugloshlifovalny or detachable machine with nozzle korshchetka. If the possibility of mechanization of process is absent, bring down paint hatchet. Clean off poorly keeping coats of paint the scraper or the palette.
3. For improvement of coupling of tiled glue process walls primer. Choose priming solution taking into account type of the surface intended for pasting by tile. If the tile keeps within in the bathroom, primer has to be intended for damp rooms.
4. Prepare tiled glue. In the small portions pour mix into water and stir by means of drill with the nozzle mixer established on it. Solution should not turn out too dense that it could be stretched on wall surface, and too liquid that did not become swollen from walls.
5. Before laying drench tile rear side water or cause small amount of the diluted cement mix, having immediately cleaned off it trowel edge. Apply to removal of equal laying in work construction level. That seams were identical between various tiles, use special crosses from plastic.
6. Where there will pass the very first row, beat off the level as the final result of work will depend on quality of laying of this row. Grease with glue the site of wall surface intended for laying of one tile. Begin finishing from the center of wall and move towards room corners. Applying glue, evenly distribute it by means of the palette with toothed surface.
7. The layer has to have thickness from 3 to 5 mm. The waves formed as a result of carrying out on layer by teeths of the palette will make fastening of tile more reliable. The more tile by the size, the more largely there have to be waves. The palette with tooth to 6 mm will be suitable for tile of 30х30 cm in size. Apply tile to wall and densely press. Pasting the following tiles, insert into seams between them crosses.
8. Stack tile from below up: the first row - over floor, following - over it, etc. For receiving equal row put rail on floor and level it on level. For the following ranks attach the vertical rails leveled on plumb on corners. Drive in into these rails on nail, starting performance of the next row, and pull between them nylon thread.
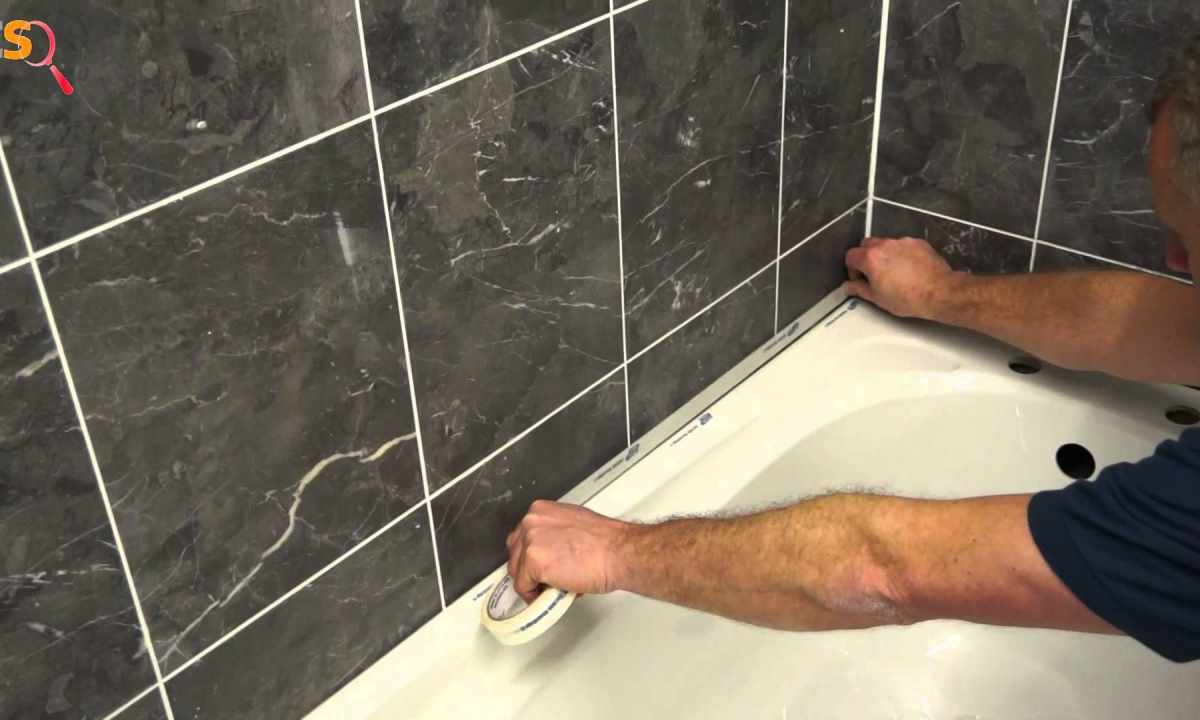
9. After laying leave tile for day or two, it can be specified in the instruction to glue. Then between seams put finish. Use for this purpose the rubber palette. Delete surplus with damp sponge. For convenience in work and accuracy of drawing finish paste painting tape along seams.