The shed – necessary construction on any seasonal dacha. It is possible to store garden utensils in it or even to organize the hen house. Such construction it is possible to make with own hands, and construction of the wooden frame shed will be the simplest.
Plan of construction of the shed
Prior to construction it is necessary to perform several preparatory operations. Create (or find ready) the drawing of future shed taking into account surrounding constructions and plantings and also the estimate on consumables. Construction has to have practical arrangement with the most convenient access from various points of the site (quickly to remove tools and other accessories in case of unforeseen precipitation).
Choosing the place, consider availability underground of sewage pipes, electric cables and have it as it is possible further from street toilet. Besides, when scheduling it is important to take in attention:
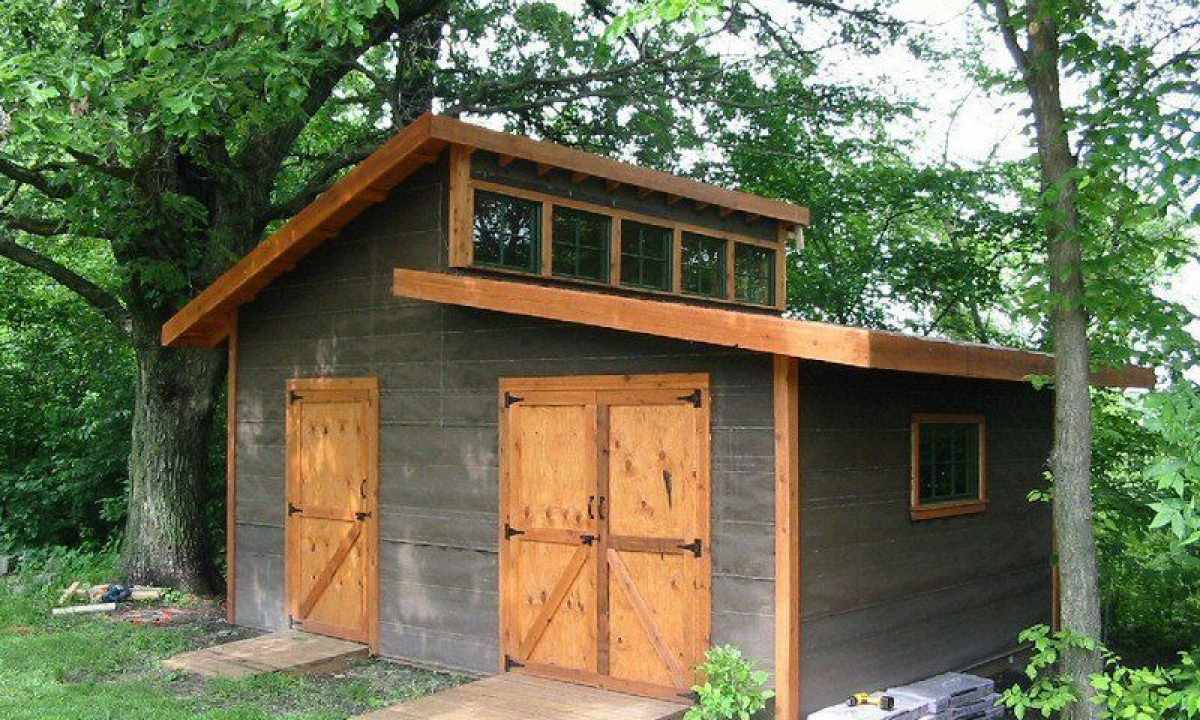
- the shed sizes in the ratio with other constructions on the site;
- dimensions of doors and windows, place of their mounting;
- features of arrangement of ventilation;
- system of drainage system.
Surely calculate amount of necessary building material. Besides wooden boards for walls and framework of roof you will need to buy such materials as:
- rod posts;
- metal mountings;
- cement mix;
- sand and gravel;
- finishing materials for roof, floor and walls (depending on features of the planned project).
Construction of the base
The construction of its basis which type is chosen according to the plan of construction becomes the first stage of construction of the shed for giving. However taking into account the small weight of design the column or screw base becomes optimal variant. Its step-by-step mounting will include the next events:
- Create marking, using tape measure, cord, stakes and the hammer. Hammer stakes on perimeter of future building, pull thread or cord and trace that the received rectangle had identical diagonals.
- Dig out holes, depth and about 30 cm wide. Taking into account type of the chosen dashing about these deepenings will become basis for base support. Not less than nine piles which will need to be established in holes are required and to strengthen in addition by means of wooden pegs.
- Create "pillow" for the base from sand and gravel, having filled up them in deepenings on 15 cm, having watered and having carefully stamped.
- Install fittings as which it is possible to use rather strong and thick iron rods. Surely have them at right angle in relation to the earth.
- Lay out brick support. The cement slurry is among themselves applied to fastening of bricks (the amount of necessary material depends on number of columns: on nine support about five bags of cement on 25 kg are required). You watch that the design was located horizontally, and at detection of any roughnesses eliminate them, using additional layer of cement.
- Plaster columns. Work is performed after drying of supporting structures by means of the palette and any mix, suitable for exterior finish. At the expense of the put covering the construction not only will have more attractive appearance, but will receive necessary protection against moisture influence.
- Fill up holes with sand and stamp all surface.
Binding of the base and wall construction
For creation of the lower binding of the base prepare wooden bars of wide section (100 by 150 mm for nine rod posts or 150 by 150 mm for bigger quantity). Also boards will be necessary for you for mounting of draft floor, about 40 mm thick. Surely process all wooden surfaces special antiseptic solution with additives for fire resistance at once. For the purpose of thermal insulation the columns should be covered with double layer of the roofing material which is stuck together with the bitumen help.
Saw bars for creation of necessary length. On the ends of boards cut off half of their thickness to provide connection with the subsequent bars. By means of drill make openings with a diameter of 20 mm and establish in them dowels for each connection.
Further it is possible to start installation of vertical frame support for walls. Wooden bars of 3 m (for you for front wall) and 2.2 m will be necessary (for back surface). Apply each wooden support to the place of its further mounting. Drill opening of the corresponding size from the edge party. Get bar on dowel and fix it. As fixture it is possible to use corners from threw, fastening them self-tapping screws. Make sure that all elements are established exactly.
To give to design big durability, execute the top binding, having established basic rails. For giving of the maximum reliability it is important to know quantity of vertical racks (for example, the typical shed of 3 by 6 m in size provides six top support). Use two rails on each of them.
In addition prepare two bars and cut half of thickness on the ends of each of them. The minimum length of everyone of their bars has to be six meters. Having used portable ladder establish bars over basic columns and fix by means of corners and self-tapping screws. Now it is necessary to establish crossbeams – base layer of future roof. For this purpose fasten metal corners to each of vertical support and also fix by self-tapping screws.
Installation of roof
Before direct mounting of roof the laying of rafters is made. Prepare them in the necessary quantity and with suitable length. For this purpose calculate distance from back wall of construction to upper part of facade. Surely consider the allowance equal to 20 cm, for future canopy. The total number of rafters for the shed of standard dimensions makes 12 (at thickness of 40 mm).
At first establish one rafter then the others by analogy with it. After laying of boards it is necessary to hammer long nail into each of them, having provided reliable fixture to the basis. Also on each of them create cutting for the subsequent fixing of roof.
Six-meter boards with section 25 on 150 mm will be necessary for you for mounting of roof of the economic block. Attach them to the predetermined rafters by means of nails, observing distance between them in 15 cm. Between the finishing rafters and tree in upper part of binding do diagonal drilling and fix by self-tapping screws boards in vertical position.
For the purpose of protection against wind sheathe the parts of rafters which are going beyond wall. For covering the wooden overlapping from the lower and side parties is used. As final covering of roof it is better to use light and inexpensive materials, for example, professional flooring, polycarbonate or metal tile. The instruction for laying will be following: lay waterproofing (better to use roofing material) on furring then lay metal tile, moving from the right edge to the center. The roof has to hang down on 5-6 cm from each of edges of construction. Record it, hammering nails into boards through tile.
Mounting of floor
Laying of floor does not take a lot of time. It is possible to make board covering, having picked up materials of the necessary length and having fastened them to logs by means of self-tapping screws. One more option - concrete floor. For its creation it will be necessary to create previously pillow from sand, having covered it with layer of waterproofing material. Further attach armature and fill in covering with the subsequent alignment.
After concrete dries out, process it special water-repellent impregnation which will allow to make climate indoors more comfortable. And if you want to improve even more internal design and to warm the room, it is possible to create additional covering, using linoleum or tile. As a result in the shed will pleasantly be for the whole year.
Covering of walls
For covering of walls it is possible to use RSD. Previously it is necessary to establish doors and windows in in advance prepared places. The RSD is attached by means of bars and self-tapping screws. The distance between the fastened self-tapping screws has to make about 30 cm. Do not forget to leave gap in 0.2-0.5 cm between sheets of RSD for ventilation improvement indoors.
As soon as the design is completely sheathed, warm it by means of mineral wool. For a start attach with an overlap thin wooden rails for creation of cells which the thermal insulation material will keep within. To make the outbuilding warmer and durable, create additional moisture protective layer and board the shed. From within wall it is possible to finish already on personal preferences. The country shed is ready, and now it is possible to be engaged in its filling, having established pieces of furniture, life and other accessories to creation of internal space. If desired here it is possible to equip not only the storeroom, but also drovyanik, garage, small workshop or other farm garden building.