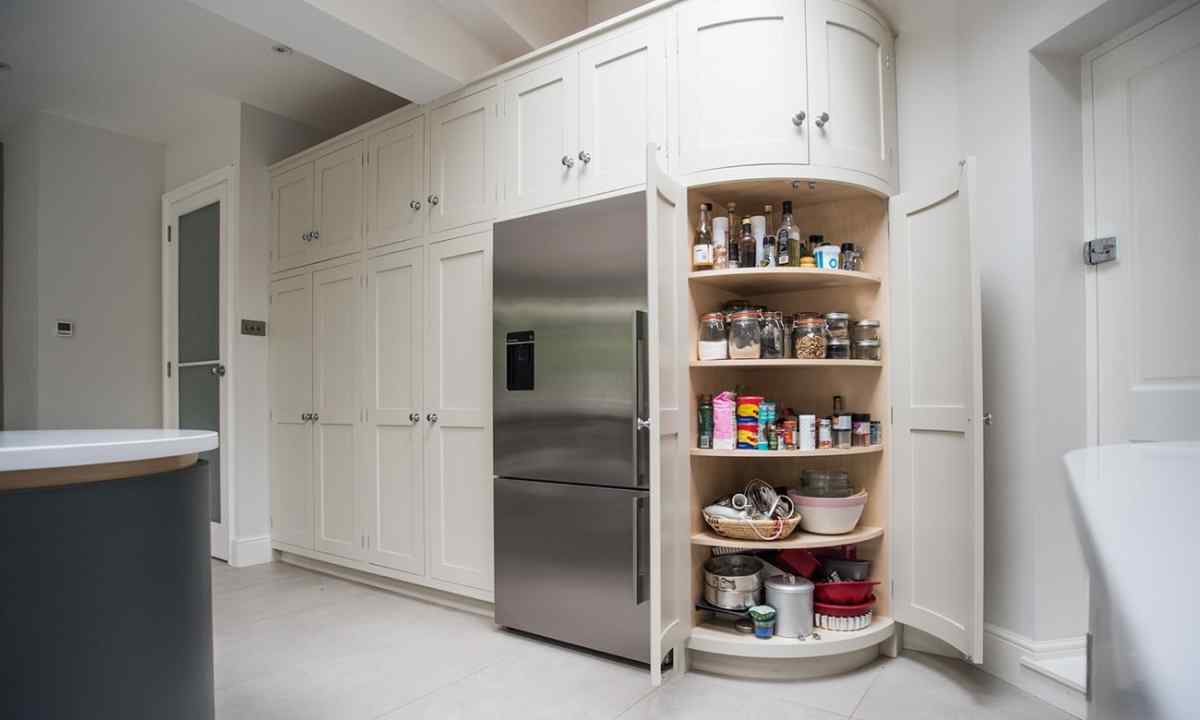
The fitted cupboards are very convenient, so, and are popular. They allow to use area maximum in the house system of storage. The majority of such cabinets are equipped with sliding doors that saves free space in the room even more.
It is required to you
- - tape measure;
- - marker;
- - fret saw with file tooth up;
- - perforator, drill;
- - tape grinder;
- - hammer.
Instruction
1. Begin assembly of cabinet with installation of podium. Usually it is used when floor in the room uneven. By means of plastic or metal corners and screws collect podium. In the place of contact with floor podium, beat plastic laying for protection of chipboard against moisture.
2. Finish podium or plinth in the place of their joining for receiving as much as possible dense connection (the clearance has to be minimum). That part of podium which will be cabinet bottom has to adjoin to walls densely. By means of pencil or marker, marks become and on them podium walls by means of saw cuts or the tape grinder are earned additionally. At installation of podium use level.
3. Measure distance from floor to ceiling for installation of rack. Make it in two places – at wall and, considering rack width, having receded from wall. Subtract thickness of plastic laying from this size. Then draw mark and the fret saw make cut. If necessary, earn additionally rack, and in the presence of ceiling plinth, make in it corresponding has drunk under rack.
4. Establish rack, having achieved dense adherence, if necessary earning additionally the grinder back face of rack. The rack has to stand exactly and densely. Fix it on the place by means of corners. Fix it to floor, wall and ceiling.
5. If the rack is not provided, then mark wall under regiments. It becomes on level, in compliance with the distance chosen between regiments. By means of the perforator and the screw driver, under noted line fix corners for fastening of shelves. On corners put the shelf, from above on it – level, then make vertical marking on wall. Apply plumb to wall and check whether tags from shelves on wall coincide with plumb cord. If difference considerable, then wall too curve and in this case each shelf needs to be earned additionally specially.
6. Strengthen two corners on the one side of shelves. Then establish the following supporting pole parallel to the first rack, or the side wall described above in the way. Put regiments into place by means of level. Each subsequent rack is established also.
7. If the cabinet contains boxes, then collect them. Fasten lobovik, and then, on racks establish guides and put boxes into place. If the design has included pipe for coat hanger, it is established before final fixing of racks.
8. Measure distance on floor between racks, or from wall to rack. Cut hacksaw the lower guide for doors, and then it is just put into place. Then the top guide is measured and cut off and fastens to ceiling screws.
9. Insert door into the top guide, then, having slightly raised it, put on lower. Establish, thus, all doors. Then, the lower guide together with door is exposed in the most comfortable position. Examine whether well there are doors, whether normally reflect mirrors, etc. After that fix by screws the lower guide to floor.