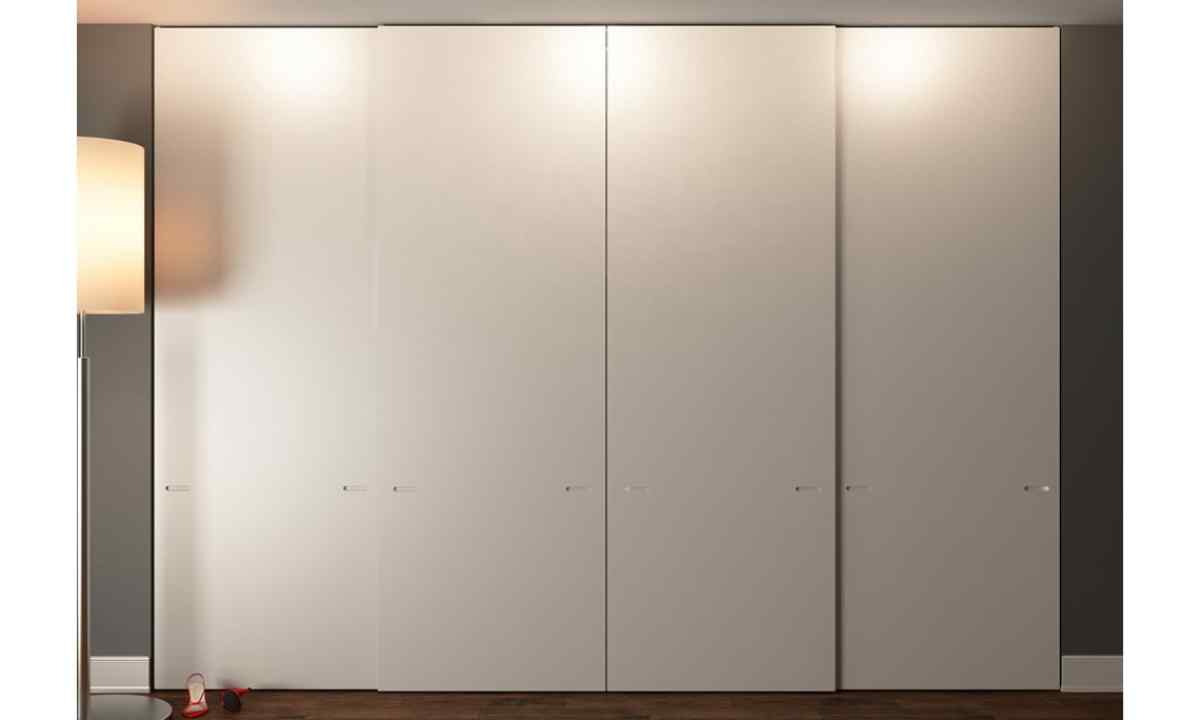
Sliding wardrobes have appeared in our market about ten years ago, and since then their popularity has considerably increased. Such cabinets become by the individual order and taking into account all features of the room. They allow to save considerably space and contain bigger quantity of things, than normal cabinets. Independent installation of doors in sliding wardrobe does not present special difficulty and will allow you to save some money.
It is required to you
- - guides;
- - rollers;
- - self-tapping screws;
- - levels;
- - bar;
- - tape measure;
- - hacksaw;
- - square;
- - file;
- - drill;
- - screw-driver.
Instruction
1. Measure by means of tape measure aperture width in the topmost point of sliding wardrobe. Measurements need to be performed with an accuracy of millimeter. Subtract 2 mm from the received result - it is the size of the top guide.
2. Cut off the top guide of the necessary size. It is necessary to consider that the section has to become strictly at right angle. Exactly to cut off guide it is recommended to take the square and with its help to plan cut edge. It is necessary to cut profile from rear side not to scratch face side of profile. Carefully process file the place of cut.
3. Plan and drill in opening guide under self-tapping screws. Openings have to be located at distance in 30-50 cm from each other.
4. Attach guide to upper part of cabinet, leaving gap in 1 mm from each party. Make sure that the profile is located parallel to cabinet ceiling.
5. Measure the size of the basis of cabinet and cut off the lower guide the same way. Establish the lower profile in cabinet, but do not fix yet.
6. Insert doors into cabinet. For this purpose insert the top wheels of door into back top guide. Press finger the lower wheels, get door in cabinet and insert the lower wheels into guide.
7. Expose door strictly parallel to cabinet wall by means of level. For this purpose it is necessary to shift the lower guide a little deep into or on the contrary, outside of cabinet. Adjust door by means of adjustment screws so that to provide its dense adherence to the side plane of cabinet.
8. Carry out the similar procedure with the second door.
9. Fix the lower guide by means of self-tapping screws. Your cabinet is ready.
