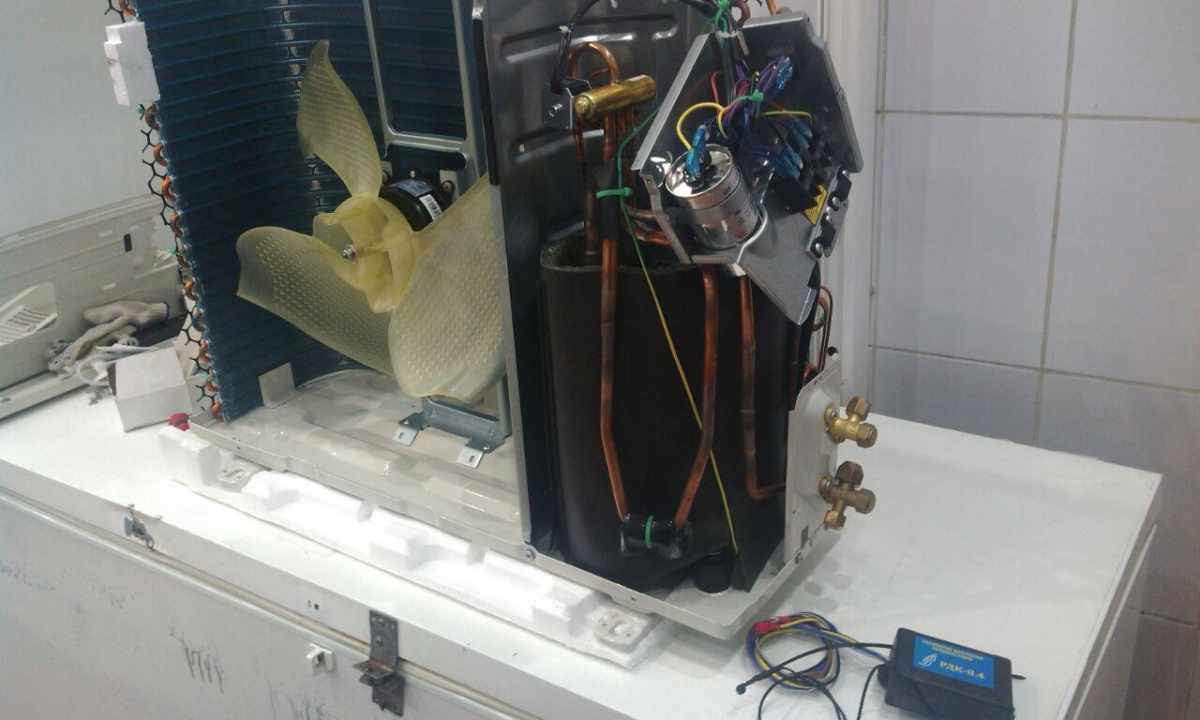
The compressor in the conditioner is intended for compression of freon and maintenance of its movement on tubes. With pressure of 3-5 atmospheres the compressor does 15-20 atmospheres of freon at the exit then the cooling reagent comes to the condenser. The compressor is one of the main parts of the conditioner and often demands repair and analysis.
Instruction
1. For safety of works get rid of coolant. Besides, it will allow to save your means - the evacuated coolant can be filled in repeatedly in the conditioner and to use in work. Connect gas and liquid highways of the compressor and condenser block. To service port connect otvakuumirovanny cylinder and merge coolant. To accelerate this process, take fan heater and blow in KKB radiator.
2. After coolant is merged, start removal of the compressor. Disconnect KKB body cover, make shutdown of highways of suction and forcing and also wires which go on the fan and the compressor. Remove fastening of valves and radiator of the heat exchanger then it is possible to remove also the heat exchanger. Such order of dismantling will allow you to get access to fastenings and it is easy to make removal, without deforming binding pipelines.
3. Merge oil from the compressor. If it is the piston compressor, then make removal of liquid through suction branch pipe. In the scroll or rotor compressor in day of the body drill opening with a diameter of 5 mm through which it is possible to merge oil. You watch that the swarf did not get inside, for this purpose the opening needs to be drilled not completely, and to punch the remained crossing point.
4. Now nothing has to bring you unpleasant surprises, can quietly be engaged in the compressor. Wash it with tetrachloride carbon or freona of R-11, R-113. At first achieve that washing fluid which merges from the compressor was transparent. After that fill the device half with washing fluid and half oil. Put the compressor into operation for several minutes, then merge this mix. If necessary repeat the procedure, for final disposal of "bad" oil.

