The plasticity of natural clay and its ability to harden after moisture evaporation long since is used by people for production and domestic needs. Today in house conditions do of this material by the most part of toy, various elements of interior. More and more seldom it becomes raw materials for original masters of potter's affairs. After creation of clay preparation it needs to be dried up completely before roasting. It is necessary to do it correctly not to spoil unique product.
It is required to you
- - plastic bag, box or capacity;
- - newspaper or rags;
- - the fixing forms and props (if necessary);
- - abrasive paper;
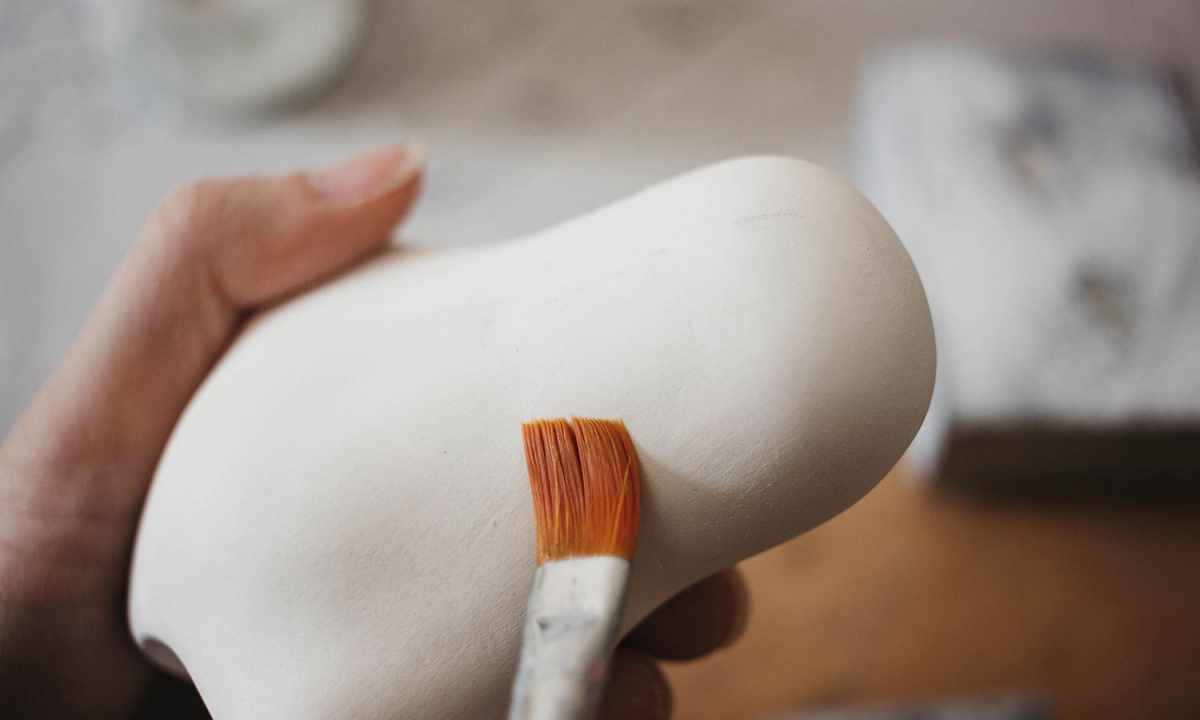
- - brush;
- - smooth subject;
- - oven, radiator of heating or microwave;
- - furnace or fire for roasting.
Instruction
1. Do not try to dry up as soon as possible clay, otherwise, the water which has remained in time, evaporating, will simply break off your hand-made article in the course of roasting. Clay preparation can dry from two-three days to two weeks and even longer – it depends on product thickness. Moisture has to evaporate from natural clay gradually, day after day.
2. Provide the correct temperature condition for clay drying. Room temperature of the darkened place far from drafts will be optimum. If indoors there is sharp temperature variation, the clay surface can go cracks and is irreversible to be deformed.
3. Put preparation in plastic bag, metal capacity or cardboard box and put on ideally plain surface. Down it is possible to lay newspaper leaf (that it absorbed moisture), cover top with clean rags. Do not forget to air clay in polyethylene regularly that in bag condensate did not collect.
4. For small parts it is possible to make special form, especially if they are required to be recorded in certain situation. For example, execute the corresponding deepenings in piece of polyfoam, use cardboard props.
5. Keep the drying clay under rag within two days then surely remove covering and finally dry open product in shadow.
6. Attentively examine clay preparation. If the product became much easier and is lighter, than it was in the raw, then from it enough moisture has evaporated.
7. After preliminary drying it is recommended to dry clay in addition on hot central heater, or in the microwave or wind oven. At the same time the door of the oven needs to be slightly opened for air access.
8. Carefully clean the dried surface of clay bagatelle by means of the most fine-grained abrasive paper, do not remove all small cambers and roughnesses from surface yet. Clay motes brush away the processings which have appeared later clean dry-brush.
9. That clay has begun to shine, properly rub (vyloshchita) with its smooth subject (for example, metal spoon). It will make top layer of clay surface more dense, and beautiful gloss will appear. After roasting your vyloshchenny hand-made article will begin to shine even stronger.