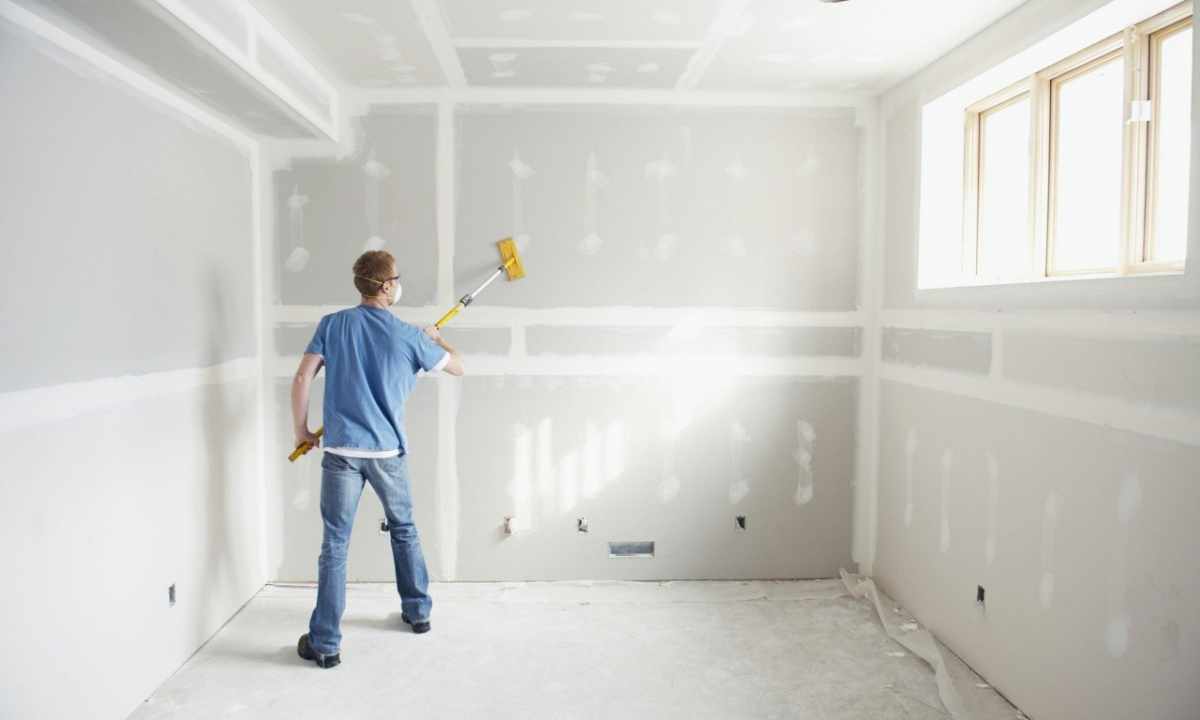
It is simpler to level walls by means of gypsum cardboard, than construction mixes. Of course, skills and some abilities will be necessary for fastening of such material, besides, room space will be reduced, but the result exceeds all other ways of alignment of walls. On gypsum cardboard then it is much simpler to glue wall-paper, to apply decorative plaster.
It is required to you
- - set of tools – screw-drivers, keys;
- - screw driver;
- - centimeter.
Instruction
1. Measure walls. Normal parameters of the room are considered when longwise walls from above and from below are equal. Quite often indications of measurements after all disperse. Then have it the fact in mind at marking and choose length in advance. Let's give example: at measurement it has become clear that one wall of 2.5 m, and from the opposite side of 2.55 m. That is there are excess 5 cm. Then begin marking under framework of 5 cm from long wall, plus add a distance more under guide to it. As a result angles of the room will turn out right.
2. Recede on 3 or 4 cm from wall. At this distance on ceiling twist the self-tapping screw on which attach plumb on thread (for example, normal nut). Thereby you receive the flat line. Twist one more self-tapping screw in the place of contact of plumb and floor. Tie thread in tightness to two self-tapping screws. And so in all corners of your room.
3. Stretch between self-tapping screws on floor and ceiling of thread. Receive contour of your framework necessary for gypsum cardboard fastening. Make tags under these tense threads then remove them.
4. On tags on ceiling and floor attach by means of self-tapping screws guides (on all perimeter).
5. Prepare guides racks – saw off them according to the room sizes. Calculate arrangement of those with step no more than 50 cm. Insert these racks into guides which are established on floor and ceiling. The framework from gypsum cardboard under walls has turned out.
6. Strengthen framework, and make it as much as possible strongly. Attach racks from below and from above self-tapping screws on metal to guides. Attach each rack to wall. Tightly. Use for this purpose wooden levels which palm off between racks and wall in gap. Attach them to wall long self-tapping screws.
7. Self-tapping screws on metal attach gypsum cardboard to each rack. Observe step – from 30 to 40 cm. Slightly drown heads of self-tapping screws in drywall. Gispokarton has property to be cut easily. In case at you the whole leaf does not get, it is necessary to make opening or to bypass obstacle, then by means of ordinary stationery knife draw cut edge on ruler and just break leaf.