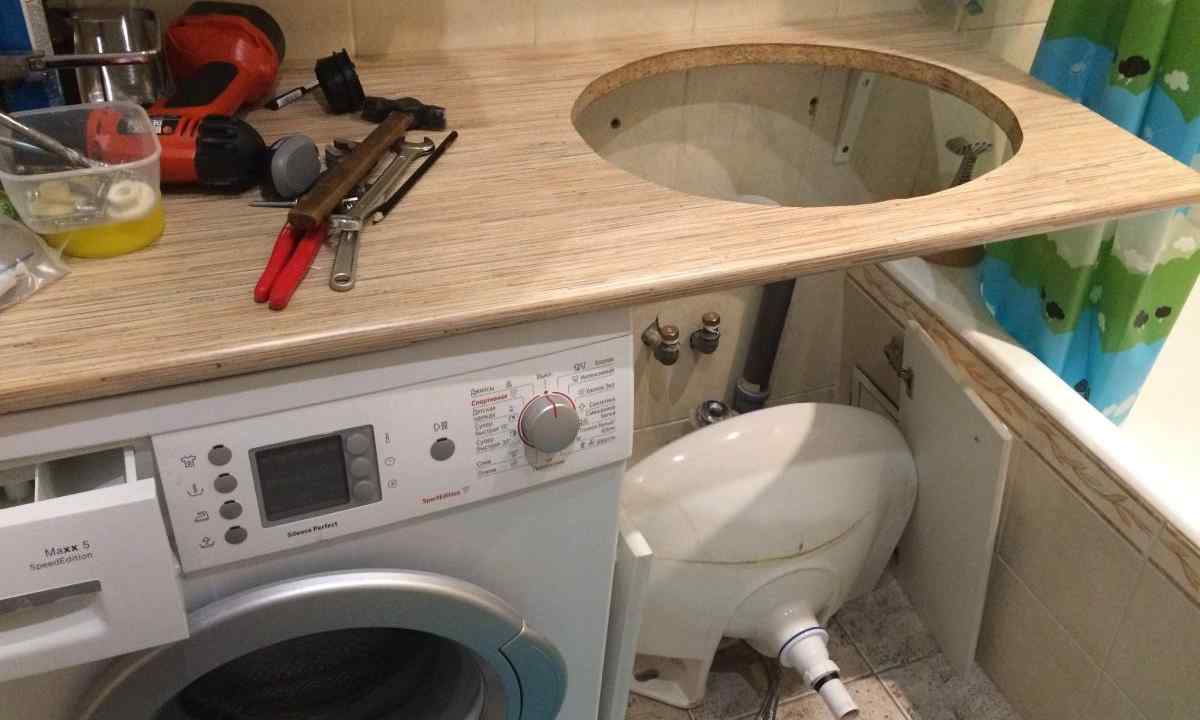
Modern functional washing in kitchen - guarantee of convenience and purity. It is possible to establish it independently, being guided by the general design of the room and the hostess's priorities. Certain skills, special purpose tools and desire – all this that is necessary for the forthcoming work.
It is required to you
- - drill,
- - electric fret saw,
- - detachable machine,
- - diamond disk,
- - flat-nose pliers,
- - clamps,
- - screw-driver,
- - screw driver,
- - fixing parts,
- - tape measure, ruler, pencil,
- - sealants, palette or brush, clean rags.
Instruction
1. Mark on table-top, having put template, future opening under washing. By means of drill and the fret saw accurately cut opening. Cut out it, having placed table-top on floor as it is more convenient.
2. Clean the received cut with rags from sawdust and dust. Process cut sealant to protect it from influences of water and time. As it use epoxy resin or silicone. If the table-top is executed from tree or plastic, then buy spirit sealant. You apply it with brush or the palette, try to do it most exactly. After finish, at once remove all surplus of sealant.
3. Make openings for fixing parts on table-top. For this purpose apply washing to its lower part and note places of future fixture. Using the detachable machine and diamond disk, at an angle to surface make vypila. They will be required in order that in the subsequent it was possible to insert into them sink fastening elements when the table-top already is established into place.
4. Install fixture on sink, previously having made sure that it is located rather close. Insert bolts into cuts, but do not fix them until the table-top is established.
5. Make sure that sealant has dried, and attach table-top to basis, that is to cabinet. Before establishing washing, from reverse side paste special laying on its contour or grease its edges with silicone.
6. In table-top opening accurately arrange washing. By means of in advance prepared clamps press it to surface. Remove residues of silicone.
7. Fix fasteners in earlier prepared cuts. Then fix sink on table-top, but do not tighten bolts too strongly not to damage table-top.
8. For some time leave design that the pressurizing materials could stabilize.