The bar counter is fashionable and functional element of design. It is capable to expand visually kitchen and to decorate interior. It is possible to make bar counter independently, it is not obligatory to buy ready at all.
It is required to you
- Bars from tree of 50х100 mm, boards of 25х300 mm, fibreboard or gypsum cardboard, ceiling molding, plinth, screws of 90 mm, nails of 75 mm, nails of 50 mm, putty for tree, sealant under painting, thin levels, nazhdachka, paint, circular saw, the cutting machine, miter saw, the hammer, drill.
Instruction
1. Make two beams of bar longwise of bar counter. Between beams make racks 950 mm high. Connect beams and racks nails. Put design to wall and note on the lower beam 1600 mm from wall, and on the wall give mark in height of 900 mm. The distance between two marks has to be 2500 mm.
2. If all exactly, attach framework to wall screws, and from above put bar, having checked whether exactly it lies, by means of level. If everything is all right, nail up bar to framework if is not present – enclose wooden levels under roughnesses and beat after that.
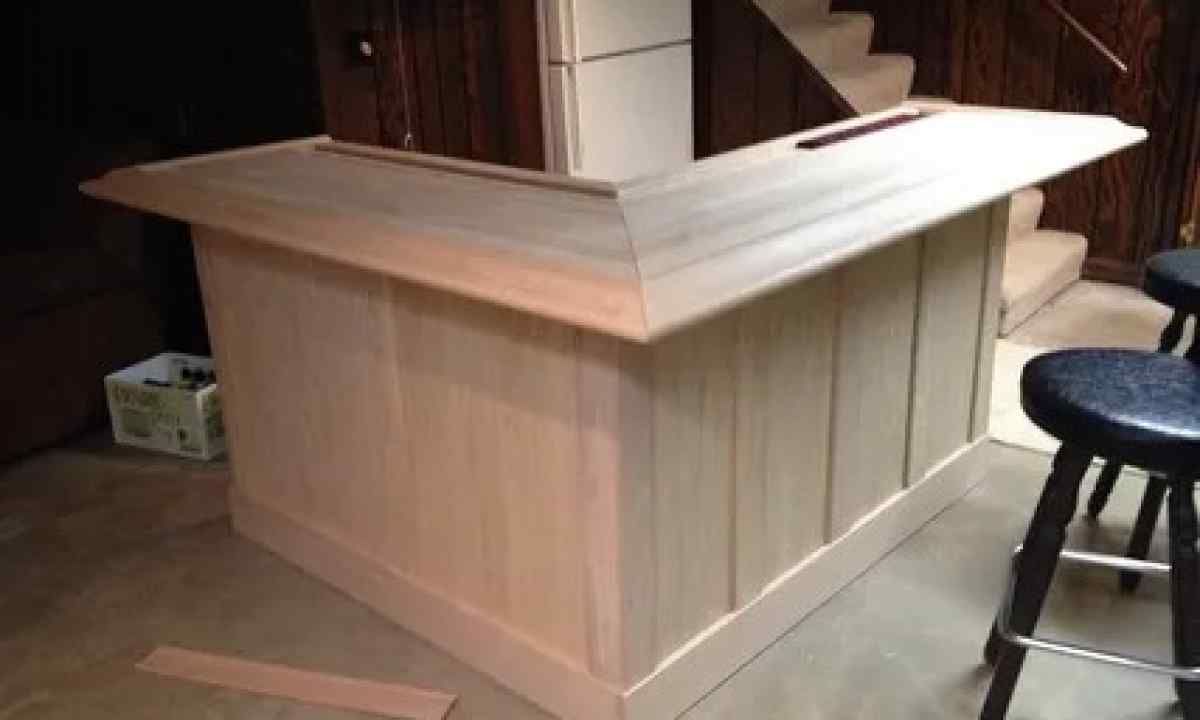
3. Cut out from fibreboard or gypsum cardboard facades for rack. Sheathe framework by means of nails from all directions. From above put board table-top, fix by nails. Between table-top and facades fix ceiling molding from above and plinth from below. Before it it is necessary to cut off corners by 45 degrees.
4. Close up all slots sealant, process joints nazhdachka, close small slots putty. When everything dries, paint rack the paint which is picked up under interior. Facades can be painted under color of walls, table-top – other color.