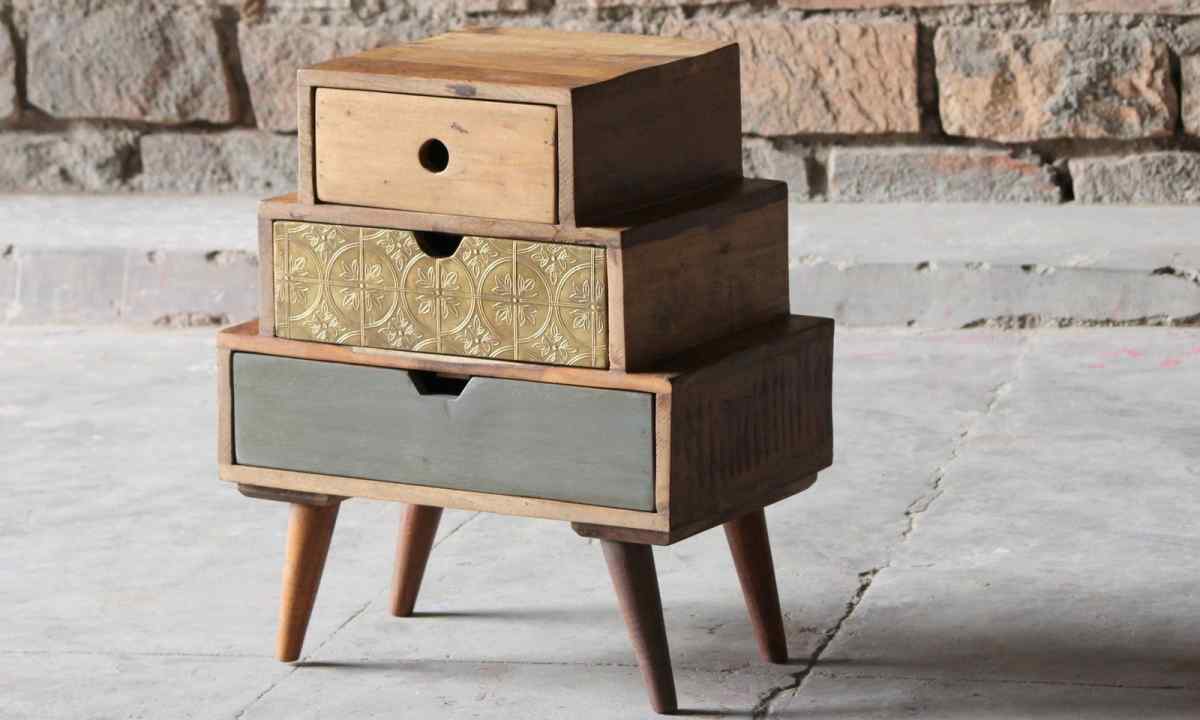
In small apartments there is constantly not enough place therefore any additional storage gains great value. For storage of things, books and toys it is possible to make chest of tree which can be painted, draped or added further with various laid on parts made of metal.
It is required to you
- - MDF plate;
- - Chipboard or plywood;
- - electrofret saw;
- - pencil;
- - drill;
- - cordless screwdriver;
- - self-tapping screws on tree;
- - furniture loops;
- - grinder or abrasive paper;
- - rubber or felt sealant;
- - glue for rubber.
Instruction
1. Draw the scheme of future wooden chest then transfer the sizes of future walls to the sheet chipboard. In total two longitudinal and two cross walls which will need to be cut by means of the electrofret saw have to turn out.
2. From edge of cross sidewall recede on 10 cm and drill opening in this place. In total four openings have to turn out. The distance between them has to be identical. In the same way drill four openings on each of the parties cross sidewalls. After that put four sidewalls on the flat place and by means of the screw driver and self-tapping screws connect them
3. Now it is necessary to make marking on chipboard and to cut the chest bottom. External edges of bottom have to coincide with the received sizes of sidewalls. Openings on the bottom are drilled in the same way, as well as in sidewalls. Attach the bottom to sidewalls.
4. On chipboard note the sizes of sidewalls. Their height has to turn out three times less, than at those which have been already fastened. For example, the cover has to make only one third of height of the chest, length at the same time has to remain the same. Cut sidewalls.
5. The size of top of cover is similar to the bottom. In it it will also be necessary to drill four openings and to connect to sidewalls.
6. For receiving smooth and plain surface of edge of chest grind the special grinder. At its absence you can use abrasive paper. Now connect the lower and upper part of chest in whole, and on inside face back sidewalls note seats where loops will fasten. Make opening and attach them.
7. On the place of fastenings of loops on front part there is gap which can be eliminated about the help of the sealant pasted on front edge of product. It will allow not just to get rid of ugly gap, but also to reduce noise when opening and closing cover of chest.
8. Process all parties of chest primer in two layers. The applying the finishing coat is possible only after full drying previous. In the grounded places walk the grinder then cover them with wood varnish and let's finished product dry.
