Do you want to give good gift to the just been born kid? It is for this purpose absolutely optional to run in the next shop where sell products for children and for hours to wander in search of unclear what. But whether the cradle is better to make with own hands for it?
It is required to you
- pine board 28 mm thick, boards 18 mm thick
Instruction
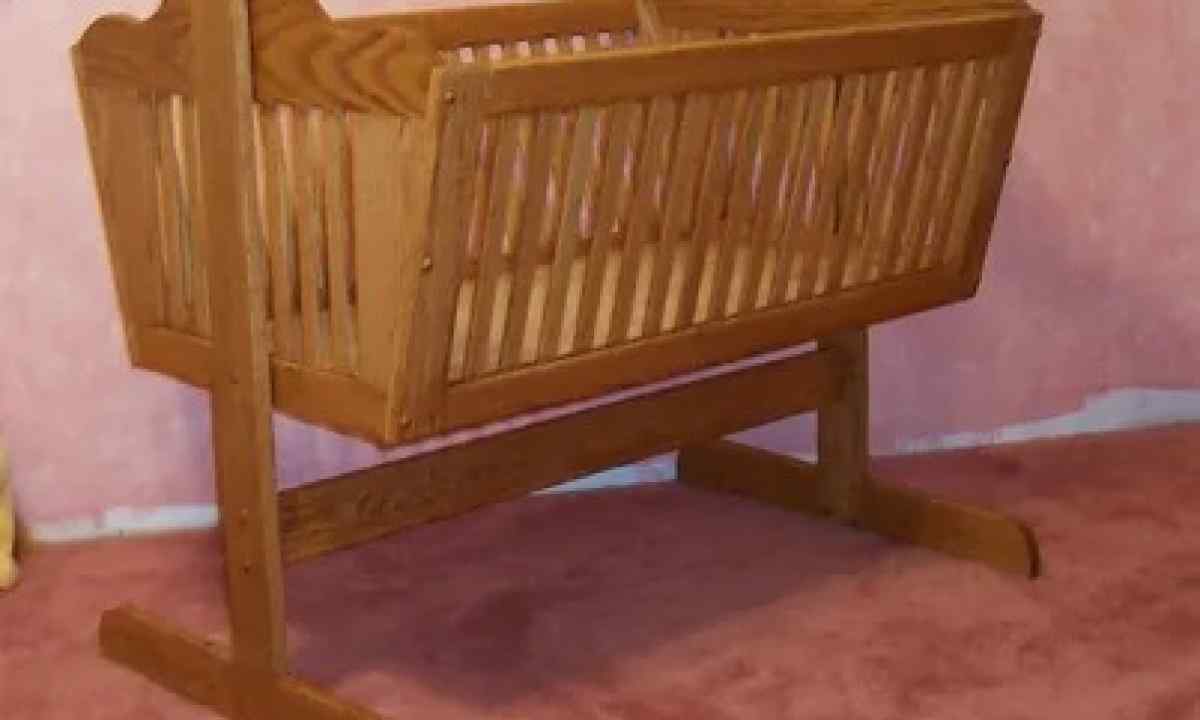
1. Today the cradle for babies – rarity, and it means, you have chance the hands to create family relic which will pass from generation to generation. Unlike the classical completely shaking cradle, this consists of the motionless basis and the shaking cradle. In addition it is equipped with fixers on the axes having the form of balls to avoid excessive rocking.
2. First of all you select material. The best option – pine board 28 mm thick. On production of side bar and bottom prepare boards 18 mm thick. For cutting figured parts find the milling machine. – edge circle strongly fix the first ready part. Fasten cradle skeleton from racks and side bars with screws.
3. Paste rail of sidewalls on cuts of fabric and insert this design into openings of faces of cradle. Fix bottom boards on round loose tongues and glue between backs.
4. After that by means of templates you mark contours of parts. You draw arches by means of self-made compasses. For cutting arc lines use the milling machine with compasses again. Further you plan groove for semicircular rails of sidewalls. The same point, as for the lower contours will be the center in this case. Then you cut out semicircular contours on racks and you do by the fret saw pro-saws.
5. The following step – install the copy sleeve on the milling machine and carry out final treatment of direct edges. After that you get drill and you make 8 mm openings. You drill two openings on framework racks.
6. You do the rounded sidewalls of semicircular levels on which 2 cuts of fabric are pasted. Further in longitudinal protections you drill deaf 14 mm of opening through equal intervals - they are intended for grid rods. All parts should be ground, edges to round and cover with acrylic lacquer.
7. Deepen screws in racks on 10 mm, and hide openings under short round loose tongues with balls on the ends. Stick together all design, pull together with tape couplers or clamps.