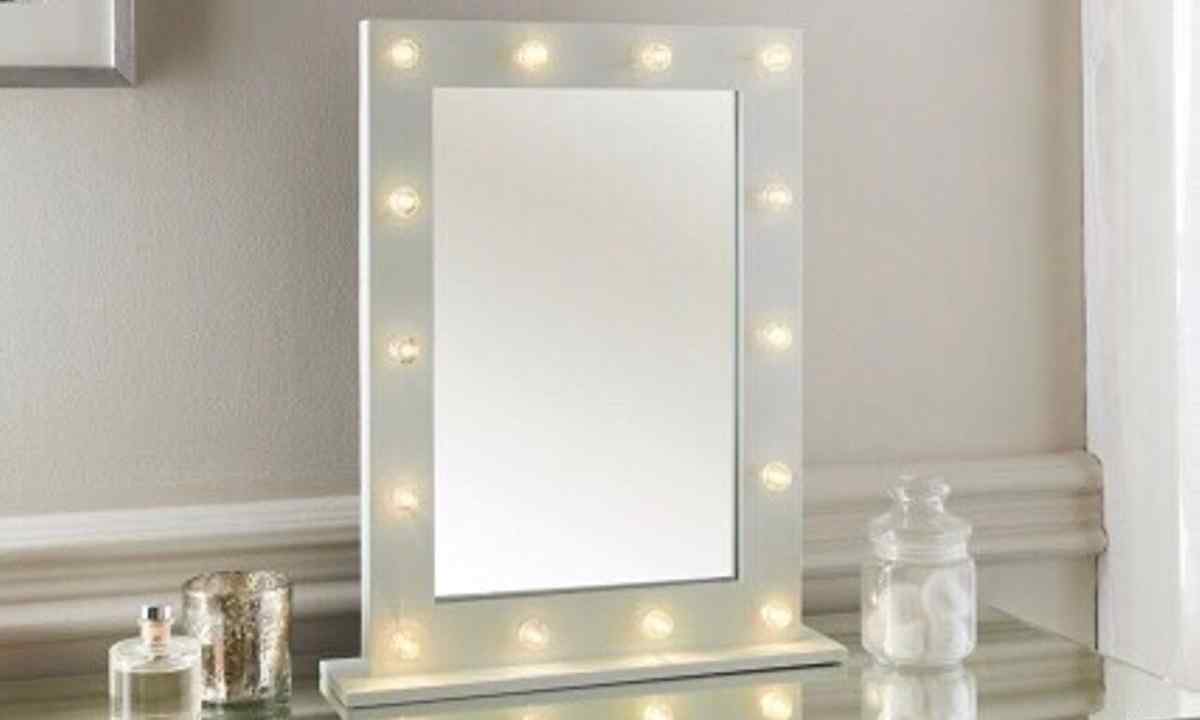
The dressing mirror is called so thanks to the fact that make-up artists, stylists and makeup artists for drawing make-up and creation of esthetic images of the models use this subject. Its big advantage – bright illumination and uniform illumination of the person at approach to mirror. With such mirror the make-up will be done ideally!
Dressing mirror with illumination it is possible to make with own hands. For this purpose it is necessary to prepare square or rectangular smooth surface which will be framed by set of bulbs in the Hollywood style.
The choice of illumination for dressing mirror
- LED illumination well lights face on closer examination it in mirror. Most often such illumination is established on the mirrors for the bathroom executed in the form of small lockers.
- For creation of product it is possible to choose dot spot lamps with the head turning in different directions. It is modern and it is convenient as. spots light not only the person, but also the room.
- Sometimes lighting equipment establishes behind mirror. This reception is used more for decoration of interior, but not for comfort of the user as on the person light will not get. However the look at such illuminated mirror is very unusual and original.
- Classical option – the non-transparent light bulbs which are built in in wooden frame of mirror. Color, quantity, brightness of lamps is chosen depending on preferences and the size of mirror.
Materials and tools:
- mirror of the necessary size (50х50 cm, 40х70 cm, etc.)
- wide wooden bars – 4 pieces (long each party of mirror)
- furniture corners
- screws
- nippers
- electric drill
- electrofret saw
- screw-driver
- abrasive paper
- bolts for fastening of cartridges to tree
- copper wire, electrical plug
- bilateral industrial tape
- paint for tree and brush
- opal electric lamps – 10-20 pieces.
- cartridges for lamps – 10-20 pieces.
- electrical plug
- safety locks for lamps
Step-by-step instruction for production of mirror
- To create frame for mirror from wooden bars it is strict by the size of the parties. To saw the ends of bars so that they had bevels under 45 degrees. For this purpose it is enough to make marking of bar by means of angular ruler and pencil and to saw off corners. All surfaces of bars should be processed abrasive paper that there were no hangnails and roughnesses.
- By means of mini-screws to fix furniture corners from the inside of frame, they also will hold mirror framework.
- To measure length and width of frame and to distribute on it at identical distance cartridges for bulbs, having marked with pencil on tree the chosen places.
- Power drill to drill openings under cartridges for lamps.
- To paint bars with paint or to varnish wooden frame for tree, having kept its invoice and natural color. Beautifully dressing mirror looks with the frame painted in white or pastel colors.
- Industrial bilateral adhesive tape to attach mirror to frame. It is reliable to record.
- To separate copper wire into pieces on 15-20 cm and to insert their ends into openings for lamps in frame. As a result from each opening have to act on face side until 2 ends of different pieces.
- To choose cartridges under socle of E27 or E14. To twist bare wires on side of the screw of plastic cartridge for lamp. To screw each cartridge by means of the screw on tree. For connection of cartridges the parallel scheme of mounting of electrical wiring is used.
- To connect one tip of long strip of wire to the first in the line of electrical wiring holder of bulb. To connect the second end to fork. To mount cartridge in opening and to connect wiring. To connect wires to power cord, but before to remove one end outside through the opening drilled in advance in frame.
- To make sure that no wires adjoin to others. If one of lamps does not work, it is necessary to recheck wiring and contacts.
- Mirrors can have different way of fastening and installation. That the mirror strongly kept, it should be built in in wall near dressing table. For fastening of mirror to wall use liquid nails. If the mirror large, is enough to establish of it on floor stationary delivery.
Safety precautions
- It is recommended to use LED daylight lamps, opaque. They will not stick together, do not heat up, save energy and give uniform natural lighting.
- For mirror it is possible to use not one, and several safety locks thanks to which you prolong work of bulbs.
- It is better not to give to small children the chance to contact and play with such mirror. In fact, it is the electric device, also glass.
- Add to electrical wiring the device for regulation of brightness of lamps. At the minimum lighting the evening make-up looks more naturally, than at bright day illumination.
Illumination LED tape
Very simple alternative option of production.
- There are self-adhesive LED tapes which are very simple for fixing at the edges of any house mirror, having turned it into dressing.
- To insert tapes without the glued layer into the aluminum shape which then to put on edges of mirror.
- The LED tape is connected to the power supply network by means of special power supply unit with fork on the end of wire.
Thanks to dressing mirror with illumination the room seems wider and spacious. Most often such mirror is established in corridor or in the bathroom. For convenience on two parties from glass surface of subject it is possible to establish shelves for cosmetics.
Having made with dressing mirror with illumination own hands, you receive useful, unique, beautiful thing.