Once the Americans differing in the practicality have guessed to attach to the normal screen closing clothes, wheels. There was so idea of sliding doors, and already since the end of the last century the sliding wardrobes have seriously pressed the number of the ordinary fellows. Their range in furniture salons is big, but cost does not differ in democratic character. The one who has skill of work with quite simple tool can quite collect this design independently.
Creation of the project and calculation of necessary materials
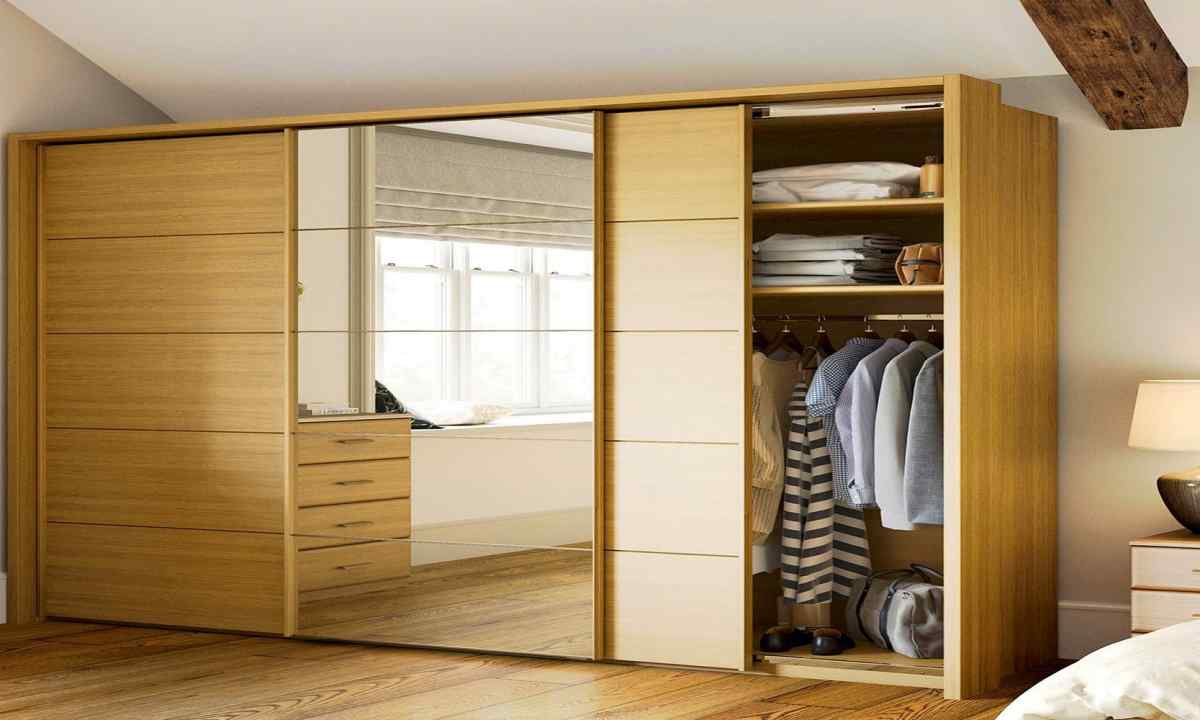
At the first stage make measurements of future installation site and on their basis draw the preliminary sketch and draw the scheme of assembly of sliding wardrobe. The choice of the final size of dimensions has to be correlated to arrangement of sockets and switches and also to proximity of windows and doors for which furniture can serve as hindrance when opening.
On the basis of the executed scheme make the list of necessary materials, with the indication of their sizes and quantities. This list can conditionally be separated into three parts: production of the box, sliding system of doors and necessary accessories. For box usually use MDF plate, and for back wall if it is planned in design, thick plywood will approach. All these components can be got in shop or on the basis of construction materials which render services in wood sawing up.
Assembly of sliding wardrobe
Before assembly of future sliding wardrobe it is necessary to agree with someone from acquaintances about the help as it will be alone difficult to carry out assembly process. Mounting is begun with the lower part of cabinet, watching that horizontal level has been most sustained it. Then establish the central partition and side parts. As fastenings use the pulling together furniture bolts. Openings for them drill from the inside of panels in advance, previously having put marking with thin marker. For giving to framework of rigidity establish the top shelf, and the cabinet roof fastens only after that. During creation of the project you should not plan product height to the ceiling – the slightest mistake in calculations can interfere with installation. But also the wide interval will ugly look in interior, its optimum size is in the region of 10 cm. After the framework of design is built, begin installation of sliding system of doors. For this purpose use self-tapping screws or screws with countersunk heads. Begin with fixing of the top guide, and having only made sure of the absolute vertical level of the established door, finally fix lower. It is possible to adjust the door course by means of the lower wheels, tightening up them hexagon. At final stage the buffer tape is pasted. It will neutralize collisions of door with sidewalls. On it works on assembly come to an end, and after removal of the formed wood dust the sliding wardrobe is prepared for use.