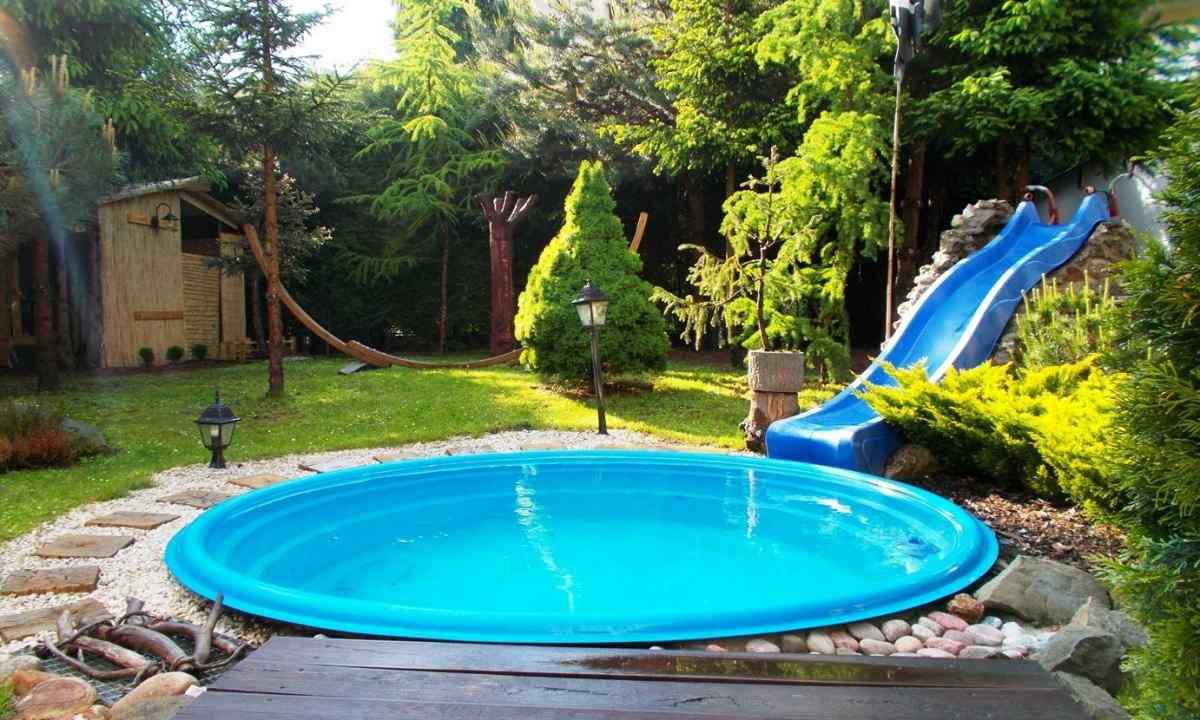
With arrival of summer heat there is nothing more pleasant, than to spend time at reservoir. But happens so that it is quite far from your seasonal dacha. Exit is quite simple - to make the pool on the site here.
It is required to you
- - construction level;
- - tape measure;
- - ropes;
- - stones of the different size;
- - wire for reinforcing;
- - special stakes of the small size;
- - grid on the basis of steel wire;
- - the valve locking water;
- - boards;
- - self-tapping screws and nails with protection against rust;
- - sand and cement;
- - materials for waterproofing;
- - shovel;
- - tool for soil tamping.
Instruction
1. First of all, it is important to find the most suitable place for the pool on the site. This place without fail has to be not only open, but also it is desirable without trees nearby. Trees are not only shadow, but also garbage from their activity. Also it is not necessary to do the pool on low sites since all rain water will be in your reservoir.
2. It is necessary to determine the exact area and form of future pool. Dimensions of future pool depend directly on for what people it is under construction. The family of 5-6 people needs considerably the bigger pool than, for example, to family from 2. As practice shows, the optimum depth of the pool are 180 cm with length and width 400 cm.
3. By means of construction tape measure the marking of future construction site where dimensions of all sides of the pool have to be 50 cm more is made. Borders are designated by means of small stakes on which the rope is stretched.
4. Now for construction of the concrete basin it is necessary to dig ditch of the necessary depth. It is important to watch that walls of future pool were equal, and bottom to do 30 cm lower, than your desirable depth. Consider also that the bottom has to have small bias.
5. Construction of any kind of the pool implies obligatory laying of sandy layer with thickness in 20-30 cm. At the same time each of layers has to be carefully stamped, on them waterproofing material keeps within. Not bad bituminous roofing material which differs not only in practicality and reliability, but also small cost is suitable for waterproofing. On waterproofing stones, and on them - metal rods or metal armoring lattice keep within.
6. Not only the ditch, but also creation of special drainage hole, depth of the last is important has to exceed the conceived pool depth. In drainage hole the outflow pipe which end has to be located in the pool is established, the valve which you can block water is also mounted. Such hole wakes up from above gravel layer about 30 cm then systems for water treatment are mounted overflow and skimmer.
7. Now on all perimeter of future pool armature rods with distance between them in 30 cm are established. At the same time, receding from edge at the level of 5 cm, all armature surely has to be fastened among themselves by wire. Boards will be required to put from them shuttering panels. Boards are established in ditch with distance of 15 cm from land wall.
8. Concreting of the pool is carried out by means of cement. Cement mix at the same time pours out as it is possible more slowly. After full drying-out of concrete it is possible to turn to installation works. And if you want to make the pool strongly similar to natural reservoir, you can fill clean bank sand 15 cm thick on its bottom.

