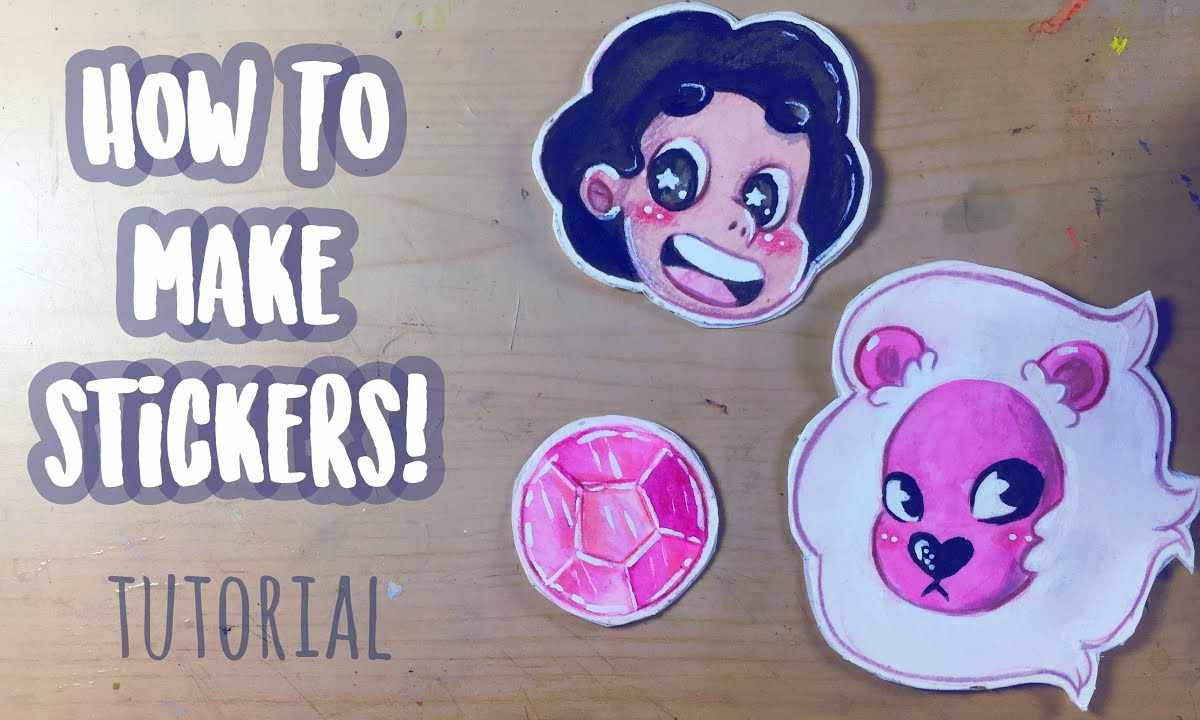
Vinyl stickers or stickers at the moment enjoy wide popularity. They are available, universal, various. This very interesting ornament to which the famous designers often resort. Currently the vinyl sticker can be noticed also in simple student's room, and in fashionable expensive apartments.
To buy such sticker of big will be not difficult, for not the most little money many companies will offer you the huge choice. But there are such moments when also money does not want to be spent, and minute of creativity comes. It is possible to try to make sticker with own hands.
Stage first. We prepare the model. For any sticker the good photo is necessary. It is desirable to pick up the photo which is the most suitable for your interior. Someone can be let to look for necessary on the Internet, the benefit this good is enough there, and someone can try to create some interesting and unusual image.
So, you have picked up the drawing. It is pleasant also to you, and all your family. Everything goes just perfectly, but now there comes the time of crucial moment, future sticker needs to be done in vector form. If your image rather simple and you though have knowledge in the field of vector graphics a little, all of you can independently make by means of the Corel program if there is no such knowledge and the image not the simplest, best of all address to the polygraphic company. There to you will prepare the model pretty fast and not so expensively.
Stage second. We transfer the image to film. To transfer the image to special vinyl film, it is necessary to address to printing house. Oracal or Avery are the best of all to choose film. The color gamma can be chosen such as you want. Already next day it is possible to come to workshop behind ready wall sticker.
If you have time and patience, then it is possible to try to cut sticker independently directly at home. At first you need to get film of one of those types that are stated above. It is possible to make it in any office shop. Further it is necessary to apply the selected image to reverse side of film. It not and is difficult, behind the film is divided into squares so that you can transfer the photo in parts. As soon as have pasted, it is necessary to cut pattern. For this purpose it is possible to use ordinary scissors. If photo rather difficult, on it it is necessary to spend a lot of time, you will not need to pay any printing house for that.
Stage third. We paste sticker Now it is necessary to start gluing of sticker. If the photo at you rather big, then is the best of all to call someone to the aid. If you had unnecessary film, be trained on it for a start. Then it is necessary to choose where you will glue this sticker. To facilitate a little to itself work, use assembly film which can be bought in shop too. By means of this film it is possible to record the image that its separate parts did not creep away when gluing.
That place where you will paste vinyl sticker, needs to be wiped previously. To plan places of gluing of the image. At first fix the drawing, using painting adhesive tape. Put sticker on plain surface the drawing up. Fix it by assembly film. Then we overturn sticker and we iron some rag or the book for reliable gluing. After that we fix the drawing on wall, using assembly adhesive tape, and we begin to separate drawing substrate slowly. As soon as you completely separate substrate, iron the drawing one more time for the best gluing. In conclusion, remove assembly film. It is necessary to pull together it vertically down, in any way differently. If any parts of the image come unstuck, accurately paste them back. In it there is nothing difficult, everything needs to be done attentively and with accuracy.

