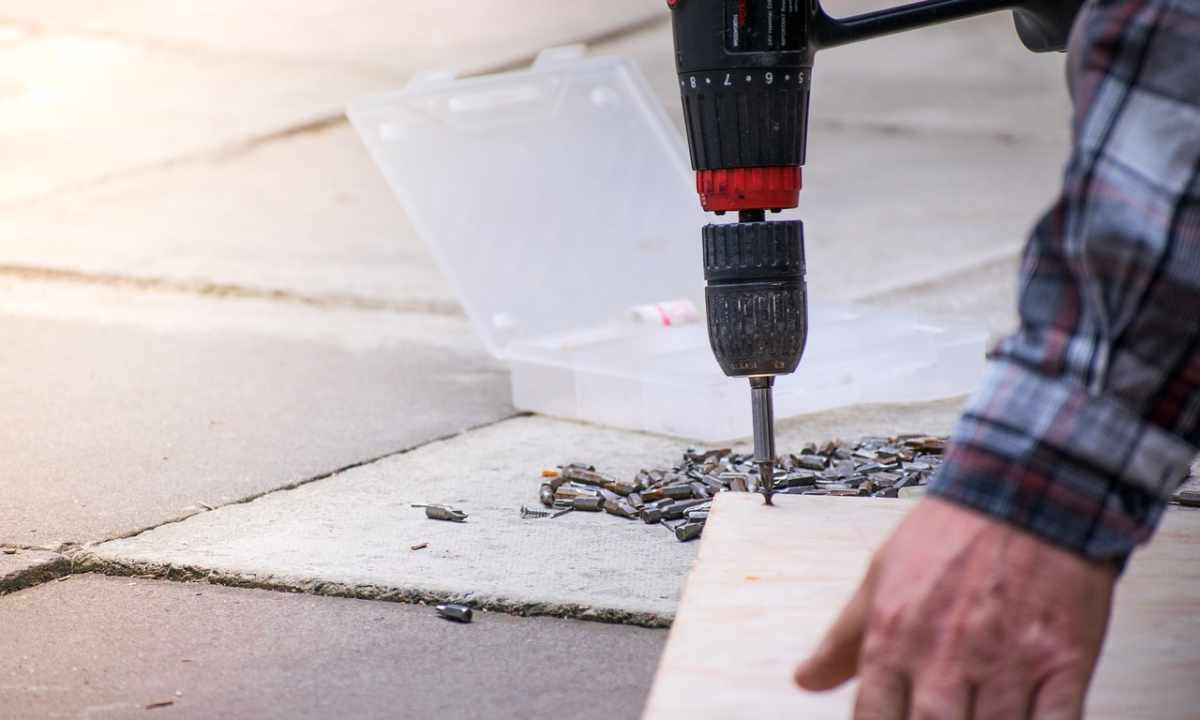
Practically in each modern house there is electric drill. It can replace with itself number of tools, such as screw-driver, the screw driver, the perforator therefore it is rather often used in life during repairs and construction. But as any mechanism, drill can break that usually is wrapped in a number of problems at the house master. Some breakages can quite be eliminated independently.
- screw-driver cross, flat blade screwdriver, knife
1. Take out drill or other nozzle from the boss of drill. Try to define the cause of breakage. At sudden stop of the served drill, without switching off it from the socket and pulling the trigger, bend wire in that place where it enters the drill handle. So you will check whether it has frayed. If at these manipulations the drill suddenly begins to work, then matter in the damaged wire. If the drill has not earned, press the lever or the button of reverse along with pressing of trigger of drill. If the drill begins to join in this moment, then it is possible, has put in breakage of reverse. If this procedure has not yielded results, then continuing to pull the drill trigger, try to turn cartridge free hand. If the drill joins in this case, and through ventilating grate in the body the strong sparking is visible, then it is possible. worn-out brushes of the electric motor are failure cause. Replacement of brushes, trigger, reverse and the damaged wire are made after dismantling of drill.
2. Disconnect drill power supply. Unscrew self-tapping screws in drill body openings. Uncover with the body and hook drill trigger the screw-driver. In that place where wires are inserted into trigger, turn off fixture of wires and take out them from trigger. If the wire is damaged, cut off it knife. Then, having cleaned contacts from isolation, again attach them into place. If the drill did not work on electrical wire failure cause, then this cause is removed.
3. Rewrite marking from reverse or trigger together with the name of drill if at diagnostics they were drill failure cause. Get necessary parts in shop and replace.
4. Start replacement of brushes if diagnostics confirms their fault. Brushes represent two graphite bars which by means of springs nestle on the engine rotor which is in back part of drill. At fault in this place the sparking is observed. The wear of brushes is noticeable approximately, it looks as leaky adherence to the rotor. By means of flat blade screwdriver open lids at slots where brushes are inserted. Unbend wires with cups of contacts, then get brushes for spring. Replace them with new. Quite often new brushes are included in remkomplekt which has completed drill.
5. Close cover, install self-tapping screws into place, twirl them. Include drill in network.

