From the person who repairs electronics certain qualification is required. However if to observe the standard canons of repair of electronics and to seize necessary knowledge of element base and to learn to solder reliably and accurately, then it is possible to repair simple electronic schemes most.
It is required to you
- - Soldering iron;
- - solder;
- - magnifying glass;
- - oscillograph;
- - screw-driver.
Instruction
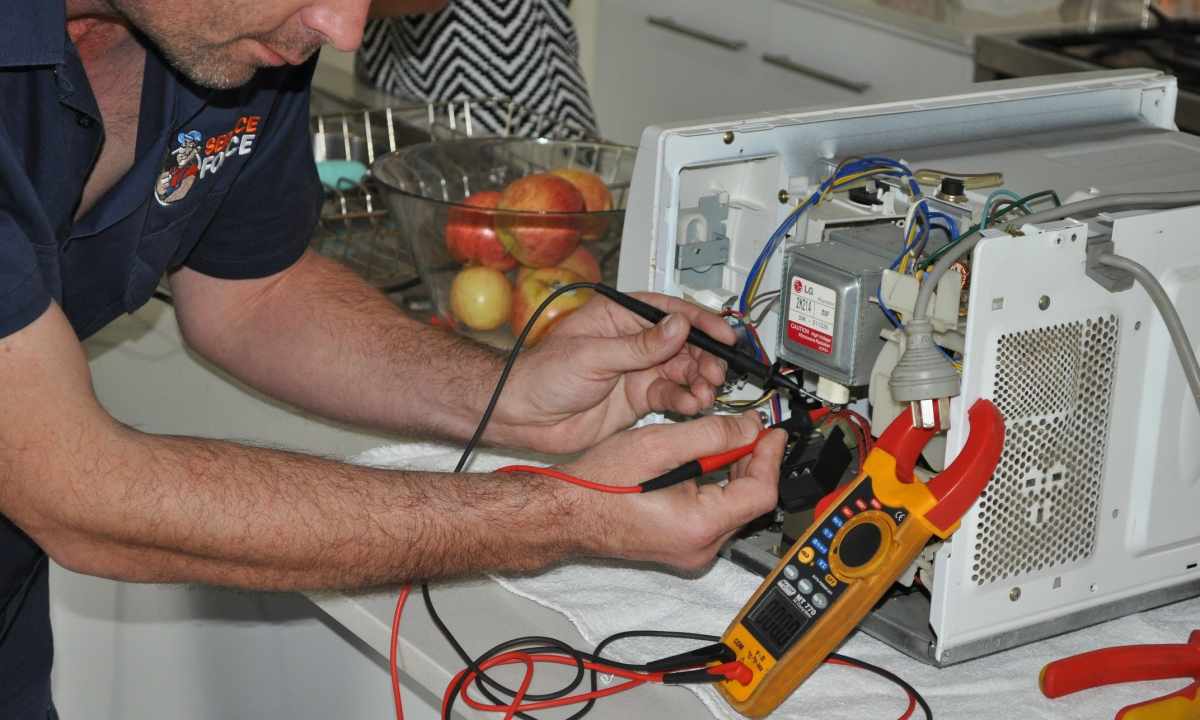
1. Starting repair of the electronic scheme, power off the repaired device. Disassemble the body and attentively examine wires which have connected external sensors and actuation mechanisms. If you know parameters of sensors, check them by means of ohmmeter. The screw-driver turn off fastening bolts of payment and remove it from fixtures. Examine payment regarding visible damages.
2. Examine wiring of power supply unit. Make sure that inclusion of network power supply is safe. By means of ohmmeter check the power rectifier and make sure of lack of short circuits after the rectifier. If necessary replace faulty parts of the rectifier. Enclose the sheet of cardboard or notebook that there were no accidental faults to frame of the device under payment, and you can make trial inclusion.
3. Check tension in check points. It is usually written directly on payment. However happens that there are no check points. Then find chips of power conditioners. Their name begins with number 78, and the full name depends on the specific stabilized tension. For example, the chip with name 7805 has to give out 5B of tension. Check these values at the outputs of all stabilizers. Do not try to give forcibly tension to check point in order to avoid additional damages of the electronic scheme.
4. The most frequent malfunctions are damages of power keys of actuation mechanisms. It occurs for various reasons, but before just changing them, sort out that could put the transistor out of action. For this purpose, find the wires going to the actuation mechanism. Disconnect this device. By means of ohmmeter check chain regarding fault to frame and short circuit. Check the device if there is no short circuit, connect it to the feeding tires via the safety lock that will make sure of its serviceability. Replace the failed transistor, check parts on payment which are connected to its electrodes and if everything is serviceable, you can turn on the device in network and check result of repair. Never solder at the included power supply – it can lead to other damages of the electronic scheme.
5. Chips fail seldom. To define faulty chip, examine the body of chip and measure tension on its electrodes. It is the best of all to make it by means of oscillograph with open entrance. At electrodes of chips there can be rectangular fluctuations which no voltmeter will show. Replace chip if at all its electrodes there is identical tension of one polarity or close to zero, other sign of faulty chip consists in presence on entrance electrodes of rectangular or other tension, and at the exit there is nothing even if to switch-off the output resistor.
6. Having repaired the electronic scheme of the device, collect it. Include in network and let's work within 2-3 hours.