Kitchen apron – irreplaceable thing for any hostess. It will protect clothes from threat to be soiled by the cooked food, it is possible to put necessary trifles in its pockets, and still it can be stylish, lightening the mood. The aprons sewed by the hands are especially good: it is not difficult to make them at all, but they will help to paint everyday life in kitchen and to make shape of the hostess attractive.
It is required to you
- Fabric, ostrozatocheny soap or chalk, ruler, centimetric tape, tailor's scissors, threads, needles, safety pins.
Instruction
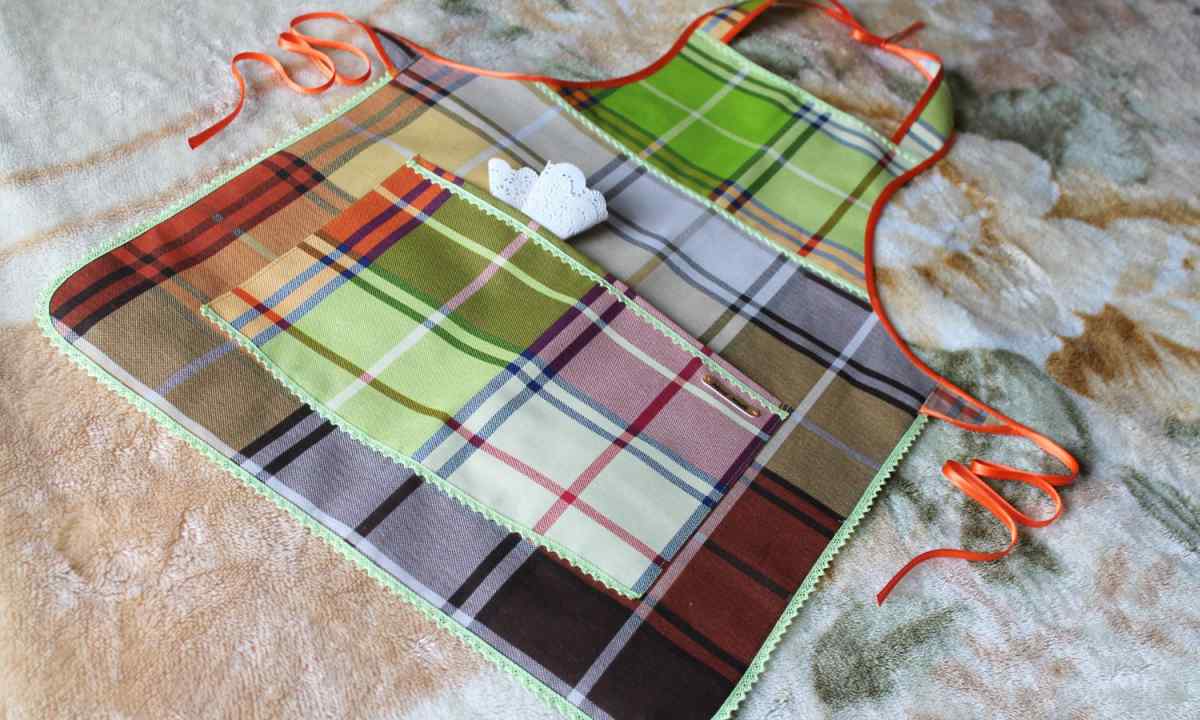
1. First of all we choose fabric for apron. Here it is possible to give vent to the imagination, but you remember functional accessory of product, try to choose nonspottable fabric which will easily erase. Teflon material will be good choice – it does not pass water and does not absorb spot. Remember that on monophonic fabric of spot will be more noticeable, than on bright, color.
2. The model of apron will depend on your desires and abilities. It is possible to sew the apron apron or full-fledged apron consisting of apron, bib, pockets. It is possible to decorate it with the coquette, gathered apron, to make interesting straps.
3. We take measurements. The following measurements will be necessary for us: growth, semi-grasp of waist (St), semi-grasp of hips (Sb).
4. We start fabric cut, but at first it is necessary to check it for shrinkage, to press about the ferry, observing the literary mode. Then to spread out fabric on table so that it was convenient to apply on it lines of pattern. You draw on inner side of fabric.
5. Do not forget to leave allowances for seams: on the lower, top and side cuts of skirt and bodice leaves 1.5-2 cm, on grinding of belt and loop – 0.7-1 cm, on the lower and side cuts of pocket – 1 cm, on the top cut – 3 cm.
6. It is so simple to sew apron that it is possible to do without paper pattern. You will find rectangle on width equal ¾ ABOUT + 5 cm on podgibka of sides, and longwise equal D + 10 cm on podgibka of top and bottom. Put rag lengthways in half. Define where there will be top and where bottom at apron. From the top edge on bend measure DIT + 5 cm. Give piece of chalk mark. Carry out from it perpendicular to side edge - it is waistline. Put notch on edge. Halve length of the top edge and make one more notch. Draw piece of chalk smooth line from one notch to another. Chop off both layers of fabric pins along the drawn line. Cut out apron fabric on this line. Remove pins. Unroll the put part. Before you apron basis. Two remained rags will become pockets.
7. We start processing of skirt of apron. For this purpose the vpodgibk needs to process side cuts seam with the closed cut. It is also necessary to stitch the lower cut of skirt. Select threads in tone of fabric that they were not allocated. Do not forget to put clips, using back run of the machine at the beginning and at the end of line. That the machine line was more convenient to be laid, it is possible to be prepared, having turned in seams and having laid manual smetochny stitches. Only after completion of work do not forget to remove all smetochny stitches and to press the iron.
8. Now it is necessary to process pockets. To turn in the top cut on 1 cm, and then once again – on 2 cm. To chop off by means of pins, to stitch on the machine on 0.1-0.2 cm from edge, to priutyuzhit. Then to turn in sides of pockets on 1 cm, to lay manual smetochny stitches, to turn in the lower cut of pockets.
9. To sew pockets, on apron skirt chalk to note their arrangement, to put pockets, to fix them by manual smetochny stitches and and to lay machine line on side and bottom edges on 0.1-0.2 cm. At the end to remove threads from smetochny stitches, pins, to priutyuzhit pockets.
10. On apron 3 inverted pleats are provided. On the top cut their arrangement is planned. For this purpose fabric of skirt of apron is halved, noted its center. Width of one fold is equal in cut to about 18 cm. From the center of skirt half of this width (9 cm) in one party and the second half is postponed – in another. Then from the line of edge of the central tab width of the second fold (18 cm) is put. Also the third fold is postponed. Further on the upper edge of skirt the side folds connect to central (bends of folds have to connect with each other). From the top cut of skirt on 0.7 cm the machine or manual smetochny line on folds is laid.
11. The bodice of apron is processed in the same way as skirt.
12. The following step – processing of loop for apron bodice. In advance prepared part which is bent lengthways in half by the faces inside is for this purpose necessary. All cuts and corners are combined, develop pins and are stitched on the sewing machine by seam 0.7-1 cm wide. Do not forget to leave small opening in the middle of line then to turn out loop on face side. To keep integrity of corners when reversing, put clips on joint of lines. Then the loop is turned out, corners are corrected, seams are leveled by manual stitches, the interval is fixed by secret stitches. In conclusion it is necessary to priutyuzhit loop.
13. To sew loop to bodice, it is necessary to measure its length according to your figure. At first one, and then other its end is sewn to the top corner of bodice of apron. On loop it is possible to sew button that further it is easy to regulate the apron size.
14. The belt is processed in the same way, as well as apron loop.
15. Now it is necessary to connect skirt and bodice of apron. To put them in the back lines in, to combine cuts on lower and top, to chop off pins side seams of skirt and bodice, to sweep away by hand, and then to stitch on the machine. Joint gap width – 1-1.5 cm. In conclusion to remove strings of smetyvaniye and to iron seam towards bodice.
16. On belt we note the middle, we put it to apron bodice. The center of belt has to coincide with the center of apron. The bend of belt closes seam of connection of bodice with skirt on 0.1-0.2 cm. The belt is chopped off by pins to skirt and to bodice. Manual stitches need to be laid at first from skirt, and then – from skirt.
17. At the end of string of smetyvaniye to remove, press seams. The apron is ready.