Pillows rollers were always relevant in any interiors. There are many options of their dressing in any style. It is pleasant when in the house there are pillows rollers made own hands they bring special cosiness in house situation.
It is required to you
- - sintepon
- - fabric
- - sewing accessories
Instruction
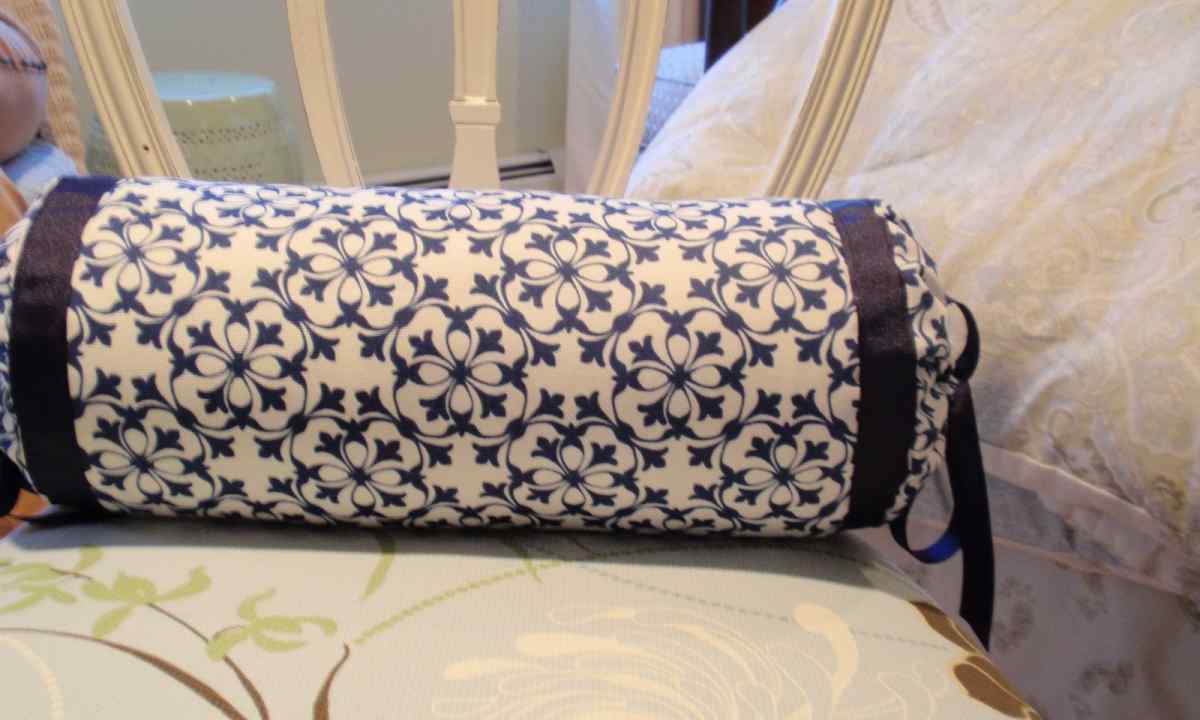
1. Prepare the sinteponovy roller which will become pillow basis. For this purpose just twist sintepon in roll.
2. Calculate amount of material, having measured length and circle of the roller. Length of the material necessary on making folds on each side of the roller, is equal to its circle, and width – to its radius.
3. According to length and circle of the roller cut out necessary piece from fabric. Also cut out slanting inlay which will okantovyvat the roller on each side from fabric. Put inlay on pins, sweep together.
4. For sides cut off two pieces of fabric which length is equal to length of circle of the ready roller, and width is equal to its radius. Add 1.5 cm on seams. Pristrochite cuts over edging on each side the main cut.
5. To Sostrochita side seam on the main cut, without having forgotten to leave opening for taking out of the roller. Sew zipper to this opening. Iron all seams.
6. On side cuts at the edges make two lines to prisobrat folds. Accurately pull together the stitched threads that there was no opening. Wind the strapped ends with strong thread near the pulling together threads.
7. Turn out cover face side outside. Sew the buttons which are picked up or fitted with own hand to the center of assembly on roller sides.
8. Insert the sinteponovy roller into the sewed cover.
9. If you want to sew pillow roller with flat sides and more accurate form, use the previous scheme, having replaced gathered sides with two circles cut out from fabric. For this purpose cut out from paper sample by the roller size, and then find two circles from fabric, having added on all circle 1.5 cm on seams.
10. Sostrochite side parts with the main, without having forgotten to insert between them fringing from slanting inlay. Then you sostrochit the main part, having inserted zipper.