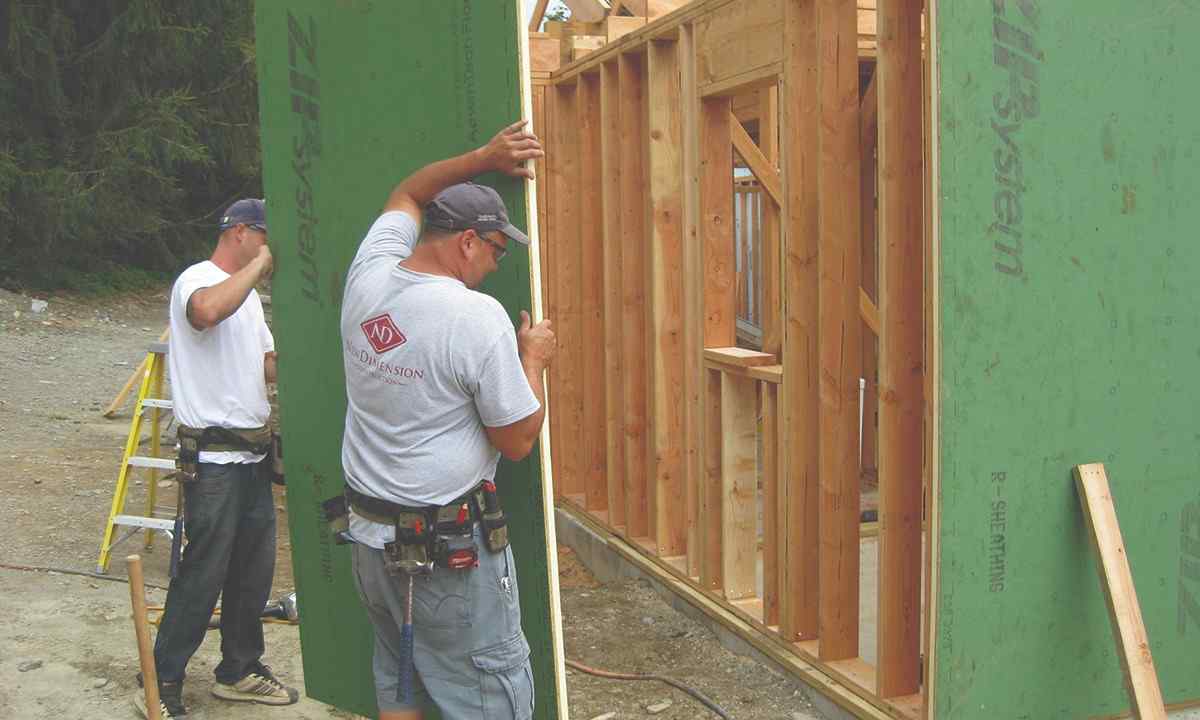
Use of wall panels when finishing allows to give to not well-groomed room worthy look quickly. To change the image of the apartment by means of this practical material, it is necessary to be prepared for work correctly.
- - tape measure;
- - pencil;
- - level;
- - hammer;
- - drill;
- - screws (self-tapping screws);
- - nails;
- - timber dogs;
- - stapler;
- - step-ladder;
- - rails for furring.
1. Pick up way obshivkistenovy panels it is possible to arrange differently: horizontally or vertically, in the form of frame, brickwork, "fir-tree" or on diagonal. It is necessary to consider the size and configuration of the room before choosing way of finishing of walls. For example, the vertical covering of panels will be suitable for optical increase in room height, and horizontal will move apart space in width. If you want to diversify monophonic panels, use combination of vertical and diagonal laying — such combination will create original play of light and shadow on your walls. It is possible to create various patterns from panels, using harmonious or contrast combinations of flowers. Add volume to the room, using on opposite walls joining of panels in the form of the framework located one in another. Such geometrical drawing it is possible to arrange also on one wall, having placed emphasis on this part of the room.
2. Calculate quantity to materialaizmerta height and perimeter of the walls which are subject to finishing and make drawings for calculation of necessary amount of material. Not to be mistaken, previously specify the size of the attracted panels and start calculation. Consider that when mounting "groove crest" width of the panel decreases by 5 mm. Increase calculations not less than by 10% for unforeseen circumstances: scrap, defects of material or mistake when cutting.
3. Prepare to obreshetkusdelayta for panels timber frame construction, fixing by screws on wall each rail. Observe distance between them not less than 50 cm from each other. Force down furring taking into account fastening of panels at right angle in relation to rails. For example, if the horizontal arrangement of laying is chosen, have rails vertically.
4. Sheathe panels to stenynarezhta of the panel of necessary length. If you sheathe wall vertically, begin mounting from corner. At first fix not less than 4 brackets on bar and for reliability record everyone nail. You will expose the first panel on level and install it so that its groove has entered bracket. Bring the acting part (crest) of the second panel to groove of the first and record connection by fastening brackets. Repeat this operation before completion of all finishing and close joints plinths or rails.
5. Sheathe panels potolokpered the beginning of works make sure of ceiling durability. If it is capable to sustain additional loading, start surface preparation. It is possible to apply traditional finishing in the form of horizontal strips or to use more original laying. Make furring and sheathe ceiling panels in the form of dispersing or meeting "fir-tree" or on diagonal.

