Kitchen ceramic apron - working surface which constantly is affected by moisture, steam, various aggressive substances. Therefore it is very important to pick up the correct material for registration and protection of this element of kitchen interior.
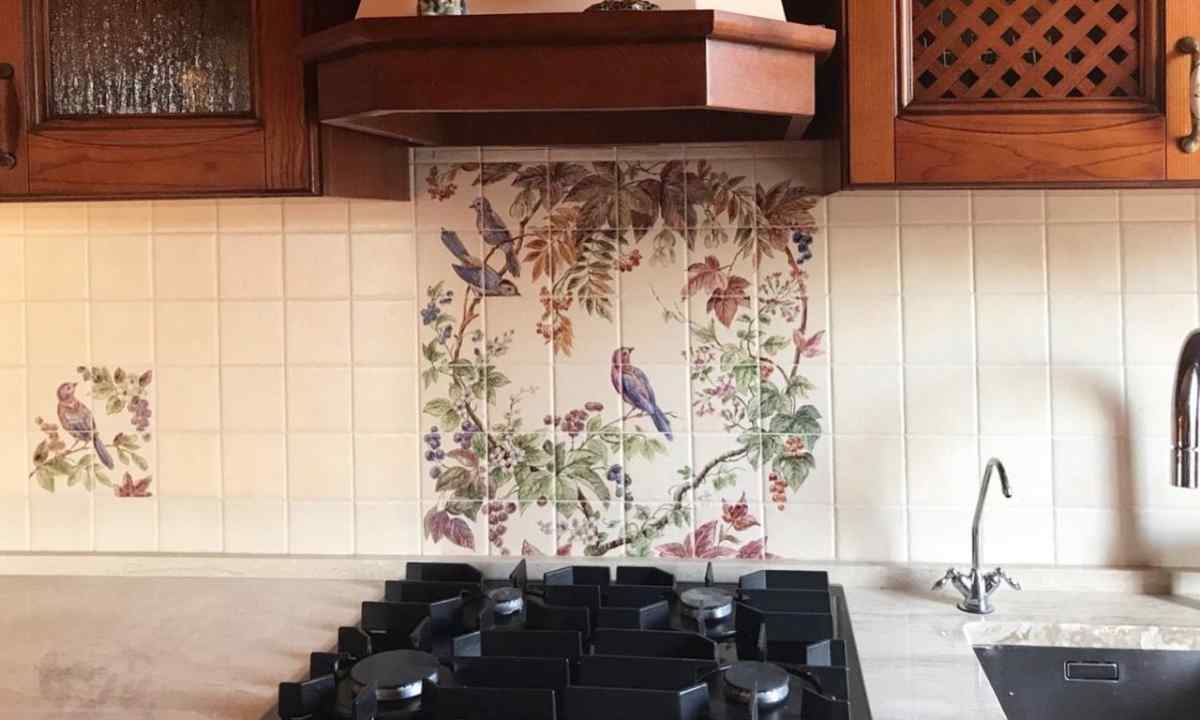
Ceramic apron – the most widespread option of finishing of kitchen that is caused by high practicality of tile. It is rather strong material which is not afraid of influence of temperature, moisture, chemical reagents and also it is easily washed. In comparison with other finishing materials, for example, glass, the ceramic tile has the best "camouflage" properties, - dirt on it is not so noticeable. The tile is attractive in the esthetic plan and serves long.
The only minus of ceramic apron – labor input of works and need of presence of the qualified master. The cost of the tile can be various – everything depends on quality, the producer. Theoretically process of creation of kitchen apron is not so difficult.
Preparatory work
It is desirable that before arrangement of ceramic apron floor has been already made; otherwise it is necessary to consider thickness of floor covering. First of all it is necessary to prepare wall on which it is supposed to glue tile; the surface has to be free from dirt, spots of oil, dust. The wall needs to be leveled on the plane, using indicators and construction level. If the wall from gypsum cardboard, then everything is simpler; it is enough to ground surface. Further height of kitchen furniture is defined, - usually 0.8 m. If this is so, then laying it is necessary to begin with 0.75 m from floor that it was not visible the lower edge of ceramic apron. To the place of laying of the lower row the metal level (profile) which is strictly leveled across (from below) is attached.
Mounting of tile
When the wall is prepared and the level is recorded, start mounting of tile. It fastens by means of special glue which is previously stirred the mixer, according to the instruction. It is necessary to consider that mix begins to get denser in 2-2.5 hours. Solution is applied by means of the toothed palette. It is previously necessary to make marking to calculate quantity of tile. For cutting not of full-size pieces of tile it is used plitkorez (manual or electric). During mounting of tile, assembly crosses are inserted into seam to sustain identical distance between tiles. Normal thickness of crosses – 3 mm. When the tile rises", (not earlier than in 4 h), it is possible to pull out crosses, to clean surface from residues of glue. At the last stage the finish of seams is made by special structure. Also it is recommended to cover from above seams with transparent silicone sealant, - it will provide the best protection against moisture penetration under tile.