The LED tape is more often used in design – decorate with the shining color tapes niches and arches in apartments, emphasize multilevel designs, fountains, pools, cars. Incredibly effectively tapes which brightness and color can change thanks to the controllers operated by means of the remote control look.
The LED tape represents flexible payment on which tiny luminous sources – LEDs are located. Thickness of such tape of only 2-3 mm, and width usually does not exceed 10 mm. Besides LEDs the tape is equipped with resistors – restrictive resistance. Most often glue is applied on reverse side of tape therefore it can just be pasted to any smooth surface, for example, to ceiling or eaves of the house.
Advantages of LED tape
- economy at operation, low electricity consumption; - big life cycle of LEDs in comparison with glow lamps;
- lack of danger of overheating of elements; - ample design opportunities thanks to flexibility and the small sizes of tape; - opportunity to operate separately brightness of every color.
Choice of power supply unit
The power supply unit has to correspond to overall load of product, it is necessary to consider also the supply voltage, humidity at operation. Most often the supply voltage of tape is 12 or 24V, specialized products in 36B sometimes meet. At the exit of power supply unit that tension which is required for tape has to be specified. When choosing the connector for connection to power supply unit it is necessary to consider tape width – 8 or 10 mm. Upon purchase of the shining film it is necessary to pay attention to such parameter as power consumption. For example, power in 4.8 W/meter is specified. It should be increased by the necessary length of tape in meters – total power will turn out. Let's say 15 meter tapes will require power supply unit not less than 72 W. It is necessary to add not less than 20-30% of power reserve, otherwise the probability that it will burn down at the first difference of the electric power is high. Thus, the power supply unit in 100 W will be suitable for this tape.
For operation in damp rooms or on the street, special hermetic (moisture-proof) power supply units and connectors are used.
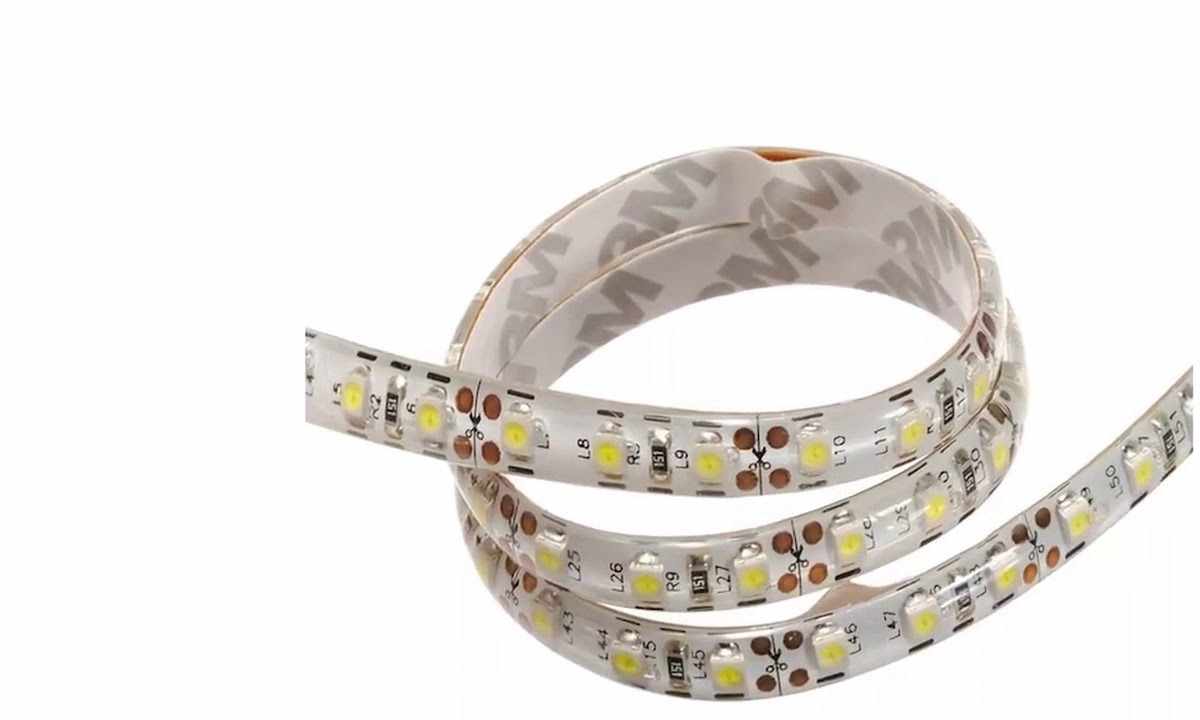
Mounting of electrical circuit of LED tape
It is necessary to paste tape only after it is connected to other elements of chain and is checked. It is necessary to solder all connections in advance, to connect the light dimmer or the controller, power supply unit, then to check operability of chain. It is possible to cut LED tape only in specially designated places, they are noted by strips through several centimeters or designated by the drawn scissors. For accustoming to drinking it is necessary to use the soldering iron heated to temperature no more than 260 degrees, time of safe heating is limited 10 seconds. For small LED tape (no more than 5 meters) it is possible to pick up the ready connector for connection and power connection. Longer films demand manual soldering as connectors can not always provide reliable contact. It is better to connect long films in parallel, in this case load of conducting elements will be lower, and the product will serve longer. Color RGB-of tape it is necessary to install via the RGB controller. Four wires proceeding from tape are designated by the letters R,G,B (R (red) – for red wire, G (green) – for green wire and B (blue) – for blue wire) and V+, it is necessary to connect them to 4 entrances of the controller with the corresponding designations. Further already ready controller is connected to power supply unit. Brightness control of one-color neon tapes and modules is made by means of the light dimmer. It is connected as well as the controller, between tape and power supply unit. The power supply unit has two exits – "-" and "+". It is necessary to connect the corresponding wires from the controller, the light dimmer or LED tape to them, by means of the assembly connector or normal twist. It is important not to be mistaken in polyusovka, otherwise the tape can fuse. Further it is necessary to connect power supply unit to network 220B, by means of duplex wire. Having included power supply, it is necessary to check work of tape, operability of the controller. If all works, it is possible to paste tape to surface.
For connection of LED tape in the car the power supply unit will not be required as voltage output just is 12 V.
Installation of LED tape
When the electrical circuit is collected and works, it is possible to begin mounting (previously having disconnected the controller). It is not necessary to rumple tape, to strongly bend or subject to other mechanical influences. It is important not to damage conducting paths, otherwise the device will not burn or will burn with parts. The maximum bend radius of tape – 20 mm. The tape with power more than 7.2 W/meter needs to be established on aluminum or metal section, for ensuring fire safety. If is going to arrange illumination on metal surface, it should be isolated from it, for example, using special profiles or channels with opaque or transparent covers. Placement of the film directly on the metal carrying current, dangerously. The surface has to be smooth, equal, clean, it is better to degrease it in addition. Further it is necessary to remove protecting cover from sticky layer on reverse side of tape, to put it to surface and it is easy to press. Having again attached wires to the controller, the light dimmer or the block, to check operability of design and to enjoy the updated design.