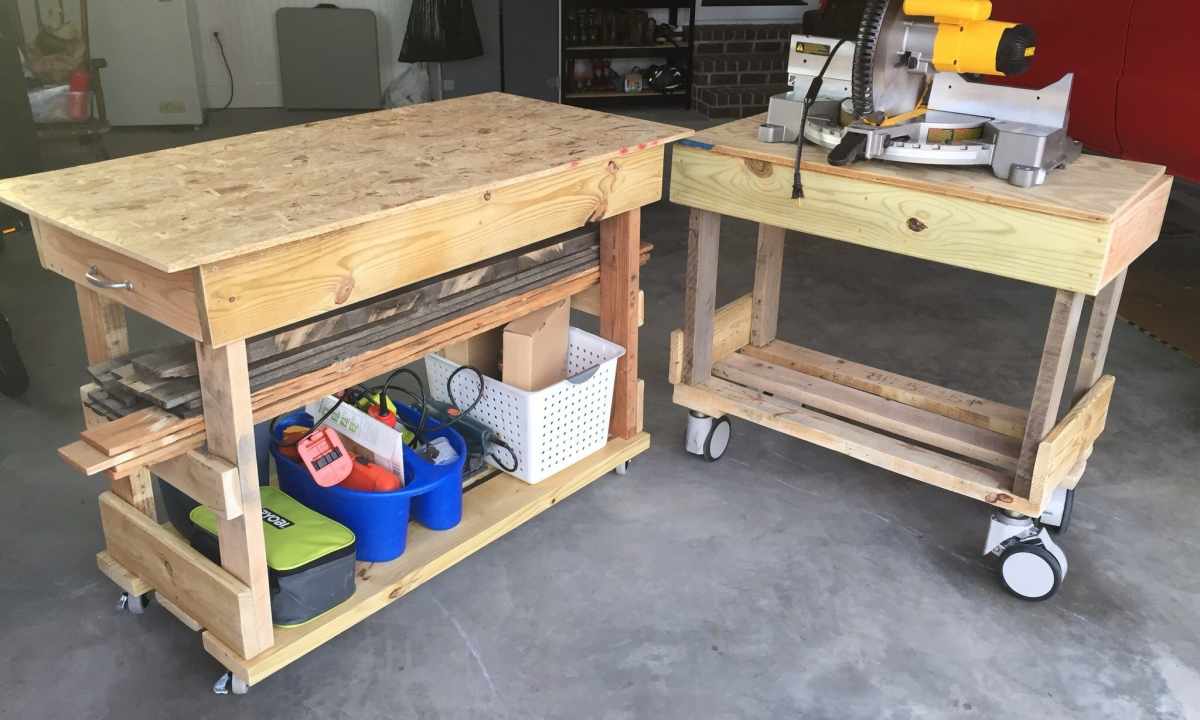
The majority of house workshops and also garages equip with workbenches. Without workbench it is almost impossible to repair or make something with own hands. On workbench the necessary devices facilitating work to the master are located. If, for one reason or another, you do not want to buy ready workbench - it is possible to try to make it with own hands.
It is required to you
- - kitchen table-top
- - furniture board;
- - epoxy glue;
- - abrasive paper;
- - clamps;
- - rails;
- - screw driver;
- - screws;
- - wheel support;
- - plywood;
- - drill;
- - electric fret saw;
- - flange nuts;
- - M10x75 screws;
- - sealant
Instruction
1. Choose the necessary sizes and make the sketch of workbench.
2. Carefully process surface table-tops abrasive paper. After that, accurately miss the mark table-top with epoxy glue, impose on it furniture board and densely tighten clamps. Let's glue dry out within a day.
3. Edge workbench table-top edge rails. For this purpose use screws with countersunk heads and glue. Carefully grind workbench cover. Round off edges and corners.
4. Make bottom, sidewalls and the shelf. Cut the top couplers. Drill mounting holes in day. Cut folds and grooves in sidewalls.
5. Carefully grind bottom, sidewalls and the shelf of workbench. Record them by means of clamps and stick together with the glue help.
6. Make mounting holes in the top couplers. Connect couplers to sidewalls strictly at right angle and record by means of glue.
7. Cut the lower, average and top crossbeams of front frames. Drill oblique ports on the ends of the lower and top crossbeams. Make racks.
8. Collect frame parts on plain horizontal surface and connect them by means of screws. Paste average crossbeams and record them screws. Carefully grind parts of frame and paste them to the body.
9. Cut basic board for legs of workbench and basic lugs. Carefully grind all parts. Drill deepenings in board and insert flange nuts there.
10. Paste and record by means of screws basic lugs on board. Record collected node on the body by means of glue.
11. Attach to basic board wheel support by means of screws.
12. Put on rubber caps heads of M10X75 screws. Fill caps with sealant and wait so far it will harden. Screw the turned-out legs in flange nuts of basic board.
13. Put workbench cover on the body. Drill openings and screw screws. Screws have to pass through openings of the top couplers in cover of vestak. Establish washers. Your workbench is ready.