The back switch of the bicycle is one of the main knots on which correctness of work the convenience of operation of all bicycle depends. If the switch fails, then passes constantly ""come off"" in the course of the movement, and it can lead even to falling. For this reason the back switch of the bicycle has to be adjusted correctly and completely perform the function.
It is required to you
- - Set of keys-shetigrannikov;
- - Rozhkovy key or key stone;
- - Flat-nose pliers;
- - The new rope for the switch (in case old became useless);
- - Graphite lubricant;
- - Nippers;
- - Cross screw-driver;
- - Rag for rubbing of parts and hands.
Instruction
1. Wipe the back switch and eliminate all pollution. If the grass or branches jammed into the switch, then surely remove them before beginning repair.
2. Turn the bicycle and establish on the wheel and the saddle so that it was possible to twist pedals freely.
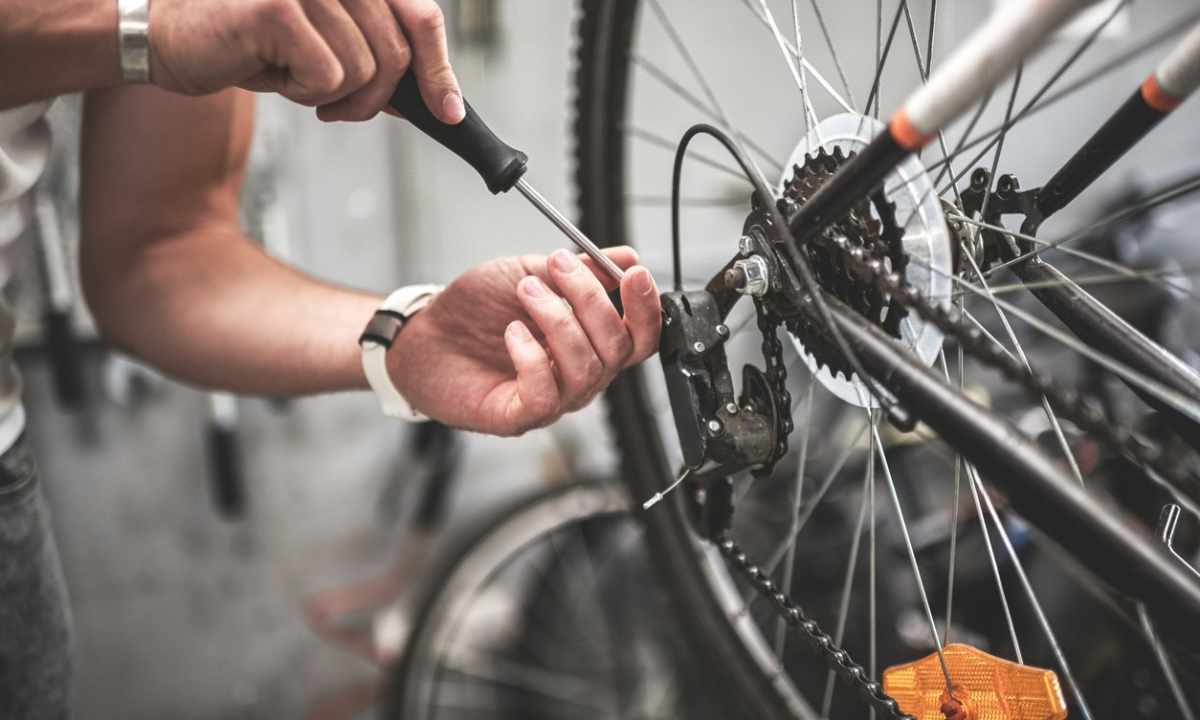
3. Turn off the six-sided screw or the bolt with the head which presses the rope. It is very easy to learn it as the rope approaches exactly there, and it is one point on all switch.
4. Take the released rope in the hand, examine it attentively. If the rope whole, there was no its damage, it doesn't untwine, all fibers as it should be, and on the rope there is only not the big trace, then is passed to the step 5. If the rope is damaged - it needs to be replaced with new.
5. You hold the rope with hands, switch the lever on the wheel and you look whether there is the movement of the rope on each slap shot. If there are no failures and wedging of the rope, pass to the following step. If the rope somewhere is stopped, it is necessary to take off from it the shirt and to miss the mark with graphite lubricant.
6. Return the shirt into place. Put the rope aside. You pass to the switch. On the switch there is the L and H screw (they are signed on the majority of models).
7. We rotate bicycle pedals. As the rope isn't recorded, the chain has to pass into extreme situation. If it didn't occur, we rotate the screw-driver screw L (in both parties, we look on the situation) until the chain surely lies on the extreme star. No deviations are allowed!
8. Only after the step 7 is executed correctly, we pass to the rope stretch. The rope rests against the special thrust bearing on the case (so-called thin control). Before inserting the rope back on its position, the thrust bearing needs to be spun almost completely, having left 2-3 rounds free.
9. We insert the rope on its position. By means of flat-nose pliers we pull the free end, we pull the rope and we fix it the nut or the six-sided bolt. Everything is almost ready. It was necessary to adjust screw H.
10. We switch the pass to the last, biggest back asterisk. Ideally, the chain has to switch and remain freely on this star. If there are poshchelkivaniye, or the chain doesn't lay down on the star, it is necessary rotating screw H the screw-driver to the left and to the right, to find its optimum situation. If you expose situation incorrectly, the last pass won't join or on the contrary - the chain will fall down between the cartridge and the flange of the plug.
11. Also at the switch there is one more bolt most of which likely won't be required. It defines longitudinal position of the switch. It is easy to find it as it is located near the axis of the switch and rests against the rooster. This bolt needs to be twisted only if during the movement the chain slips under loading.
12. The task is carried out, your switch is adjusted. Actually it is very simple therefore you shouldn't be afraid to repair the switch independently.