Most of city dwellers consider that arrangement of sauna in the conditions of the apartment is pipe dream. Nevertheless, to make sauna in the apartment it is quite real. Besides, independent construction will cost to you much cheaper, than purchase of ready import sauna.
It is required to you
- - pine bar;
- - boards;
- - paper roof covering;
- - perforator;
- - hammer;
- - nails;
- - mineral wool;
- - aluminum foil;
- - doors for sauna;
- - lining;
- - electric oven for sauna;
- - screws
Instruction
1. Choose the place for sauna. It is necessary to know that the easiest to make mounting of sauna, attaching framework to already existing walls. The small storeroom will be ideal, for example.
2. Make all necessary calculations and make the detailed drawing of sauna. To note on the drawing door opening, installation sites of seats and plank beds, air vents, arrangement of lamps, places of leading of electrical wiring and fastening of the heater.
3. Mount electrical wiring. It is necessary to know that the electric ovens used in saunas have big power. Therefore it is very important to calculate precisely thickness and insulating properties of cable. For additional protection of wire it is recommended to lay it in the special bronekabel.
4. Fix paper roof covering on the load bearing walls adjoining sauna. It is necessary to fix sheets of paper roof covering with an overlap.
5. Collect framework from pine bar. Fix it on room walls, in thrust between floor and ceiling. Establish racks for door case. Make ceiling framework of boards, having arranged them with step to 50 cm parallel to sauna walls.
6. Lay heater in space between wall of the room and framework of your sauna. As heater it is recommended to use basalt mineral wool. Thickness of layer of heater has to be not less than 5 cm. Fix the layer of aluminum foil providing vapor barrier on mineral wool.
7. Revet framework with soft breeds of tree so that between foil and inside face of lining there was gap of 1 cm. It is necessary to consider that for facing of sauna it is recommended to use wood of deciduous breeds. Coniferous lining at high temperatures can emit resinous substances. Besides, because of high content of pitches such facing can self-ignite.
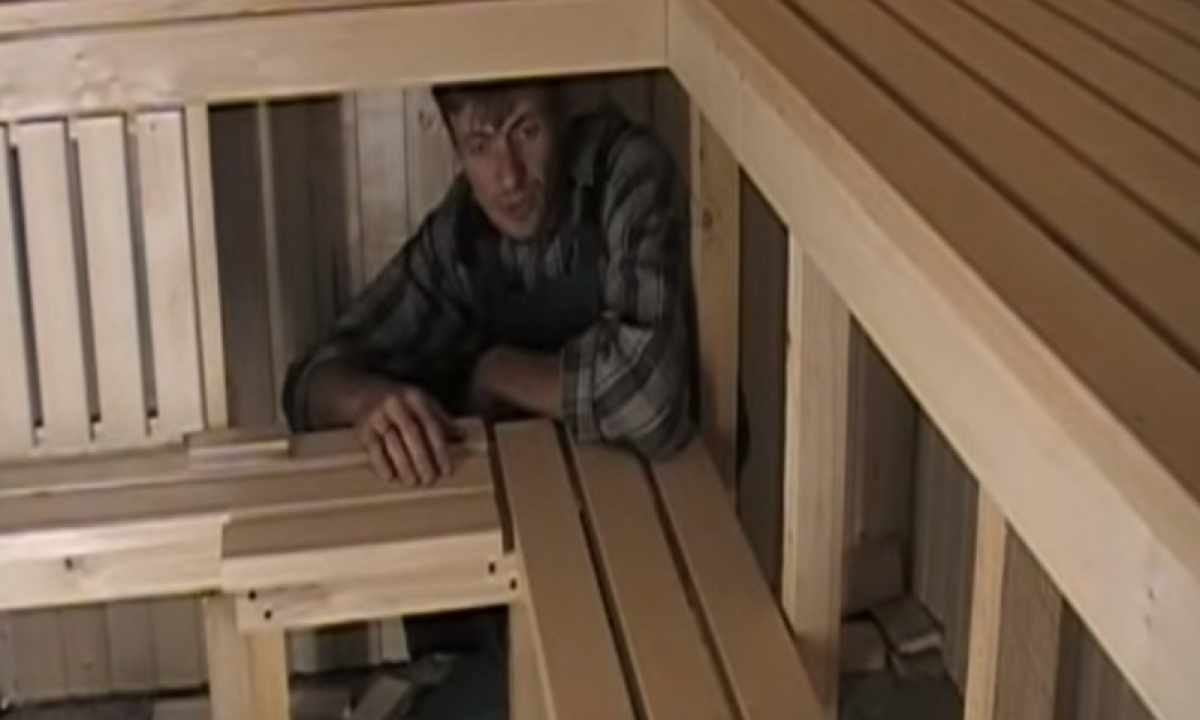
8. Establish bench. For this purpose take bar with section 40х80 and fix it horizontally on wall, opposite to entrance to sauna, along all its length. It is necessary to consider that the distance from sauna ceiling to bench has to make at least 1.2 m. The bar by means of screws is recommended to fix, having arranged them with step of 50 cm. Establish two bars on side walls of sauna at the same level. Length of these bars has to correspond to the set bench width. Collect bench flooring from longitudinal and cross boards.
9. Install the heater, having fixed it by the screws which are included in the delivery package. Lay stones between heating coils.
10. Fix lamps and the switch. Carefully process abrasive paper all wooden elements of sauna. Your sauna is ready for operation.