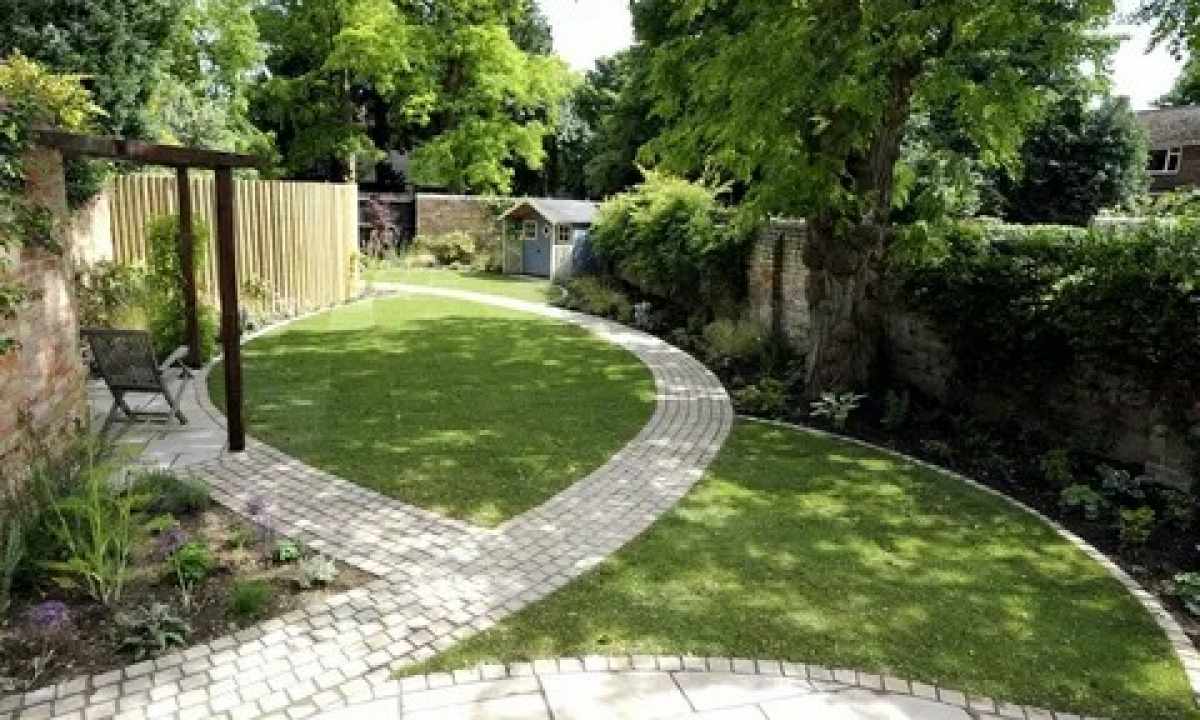
Garden paths — practical element of the site, but besides they have also esthetic function. The beautiful footpath executed from stone, brick, saw cuts of tree or paving slabs is the real decoration of garden, adding it ukhozhennost and peculiar elegance.
Choice and calculation of material
To make garden path with own hands, ideal option are the paving slabs of 50х50 cm in size. It is simple to stack it and if necessary to repair that perfectly is suitable both for handymen, and for beginners. In specialized shops big variety of tile of different quality and coloring is offered, it is possible to choose material of brick shade, beige, cream or green.
It is simple to calculate necessary quantity of such tile. In one square meter — 4 pieces of tile. Measure length of path and its width. Find the area and increase this number by 4. Thus you will know exact amount of material to put tile. The quantity of elements of other size rasschitvatsya similarly.
Also it will be required to you:
- clean sand without any impurity of clay, garbage, stones (the quantity has to be about 1 cube on 7 square meters of path);
- pegs and rope for marking of borders of path;
- shovel;
- long board for leveling;
- piece of bar for tamper;
- boards for guides;
- border;
- rubber mall;
- wide palette;
- brush with rigid pile;
- construction level.
Preparation of the basis step by step
- On the site mark borders of future path by means of pegs and rope. Shovel skim soil on depth about 20 cm. As a result of manipulations the trench has to turn out.
- On perimeter of garden path establish guides from boards, at the same time count width taking into account border.
- In the turned-out trench fill sand and distribute it evenly on all surface. Thickness of sandy pillow has to equal 15 cm.
- Stamp sand, using for this purpose piece of bar.
- Lay each tile on the place and besiege them rubber mall.
- That material lay exactly, straighten tile with the wide palette, podsypta or remove excess sand.
- Periodically check path inclination by means of construction level. When laying you watch that there were no roughnesses.
Stages of installation of border
- Dig out trench with inclined walls at the edges of tile. In it fill sand layer of 4-5 cm.
- Establish under inclination border so that the top of its edge was parallel to tile. Consider that between edges of materials there has to be gap equal to width of seams between tiles.
- Besiege border in sand by means of rubber mall.
- Remove guides from boards.
- Outside of border and in gap between tiles fill the sifted sand and carefully stamp it.
Final finishing of path
Close up slots between tiles on path. For this purpose sift dry sand. Wide brush with rigid pile you will notice sand in gaps between tiles on all length of path, and superfluous – sweep away. Spill ready garden path water from hose. It is manipulation it is necessary in order that sand as it is possible more densely it was stamped in seams.
The garden path can be decorated. For this purpose use pieces of wall tile or porcelain tile. Them have in intervals between paving slabs. The same way do paths and of other materials: saw cuts of trees, brick or stone.