Directing (profiles) form strong basis for gypsum cardboard. Such design will stay long time. Let's consider what make types, the sizes of profiles, we will sort example of mounting.
Types of profiles
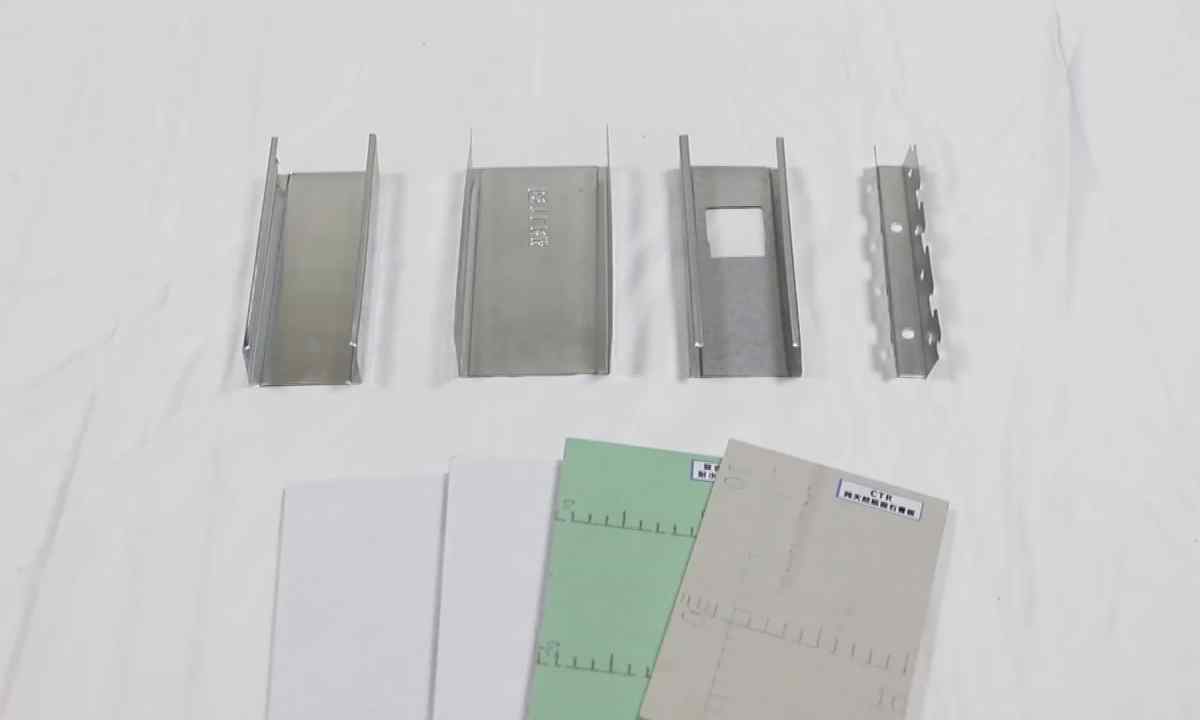
Profiles make from the metal sheets made in the cold-rolled way. All of them are galvanized. Finished products are durable, strong, are not exposed to corrosion. They are not heavy therefore it is possible to do designs of any degree of complexity with little effort. Profiles can be cut, bent easily.
Depending on features of application make different types of profiles:
- Rack-mount. Apply to construction of framework to make walls, niches, compartments, partitions.
- Disk-seal. It is used in plastering for creation of plain surface.
- It is necessary for ceiling designs if the ceiling needs updating.
- Ceiling directing. It is necessary in designs on ceiling.
- Direction profile. The basic element in framework is necessary in mounting of horizontal racks.
- Profile for arches. Apply to difficult designs.
- It is necessary for frameworks to which increased requirements to durability are imposed.
The ready framework then is sheathed by gypsum cardboard.
What sizes of profiles happen
Profiles have the different sizes. If it is wrong to pick up them, the design is in the future deformed. Sizes of profiles:
- Directing: length - 3 m, width - 4-10 cm, height of sidewalls - 4 cm.
- Rack-mount: length - 3-6 m, width - 5-10 cm, height of sides - 5 cm.
- Ceiling: length - 3 m, width - 6 cm, height of sides - 2.7 cm.
- Ceiling directing: length - 3 m, width - 2.7-2.8 cm, height of sides - 2.7-2.8 cm.
- Strengthened: length - 3, 4, 6 m, width – 5-10 cm, height of sides - 4 cm.
- Disk-seal: length - 3 m, section - 22x6, 23x10, 62x6.6.
- Arch: length - 3, 6 m, section – 22x6, 23x10, 62x6.
Example of mounting
Plasterboard designs can be different. Let's review the simplest example of mounting of profiles (guides, rack-mount) to make plasterboard wall.
- Define the place where there will be wall on floor, use route-making cord.
- Make design marking on ceiling, wall by means of plumb, route-making cord.
- Begin mounting of the horizontal profiles directing from installation, but at first paste sound-proof tape on rear sides.
- Fix profiles by dowels, screws, but it is not frequent, with step it is no more than 1 m. Guides have to be equal and reliably recorded.
- Leave gaps in places of door openings.
- Record guides profiles racks, you fix their screws self-tapping screws, hollow rivets.
- You bring the terminations of racks to guides from above and from below. Step length - 600 mm.
Execute covering gipsokartonovy sheets, the wall is ready. Use of these materials will allow to make repair, to update interior of rooms.