Rest on the seasonal dacha will be much more pleasant if on it you equip the place for bathing. Having built the pool, you will be able always to receive cheerfulness charge after day of work. Besides water from it can be used for watering of plantings.
It is required to you
- - cord;
- - measuring tape;
- - pegs;
- - sand;
- - crushed stone;
- - outflow pipe;
- - concrete solution;
- - armature;
- - boards for timbering;
- - tile.
Instruction
1. Decide on the pool sizes which depend on the size of your seasonal dacha. It can have any form, but it is better when it simple – rectangle, square, circle or oval.
2. When choosing the place be guided by that it was near water supply system. Exempt site for the pool from vegetation. By means of cord, measuring tape and pegs make marking of borders of the pool.
3. Dig out ditch. Remember that when calculating depth of the pool, the ditch bottom when concreting will be raised on 35 cm. Consider border height on reservoir perimeter in 10 cm. Level bottom with small bias aside where you will have water drain. Carefully stamp.
4. Fill sand layer in 10 cm. From above lay crushed stone 15 cm high. At this stage mount outflow pipe. It has to be put before filling of walls. Place it in the place of bias of bottom.
5. Remove one pipe end in the lower point of the pool, and other end – in drain hole which has to be not really far. The pipe has to have bias that water went from reservoir spontaneously. On it establish shutoff valve. The drain hole has to be such depth that water with ease went to soil.
6. On bottom pour even layer concrete 5 cm thick. Carefully stamp. Further reinforce ditch bottom. For this purpose take wire 5 mm thick and make of it grid. The size of cells – 15-20 cm. Connect places of crossing of armature by soft wire.
7. Lay grid on the first layer, and from above fill in with the second concrete layer. Filling thickness – 5 cm. While concrete dries, periodically moisten it with water that there were no cracks. The dock apron is ready.
8. Start concreting of walls of your reservoir. Pour concrete gradually, layer by layer, increasing timbering.
9. When filling the first layer consider that walls have to be strong and connect hermetically to bottom. For this purpose at first moisten bottom with water and pour concrete. Well stamp it. For the best coupling add aluminum powder to concrete.
10. When this layer a little stiffens, put in it grid from armature. Make timbering higher and fill in the second concrete layer. At the same time concrete each layer on all perimeter.
11. In several days when concrete stiffens finally, remove timbering. Make on pool perimeter border of concrete or brick.
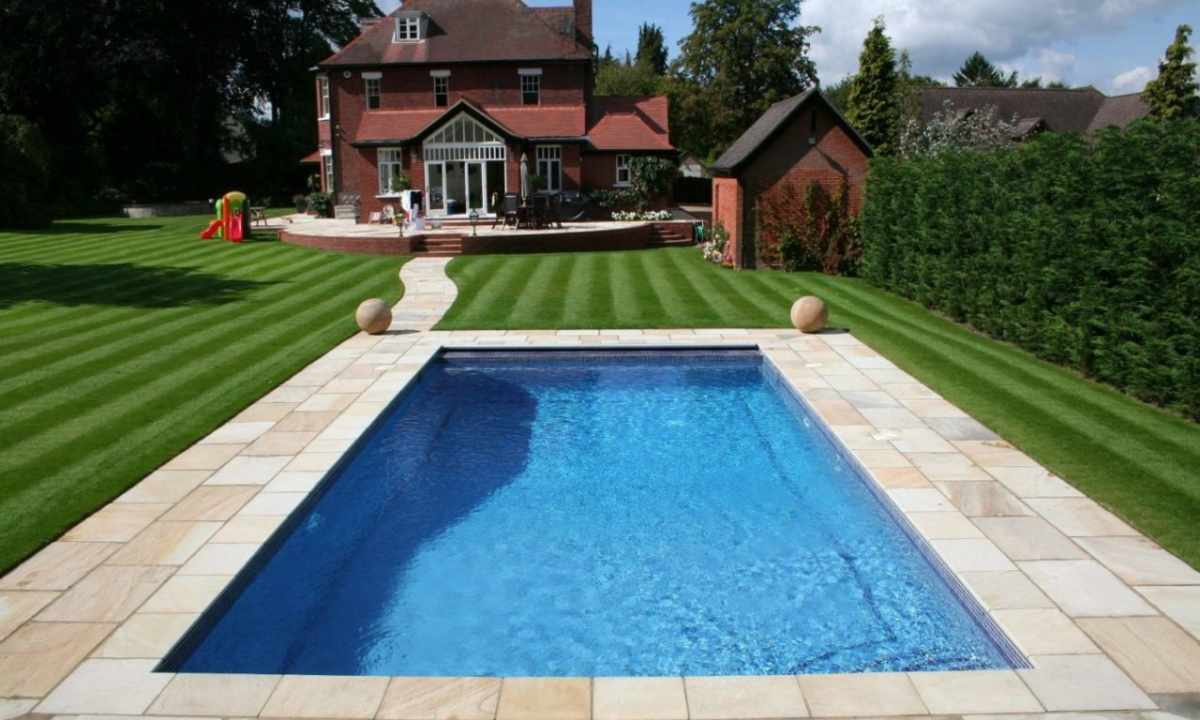
12. Lay out bottom, walls and border tile. Select color gamma carefully - it will emphasize beauty of water smooth surface.