The ceiling plinth is the not just nice knickknack decorating joints between ceiling and walls but also rather useful thing. The ceiling plinth costs rather not much, but it allows to leave joints of ceilings and walls in purity, drives itself(himself) into the corner the upper edges of wall-paper, thereby interfering with their unsticking. If you are going to paint plinth, then glue them before painting of ceiling.
It is required to you
- Step-ladder;
- Glue;
- Brush with capacity for water for removal of the acted glue;
- Adhesive tape or pins for fixation of plinth at divergence.
Instruction
1. Paste ceilings surely before finally painting of ceiling. Do not push plinth into each roughness on wall, otherwise it is possible to deform it. Let lines will be not absolutely straight, but without dents and roughnesses. Better then to putty small slot at ceiling or wall. Sealant it is not obligatory to use here at all. Further you zashkurit wall adjunction, and before final painting of ceiling – joints with the lower shelf of plinth to remove putty "mistakes".
2. Clay should put with points through each 10 cm. All native faces need to be cut off because they are badly joined. Having made joint, look whether it disperses. If disperses, pin plinth to wall by means of needles or paste it adhesive tape. After final strengthening on wall the plinth can sit on it irregularly, somewhere being curved outside or inside. Just examine wall, inserting polyfoam pieces for alignment of plinth here and there.
3. Avoid short pieces of plinth. Let better you will take two average pieces of plinth, than one long and one short. All joints, except for angular, proshpaklyuyta next day after gluing of plinths. Plaster putty with aqueous emulsion ink addition will approach.
4. Carry out edge of the palette along the foam plinth to remove residues of hard putty then take the remains of abrasive paper and process them the site of wall adjoining plinth, absolutely. Pieces of abrasive paper should be bent in half or in tubule – it is so more convenient than everything.
5. Now ground ceiling, and then paint it together with plinths. Cover small slots at ceiling with the same rigid brush which you removed surplus of glue.
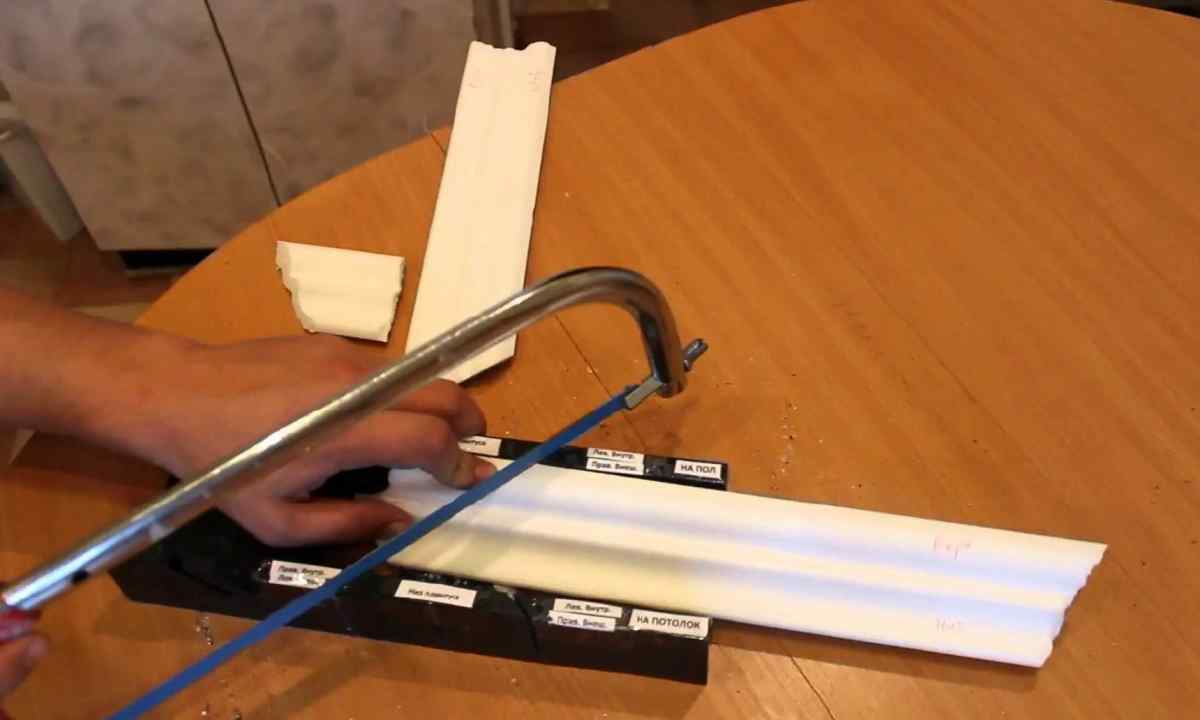
6. If there was need to round off plinth, it is possible to make it: thin hacksaw blade make not really deep and frequent scores on plinth inside. Putty them after pokleyka and full drying as well as joints, but only brush. It is better to provide such non-standard actions at once to buy plinth with stock. And to learn you will be able to do qualitative pro-saws for curve of plinths on scraps.