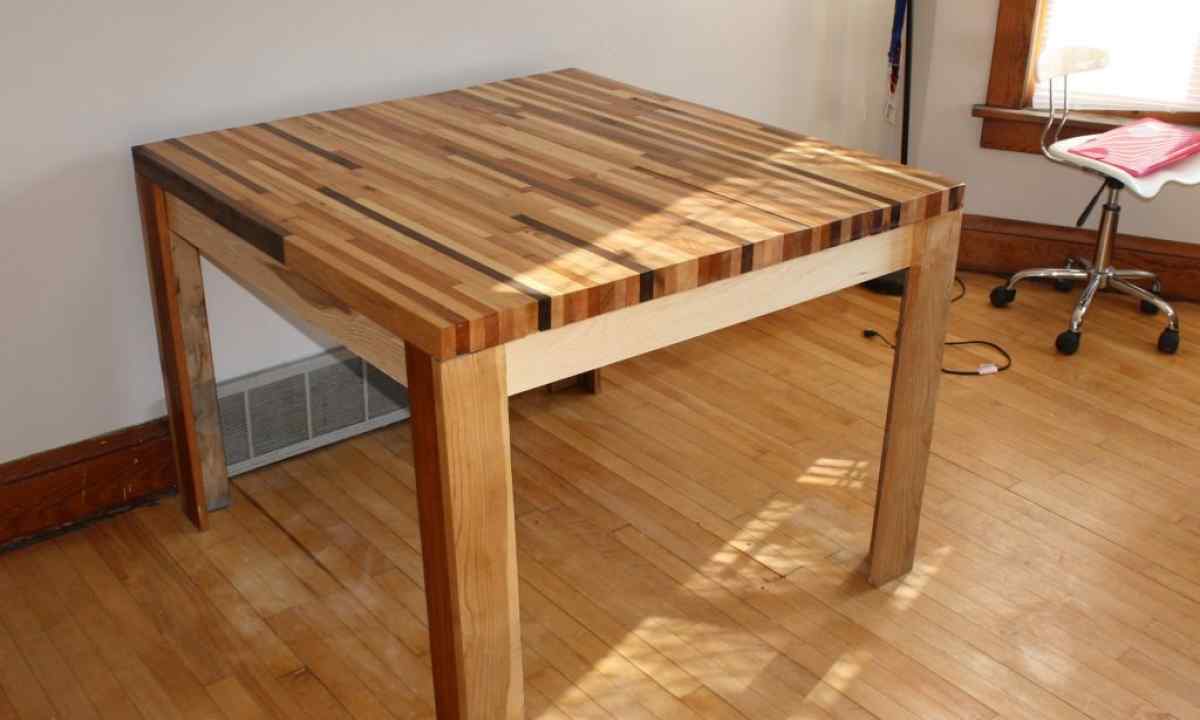
It is pleasant to do independently house furniture not only (to you of what will be proud), but also it is very interesting, it is possible to think up original designs or to use the known design finds. For example, it is possible to build convenient angular table.
It is required to you
- For production of table you will need the following tool: electrofret saw, stationery knife, iron, hexagonal wrench and electric drill. Necessary materials: laminated by chipboard 16 mm thick, for finishing of faces - flexible edge and flexible U-section with texture as at the sheet chipboard. Euroscrews will also be necessary for you for fastening of parts, false legs in number of 8 pieces and stub for euroscrews.
Instruction
1. Before work apply your sketch on the sheet of paper, then you can start cutting out of parts by means of the electrofret saw. At first by means of ruler and the square trace part contour linker. Check correctness of marking. Now you can harrow the marked contour nail.
2. The harrowed line will not give the chance to laminate to roll down and also will serve as reference point when grinding part by means of abrasive paper on completion phase of work.
3. You saw slowly, expose on the fret saw pumping of cloth in zero and put the maximum turns – less chips so have to turn out. With extra care work as the fret saw at curves.
4. Finishing of faces. On table-top and visible faces it is possible to paste flexible U-section. The remained visible faces of parts can be pasted over with normal flexible edge. In advance apply glue on edge. It is possible to glue it by means of the iron and through the sheet of paper. If not to use paper, there will be traces and the probability of overheating of edge with the subsequent vspuzyrivaniye will appear.
5. After cooling take stationery knife, put it on the laminated surface (previously enclose the sheet of paper not to scratch laminate), put edge at an acute angle and slowly conduct. It is possible to take normal bar further. Envelop it small abrasive paper and straighten cut.
6. Now it is possible to pass to assembly: in advance prepare openings under screws then fasten with these euroscrews all parts of table. At first collect supports under table-top and fasten them to it.

