Many like to relax in convenient chair after day of work. So why not to make such chair independently? Believe, not so it and is difficult in the presence of pair of hands growing from the right place.
It is required to you
- - pins metal 6 mm - 4 pieces;
- - nuts, washers on 8 pieces;
- - bar of 40х40 mm;
- - oil or mordant.
Instruction
1. To start works bars of 40 by 40 mm will be necessary. If you are engaged in stolyarka, then problems with them should not arise. But also at absence exit is. Hardware store. Usually there trade various pogonazhy. Including bars. It is possible to buy already planed, but will go also from under saw. On one chair about 12 running meters of bar are required. Observing the sizes shown on the picture, saw bar on preparations and drill technology openings with a diameter of 7 mm. The pin of 6 mm has to enter it easily. Openings can be drilled, measuring everyone, but most likely, after the first chair, you will want to make still. So that it is better to make at once template on which and to do further work.
2. When preparations are ready, they should be improved. To smooth things over bars, to shlifanut the parties. If bought already planed that simpler and simpler. But also for rough bars there are options. It is possible to use the Bulgarian and to grind everything to her. It is dusty, of course, but quite feasible. Also there is one more option. It is possible to use blowpipe and to burn all preparations. When roasting it is possible not to be afraid of the fact that the tree is carbonized. It is burned out first of all by soft layers of wood. After all preparations have turned black, it is necessary to take brush (it is possible metal) and I sit down to clean off it. After such procedure, the tree will become not only smooth and very nice on the touch, but also will receive beautiful shade. That to keep it, preparations should be covered with colourless lacquer.
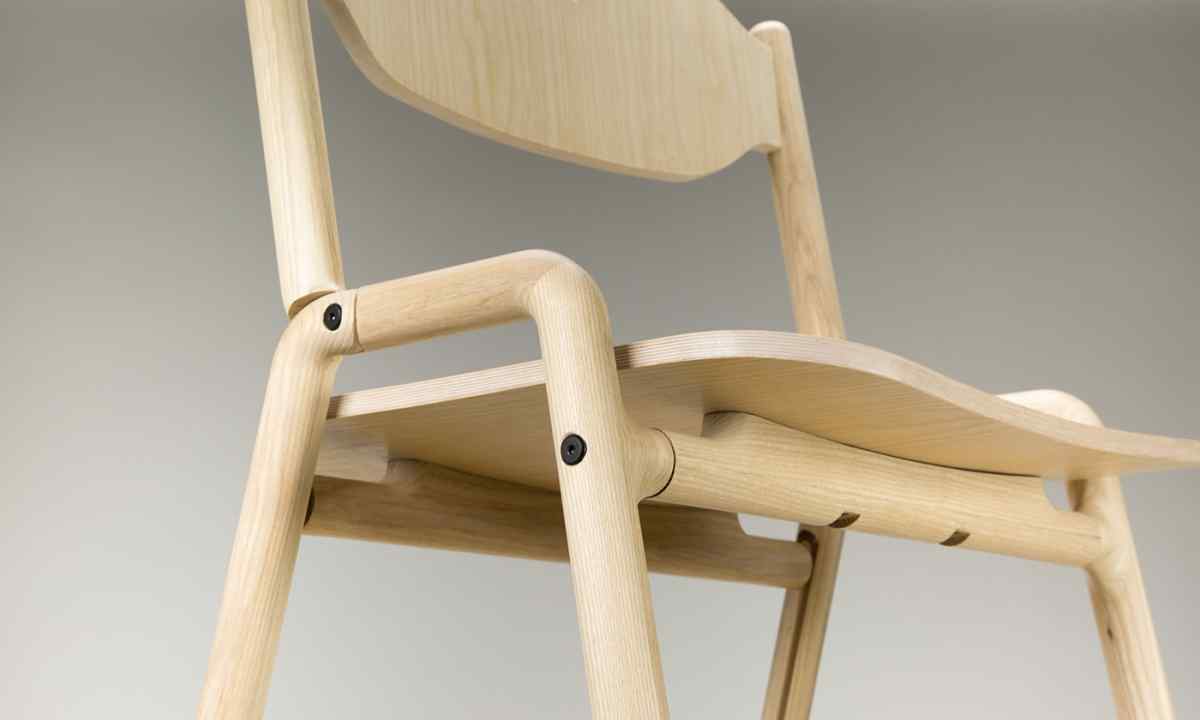
3. When varnish dries, you will need only to aggregate all design. It will not be difficult to be made if all sizes are observed and openings under pin are made in the right places. At assembly of the first parts it is not necessary to tighten nuts. Let parts freely go on pin. When all parts, according to the scheme, were located on pins, it is possible and to begin everything to pull together. It is necessary to do it gradually, leveling bars. In the course of tightening the seat and back will be rounded. It does chair very convenient. Surplus of pin needs to be sawn off.
4. Before you the ready chair in which it is very convenient to sit and in case of need it can be put and removed to the shed or on balcony. In use there can be weakening of parts. Just tighten nuts. Seeing finished product, it is possible to modernize a little it. For example to give to legs other form. To collect such chair, it is possible also from rails of other format. Here the main thing - the idea and your imaginations. You and your guests will appreciate such chair. Do not give up, you create.