Life cycle of laminate makes about 5-10 years depending on manufacturing company and class of its wear resistance. After this period laminate needs to be updated.
It is required to you
- — pencil and ruler;
- — electrofret saw or wood saw;
- — bar for laminate padding;
- — spreader wedges;
- - hammer;
- - sound-absorbing substrate;
- - polyethylene film;
- - clamp;
- - floor plinth;
- - laminate.
Instruction
1. Keep the acquired laminate indoors where it is supposed to lay it in order that material adapted to the environment.
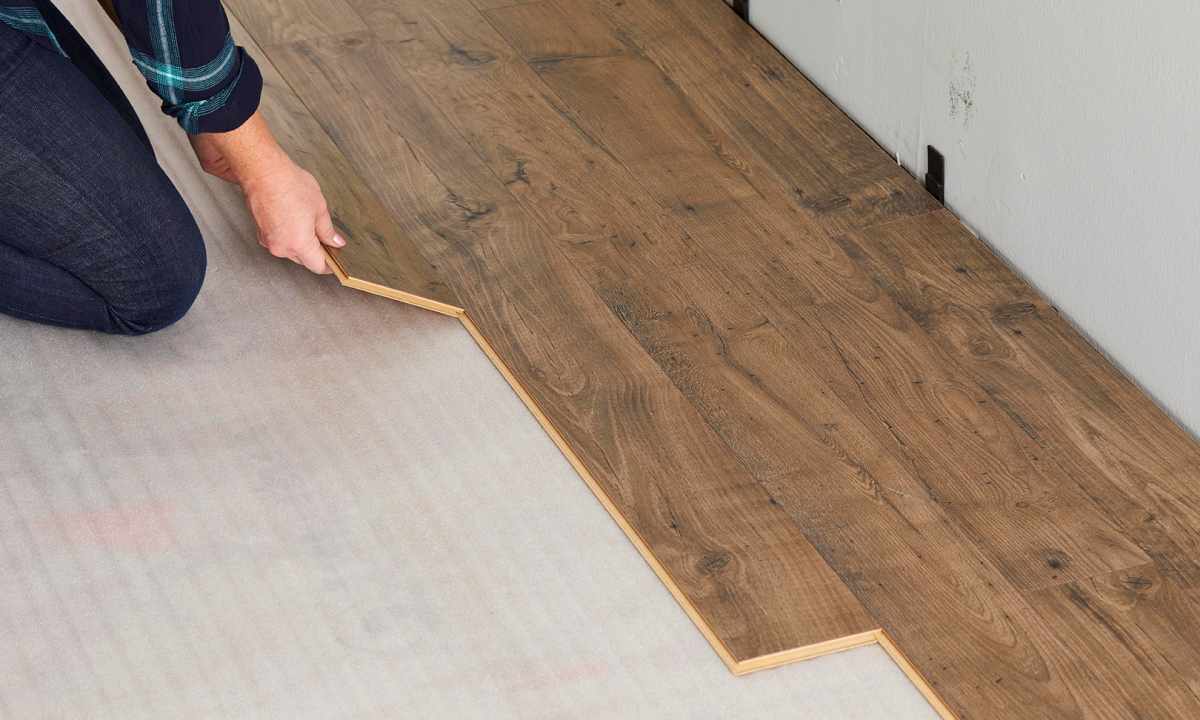
2. Lay on concrete bed polyethylene film for ensuring vapor barrier. Further, if your laminate is not equipped with special substrate, lay sound-absorbing substrate.
3. Create the first row from two boards, having established spreader wedges between boards and walls that will provide the necessary gap. After that start the second row, observing order of the calculation similar to brickwork in half-brick. Accurately cut the required panels the electrofret saw or wood saw, carrying out cut on front part of level in order to avoid emergence of ugly chips on front surface.
4. Make laminate mounting completely. Having reached the last row, use the clamp, having connected to its help without effort levels with the previous panel.
5. Remove spreader wedges and establish floor plinth on room perimeter, having used the screw driver. Modern double designs allow to hide hats of screws under special thin level.
6. If to put laminate in the room so that its seams were parallel to rays of light falling from window, then they will be less noticeable. Laying of levels it is perpendicular to rays of light falling from window, will make seams more obvious. It is recommended to begin laminate laying with corner in which furniture will not be established.