Installation of the operating system for those who never did it independently, a task not of simple. If knowledge of the OS basic installation from a disk is at least at the initial level, then to master the same procedure from flash drives will not make special work. We will consider in details all process of installation to meet requirements, both beginners, and more advanced users.
How to install Windows via the USB stick?
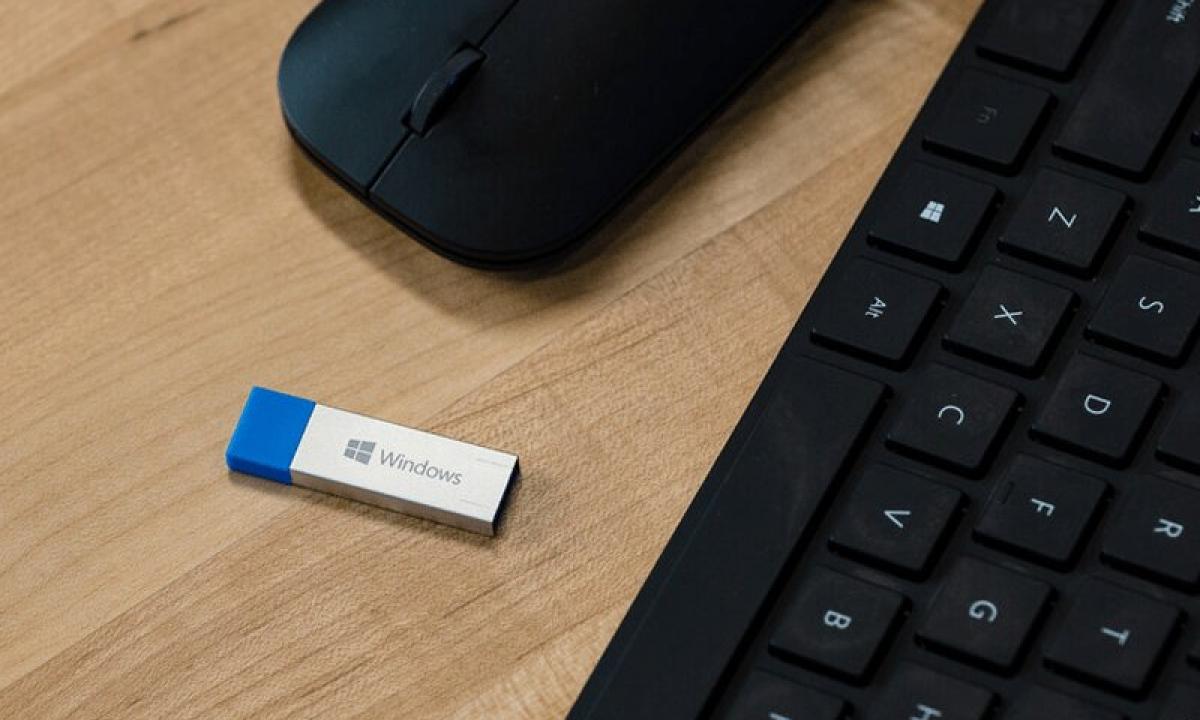
So, you decided to establish or reinstall Windows XP from the USB stick because you have, for example, a netbook where there is no disk drive or just the drive in a non-working state. What to begin with? It is possible to install Windows from the USB stick in the presence a flash carrier on which there is, directly, operating system. Let's consider a question of creation of such USB stick for those who do not have it.
You need the working computer or the laptop, the USB stick with a capacity more than 1 GB, assembly of OS which to you attracted (pay attention to compliance of the size of the carrier and a distribution kit) and the program for creation of such USB stick. We as we hope that if you undertook the OS installation, use of the program with the intuitive interface for you not a problem will not stop in detail on creation process. The only thing, we offer the list of the most popular programs, for creation of loading USB sticks which are simplest in use:
- Win32 Disk Imager
- UltraISO
- UNetBootting
- Windows Bootable Image (WBI) Creator
- Universal USB Installer
- WiNToBootic
Let's say your USB stick with a distribution kit is ready.
Inclusion of loading from the USB stick in BIOS as by default, as a rule, in settings there is a loading from the hard drive will be the following step. For this purpose during loading it is necessary to press a certain key. Depending on model of your personal computer or other device it can be F2, Del, Esc or others. Most often this key when loading is highlighted in the bottom of the screen.
Further, when you already came into BIOS, go to the Boot tab and by means of keys, change the device for loading for our USB stick, that is for the device with the inscription USB HDD or similar. Then you press F10 for preservation of settings.
After reset if everything is made correctly loading has to begin with our USB stick. Further, depending on the assembly chosen by you, the window with the offer of the choice of action will appear. We choose automatic installation and we wait. Sometimes confirmation or refusal of formatting of a disk where we install OS and similar questions with which even the beginner will easily deal will be required.
Installation of drivers
Let's assume, the operating system is installed, but your assembly clean, that is without pack ice of drivers and software. If it is possible to deal with software subsequently independently, then with drivers the situation is a little in a different way.
If you have a disk with native drivers, then it will facilitate a task, but only provided that your personal computer has the working disk drive. And what to do to those who is deprived of such opportunity? There is a solution and not one. It is possible to use the built-in management of search and installation of drivers on Windows, but most quickly and reliably to install drivers from in advance prepared pack ice which can be thrown off on the USB stick. Treat such pack ice:
- SamDrivers
- DriverPack Solution
- KM-Software Driver Pack
- Driver Pack OEM
These programs are capable to satisfy your requirements, practically, completely. If nevertheless drivers for some devices did not manage to be installed, then it is possible to use the official manufacturing website of your model.
As it appeared, to install OS via the USB stick, not so difficult, the main thing – desire and the simplest skills of work with the computer.

