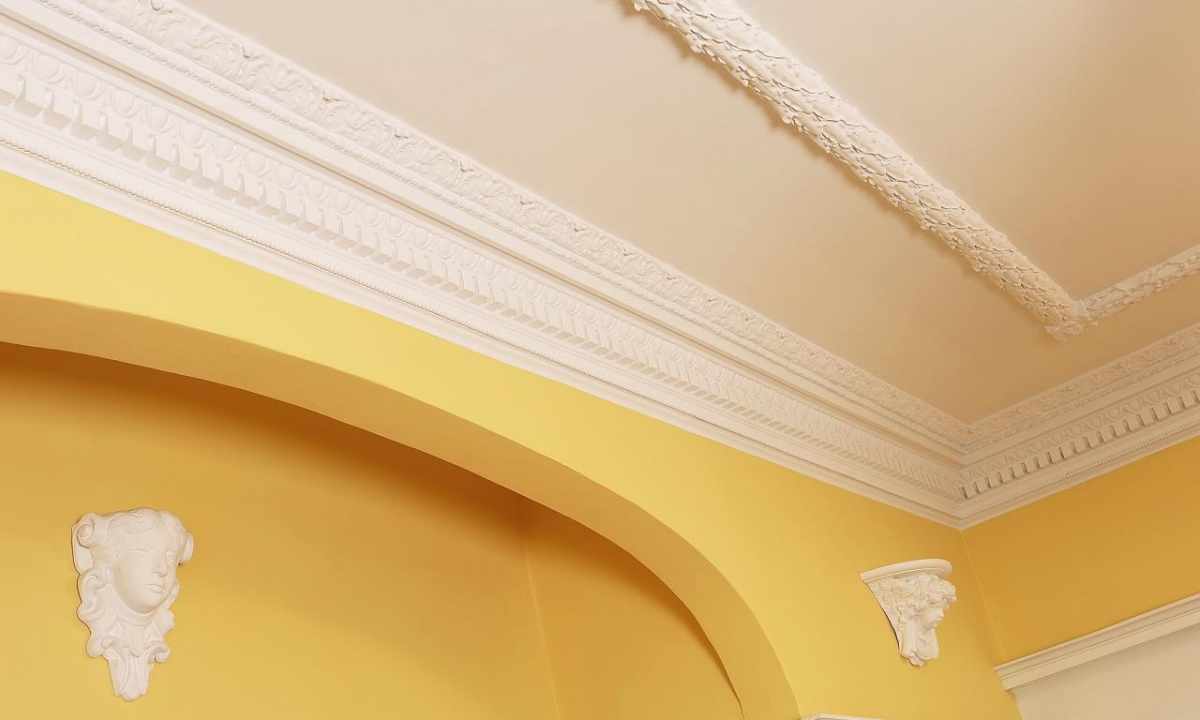
Apartment renovation is completed by arrangement of walls, ceiling and the provided in advance decorative registration of the room. One of widespread ways to give to the room complete look – gluing of ceiling plinths. The most crucial moment here – adjustment of corners of plinth. It is important to create joints so that they were as less as possible noticeable, and to make it happens quite difficult, in particular, if room corners uneven.
It is required to you
- - square;
- - stationery knife;
- - hacksaw;
- - metal ruler;
- - miter box;
- - ceiling plinth;
- - acrylic putty.
Instruction
1. Survey room corners, having put the square to upper part of wall. If room corners direct, prepare for adjustment of plinths the miter box – the special purpose tool allowing to cut off plinth under in advance defined corner (the size of corner will be equal in our case to 45 degrees). If corners are other than direct, it is necessary to adjust connections of pieces of plinth strictly in the place.
2. Place plinth in the directing trench of the miter box that the mark in which the machine cut has to be made was located at cut with the corresponding corner of 45 degrees. By means of stationery knife one strong movement make section. If you use plinth from solid material, for example, from tree or plastic, instead of knife use wood saw.
3. The same way cut off the second joined plinth element under the set corner. Apply both pieces to each other in the place of future joining to make sure that the joint will be equal. If necessary cut the connected surfaces, having adjusted them in the place of fastening.
4. Apply glue or silicone sealant on plinth and apply it to the place of fastening. After drying gluing the same do with the second piece of plinth. Until glue has not completely dried, you can change a little the provision of parts that the joined surfaces in accuracy have coincided.
5. If the uneven corner differing from direct has got to you measure its size. Now halve the received value, and you receive corner which will be required to be made at plinth section. Note on plinth pencil the respective line and stationery knife make section. Do the same with the second joined piece.
6. After plinth tipping on all perimeter of the room accurately cover joints between wall, ceiling and the joined parts acrylic putty, it is accurate it having leveled. It is necessary to carry out this operation carefully to avoid hit of material on walls and ceiling.