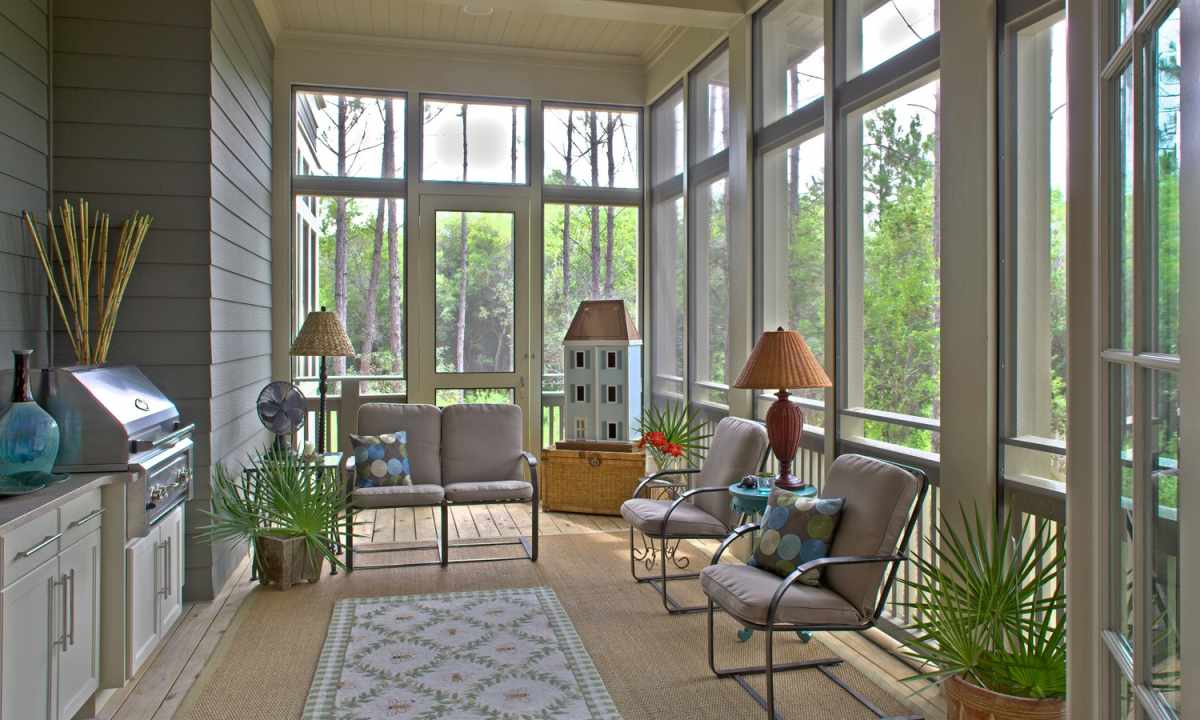
The verandah in the house can perform various functions, for example, of the living room, study, the summer kitchen, etc. But that the room could be used for these purposes, it needs to be glazed. Then precipitation, wind inside will not get, and it in turn will help to provide the necessary temperature irrespective of season. Depending on verandah type (closed or opened), the volume of work changes, but the basic principles of glazing remain.
It is required to you
- - advertizing leaflets;
- - wooden bars;
- - fixture;
- - glue;
- - construction tools.
Instruction
1. Decide how window designs have to be shumo- and heat-insulated. Think over their design. The modern construction market offers the mass of options. For example, frames with small glazing which is fastened by openwork wooden cover. Their undoubted advantage – it is easy to replace any broken section. Other option: frames with one or two glasses. They well look, pass a lot of light. Besides, there are designs with various quantity of double-glazed windows, etc.
2. Then determine the suitable size of windows for your verandah. If room space small, stop the choice on glasses which will not reach floor. Thereby you protect them from accidental damages, for example, at movement of furniture. In other case it is possible to glaze verandah from floor to ceiling, using sliding window designs for convenience.
3. Having decided to use ready frames, consider that aluminum finance saves, well protect from dust, wind and precipitation, but not from cold. It will be the ideal decision for summer country houses. But if you want to use verandah as the additional room, it is worth paying attention to plastic or wooden windows as they keep heat better.
4. If desired you will be able independently to make frames for verandah. At first measure apertures and calculate the sizes of sections. Then take wooden, well dry-through bars with section 40 on 50 or 50 by 60 mm. Mark them by the received sizes and hacksaw cut preparation. Number them not to get confused further.
5. Pare down parts, process abrasive paper. Make finger joints. Collect frames, fastening them with glue. Without waiting so far it will dry, establish design in aperture and temporarily record it. It will help to avoid distortions. After glue finally dries (approximately in a day), take out frame, cut the acting parts, establish on places of fastening metal corners by means of self-tapping screws (for increase in durability). Process tree anti-septic tank and paint. Then cut glass of the necessary sizes, insert it into frame, having fixed by means of wooden fillets. Tint the scratched places.