Transformers are widely used in electrical circuits where it is required to raise or lower tension, depending on what force the electric power is required. Transformers help to transfer energy to considerable distances without significant losses and leaks. In certain cases in the household purposes it is required to receive tension in 8 or 12 V. Therefore it is sometimes reasonable to make the transformer with own hands.
It is required to you
- Can, insulated wire, drawing tracing-paper, cardboard, wooden plate, eraser.
Instruction
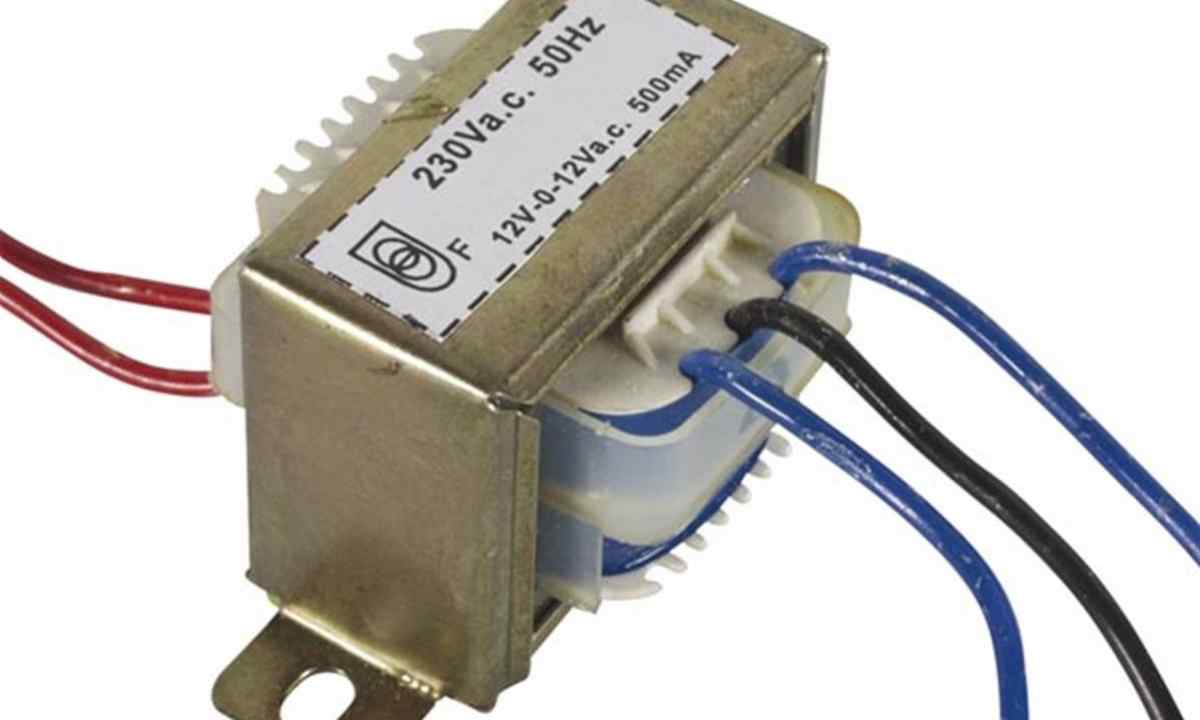
1. Understand for yourself the general design of the transformer. It is the core made of iron on which the isolated wire in the form of separate coils is reeled up. Coils are reeled up one on another or located the friend opposite to the friend on the general core. Voltage output is depending on ratio of rounds on secondary and primary coils.
2. Calculate the required transformation coefficient. So, if to give voltage of 120 V to the primary winding of the transformer, then provided that the secondary winding is 6 times less primary, from secondary winding we will remove stress in 20 V. Koeffitsiyent of transformation will be equal to 6:1. Consider at energy loss calculation (for more exact calculation there are special formulas).
3. Provided that you will not need to remove big current from the transformer, take for the primary winding insulated wire in double silk isolation with a section about 0.3 mm. The wire with a section of 0.8-1 mm will be suitable for secondary winding.
4. Manufacture the core of tin (the normal can will approach). Cut strip 20 mm wide and 270 mm long. 80 such strips will be required. The cut strips should be annealed in the furnace then to allow them to cool down in sol. Then clean off scale and varnish strips.
5. Make framework for the coil of thick cardboard. Cut cheeks and trunk. The cheeks which are put on trunk have to sit down densely on it and not move ahead further. Paste cheeks joiner's glue and leave framework for drying. After drying reel up three layers of drawing tracing-paper on karsk.
6. Make winding of coils, accurately stacking rounds to one another. Through each two-three rows lay layer of drawing tracing-paper on all width of the coil. Then in the same way and in the same direction reel up secondary rounds, laying them paper. Surely do branches from the fortieth and eightieth rounds about 100 mm long. Do branches on the second cheek of framework.
7. Wind the ready coil with several layers of the paper processed by paraffin, and then cardboard.
8. Insert iron strips to half of their length into the coil. Fill internal opening of the coil plates as the touch is possible. Be careful at the same time not to cut framework and isolation of wire. Bend the inserted core around framework and connect below. At the same time it is necessary to leave between the core and framework air gap about 20 mm. Impose metal collet on seam (place of interlacing of plates).
9. Attach the ready transformer to wooden plate about 20 mm thick. For fastening use metal brackets which bend around the lower part of the core. That the transformer did not hoot, install it on rubber legs (they can be made of normal eraser).