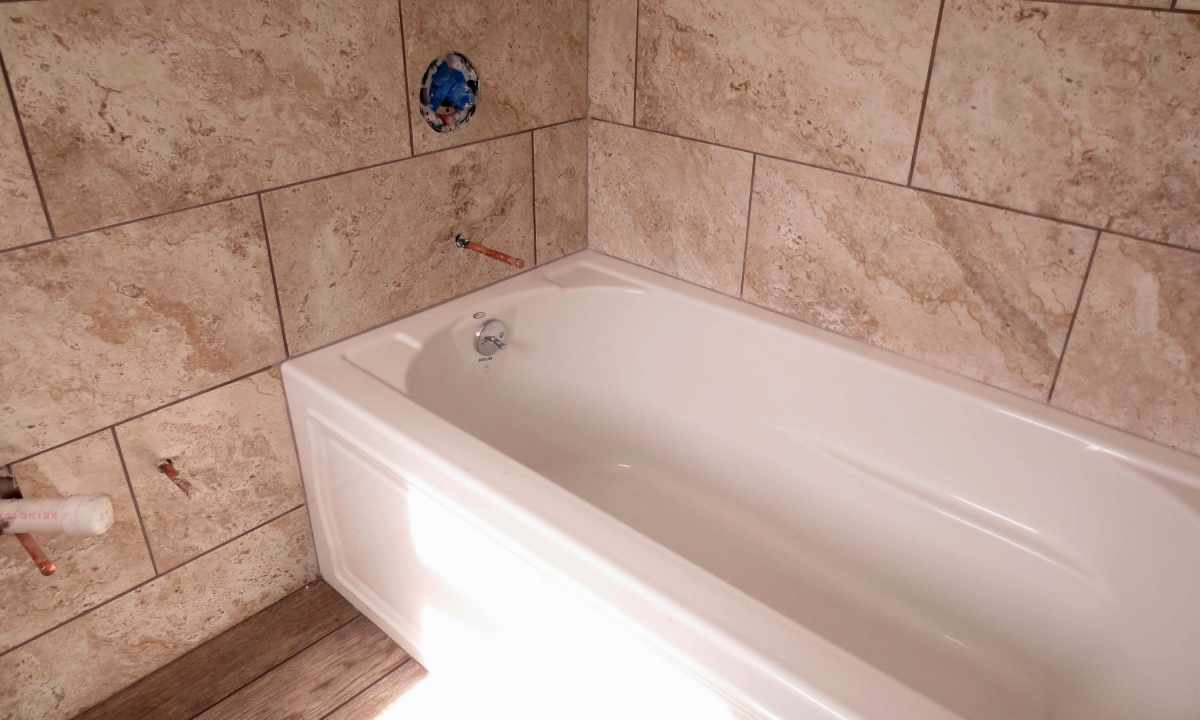
Walls promote creation in the bathroom of the comfortable atmosphere. Choosing material for their finishing, pay attention to ceramic tile. It is good the fact that it can maintain high humidity, is resistant to influence of chemical cleaning agents and has high strength. The tile visually increases height and room space.
It is required to you
- - perforator;
- - nozzle for the blade perforator;
- - primer;
- - construction level;
- - plastic crosses;
- - nozzle for drill "mixer";
- - tiled glue;
- - toothed palette;
- - wooden rails;
- - finish;
- - rubber palette.
Instruction
1. Prepare surface of walls for facing. That the tile has laid down exactly and strongly was fixed, completely peel the paint. She can be hit by means of hatchet or the perforator with the installed drill blade.
2. For ensuring reliable coupling of tile with walls of the bathroom process the last priming solution. Apply with brush primer on connection of walls with floor. Leave walls to dry for 1-2 hours. Pay attention to type of primer which has to be suitable for finishing of damp rooms.
3. Prepare glue. Pour mix into water in the small portions, stirring the mixer. Do not do solution too liquid, otherwise it will flow down from walls. Very dense solution, in turn, should be stretched on tile surface.
4. By means of the toothed palette cover wall with contact adhesive layer or special mix for laying of tile. Waves which form teeths of the palette will provide more reliable coupling of meeting faces. Notice that the tile is larger, the more there have to be waves. For example, to tile with sizes of 30Х30 cm there corresponds palette with teeths on 0.6 cm.
5. That the first row has laid down exactly, establish rail on floor and beat off it on level. Begin laying with the most noticeable corner. Apply on the site of wall intended for gluing of one tile, adhesive layer no more than 5 mm thick. Apply the first tile. For dense contact with wall surface move it it here and there.
6. The tile has to adjoin densely the lower part to the rail established from below and side part – with wall. Check the first and everyone the subsequent tiles the level and the square for preservation of right angle and exact vertical position.
7. It is impossible to move already pasted tiles not to shift adhesive layer under it. Wipe surface of each tile with the sponge, wetted in water, as the dried glue in completion of work will be extremely difficult to be removed.
8. Stack the following tile the same way. Do not forget to check the level and the angle meter the accuracy of its installation. If on tile there are no ledges, use cardboard and plastic plates or crosses. It will allow to provide identical distance between tiles.
9. At registration of external and internal T-joints of tile use plastic angular moldings. Having attached molding to wall, beat off horizontal on level. Glue tiles, utaplivy them in molding grooves.
10. When all tiles are pasted, once again wipe them and leave to dry. In 2-3 days remove crosses and make finish of seams.

